Descrizione[ | ]
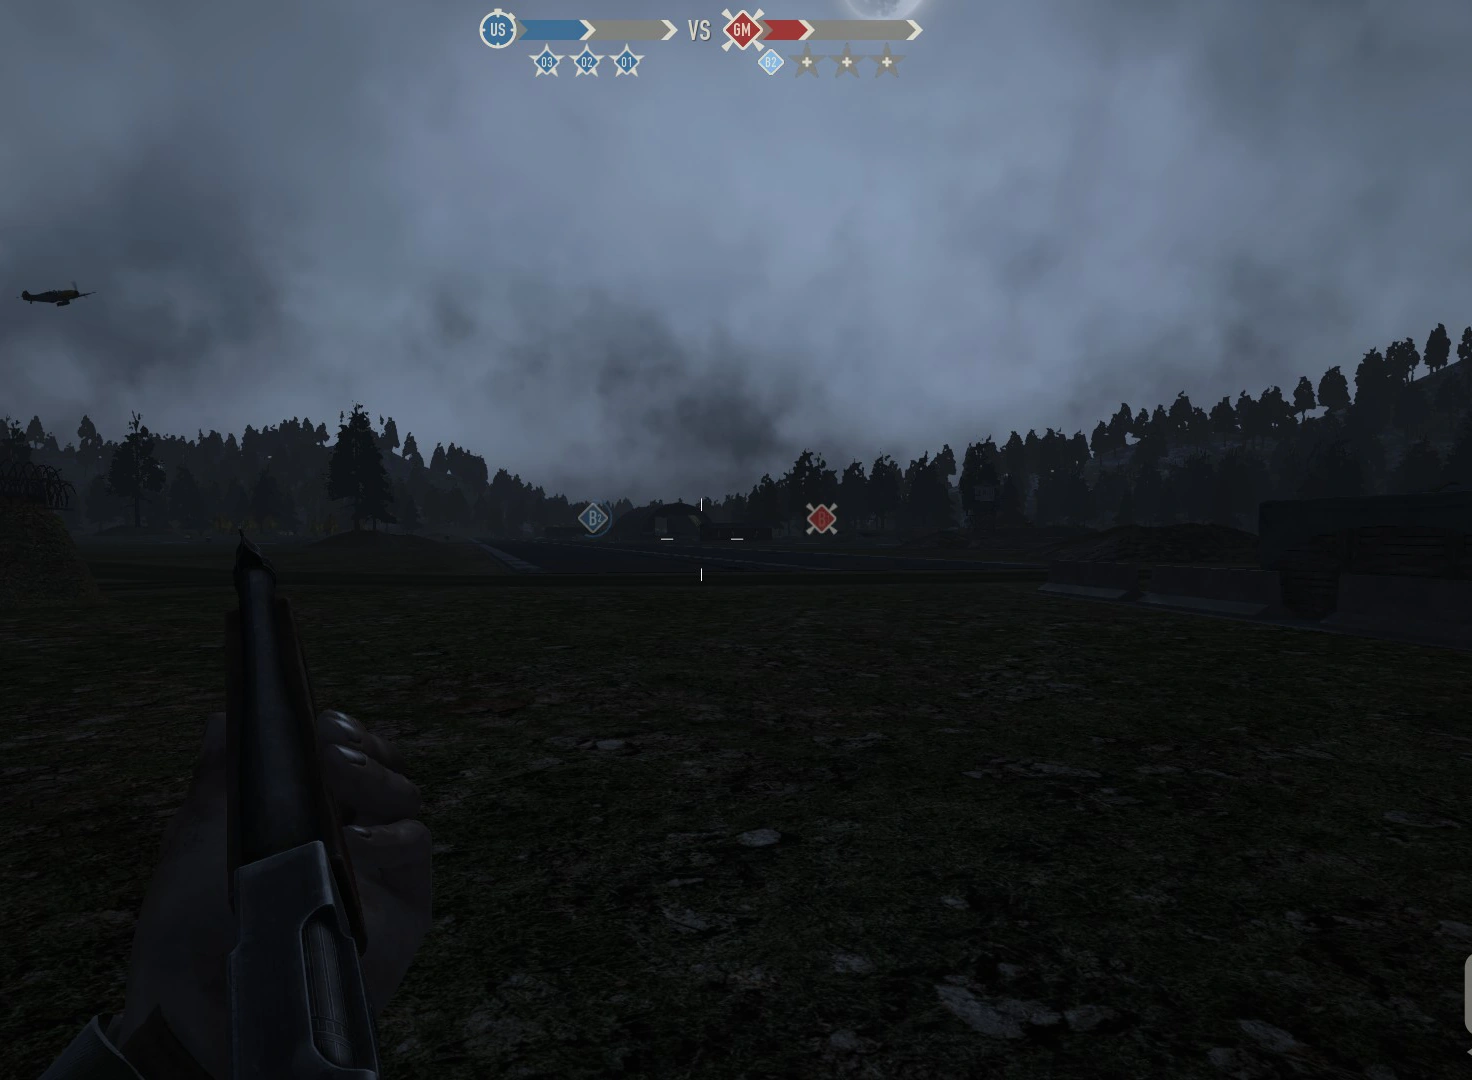
Un Aeroporto, ![]() è un Punto Mappa dove hanno sede gli Aerei, mentre non sono in combattimento.Gli AT di aerei da combattimento devono iniziare gli attacchi da aeroporti amici, e, a fine battaglia ci devono tornare, a meno che l'AT non sia stata annientata.Anche gli aerei di trasporto devono muovere da un aeroporto prima di essere schierati in una città, o in una schermaglia.
è un Punto Mappa dove hanno sede gli Aerei, mentre non sono in combattimento.Gli AT di aerei da combattimento devono iniziare gli attacchi da aeroporti amici, e, a fine battaglia ci devono tornare, a meno che l'AT non sia stata annientata.Anche gli aerei di trasporto devono muovere da un aeroporto prima di essere schierati in una città, o in una schermaglia.
Conformazione Mappa[ | ]


Map Layout
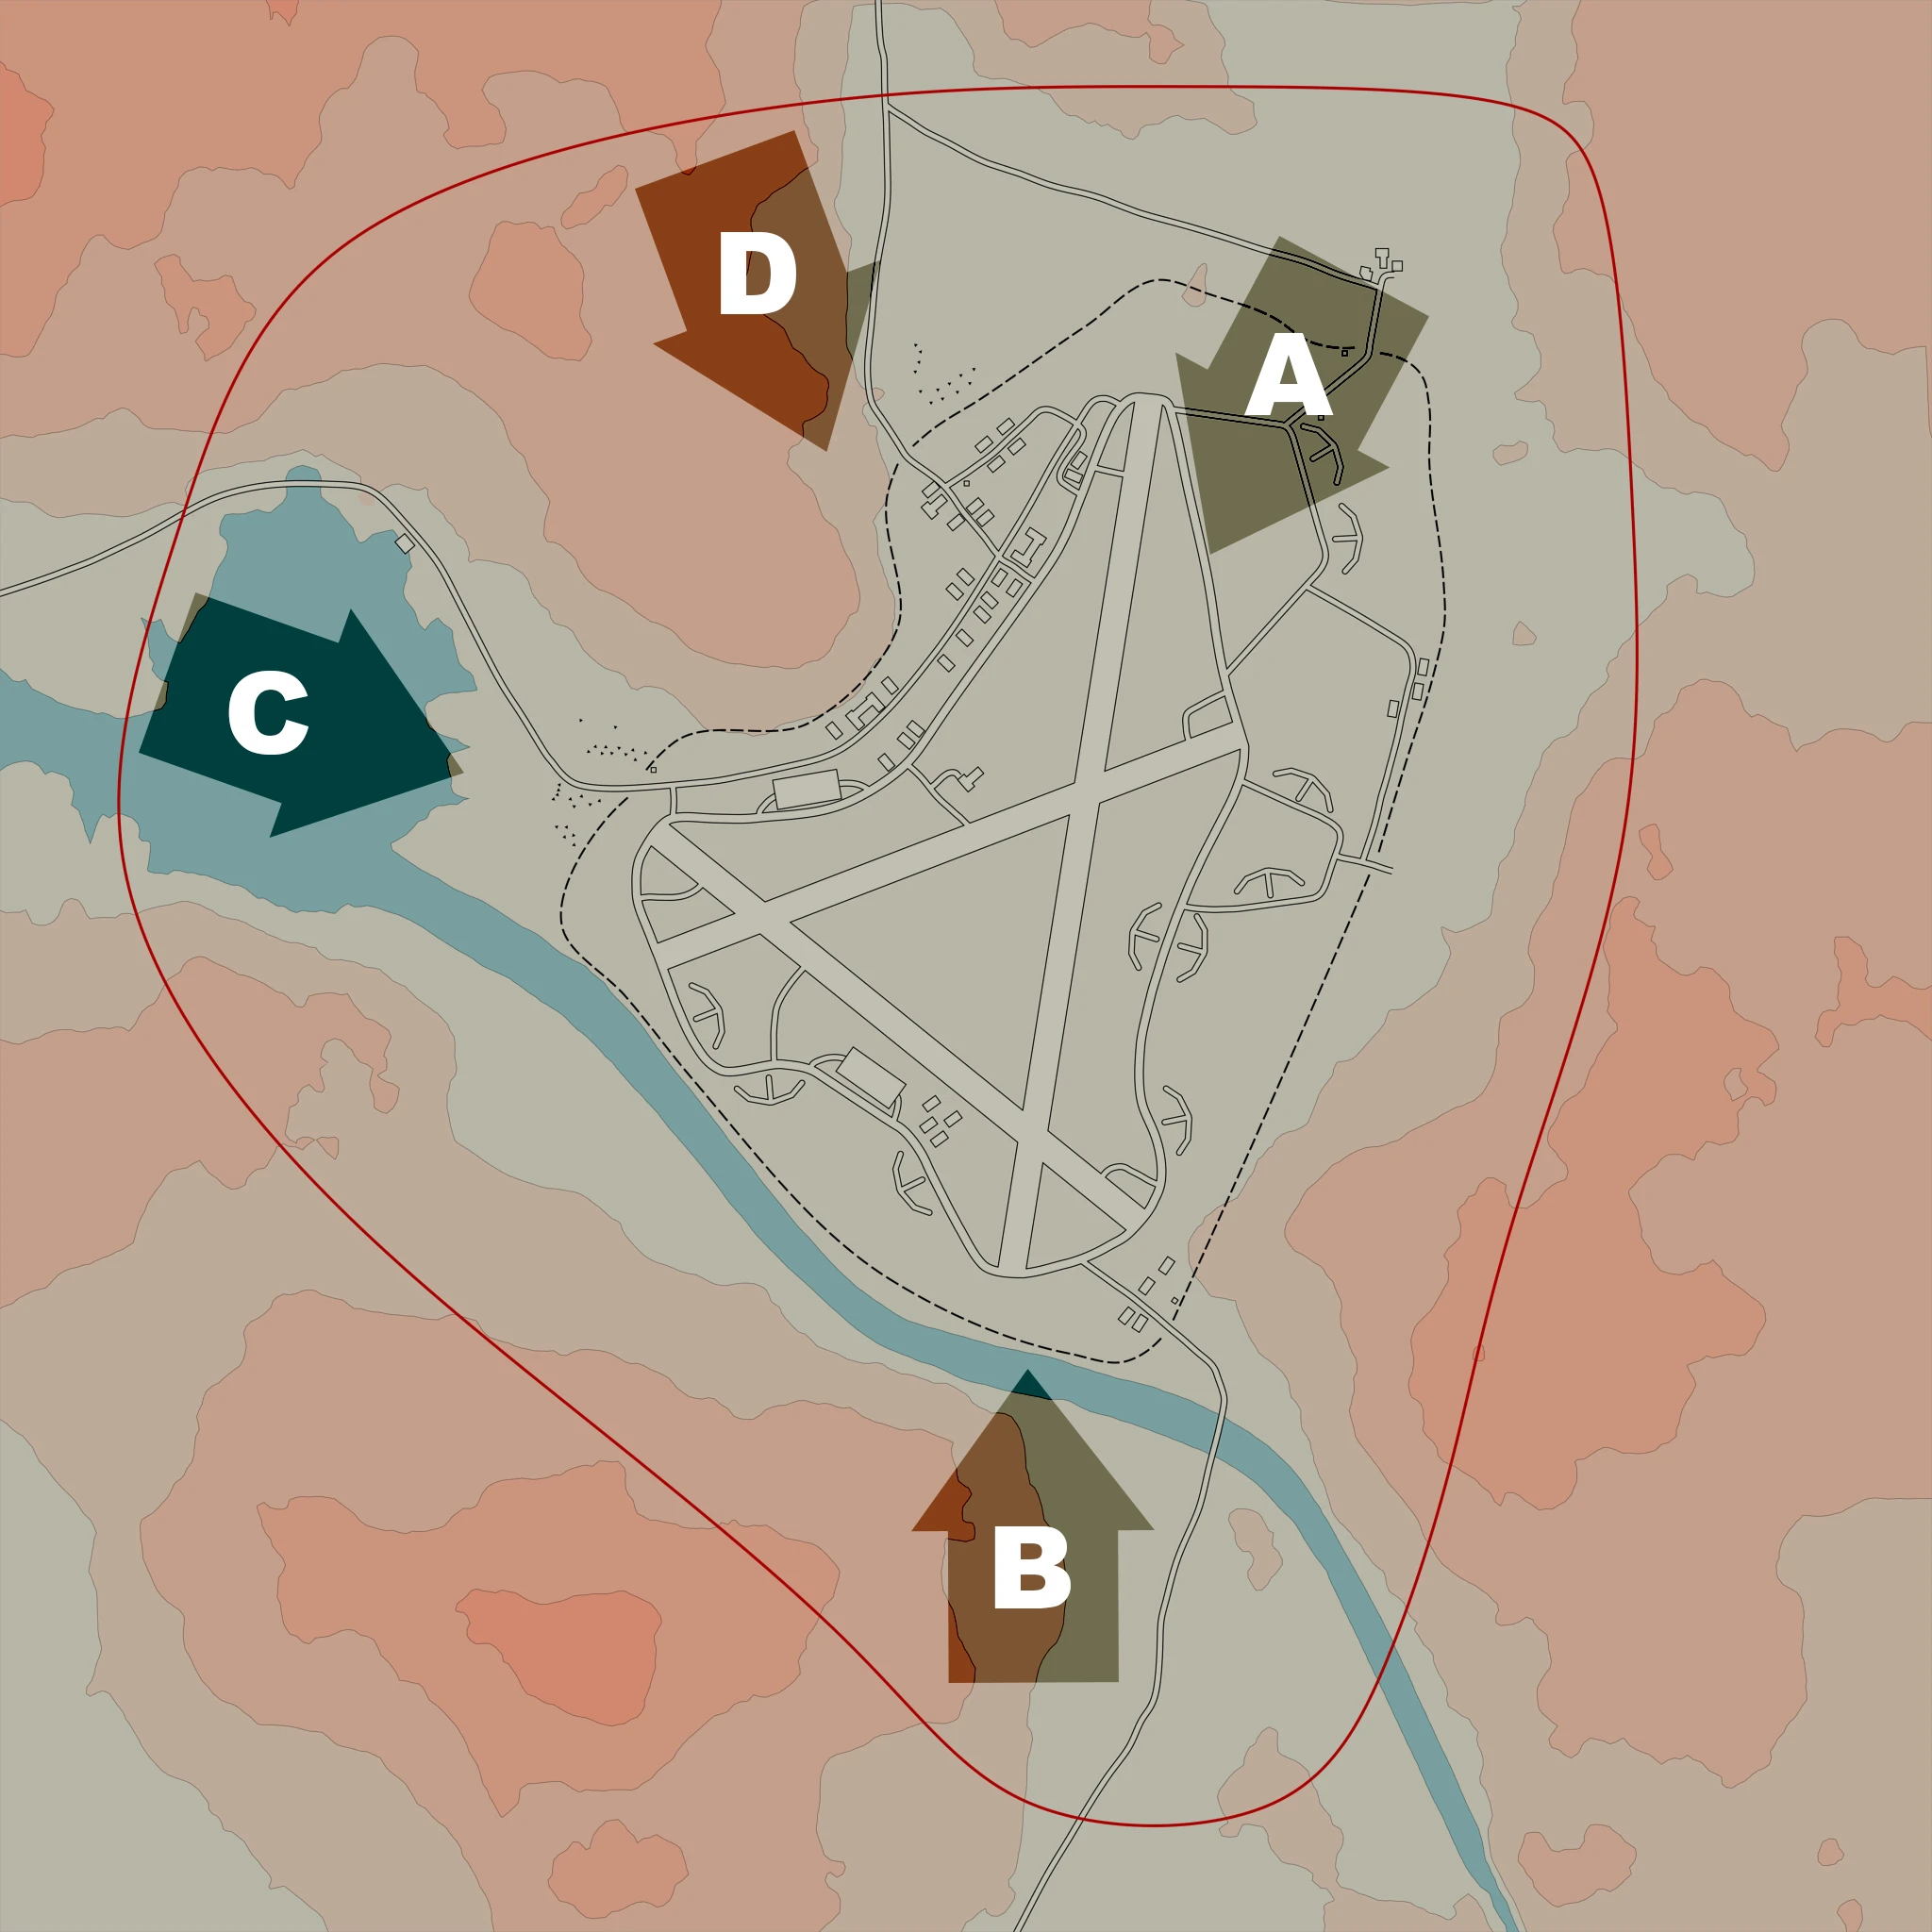
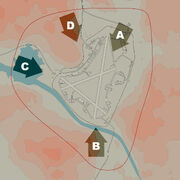
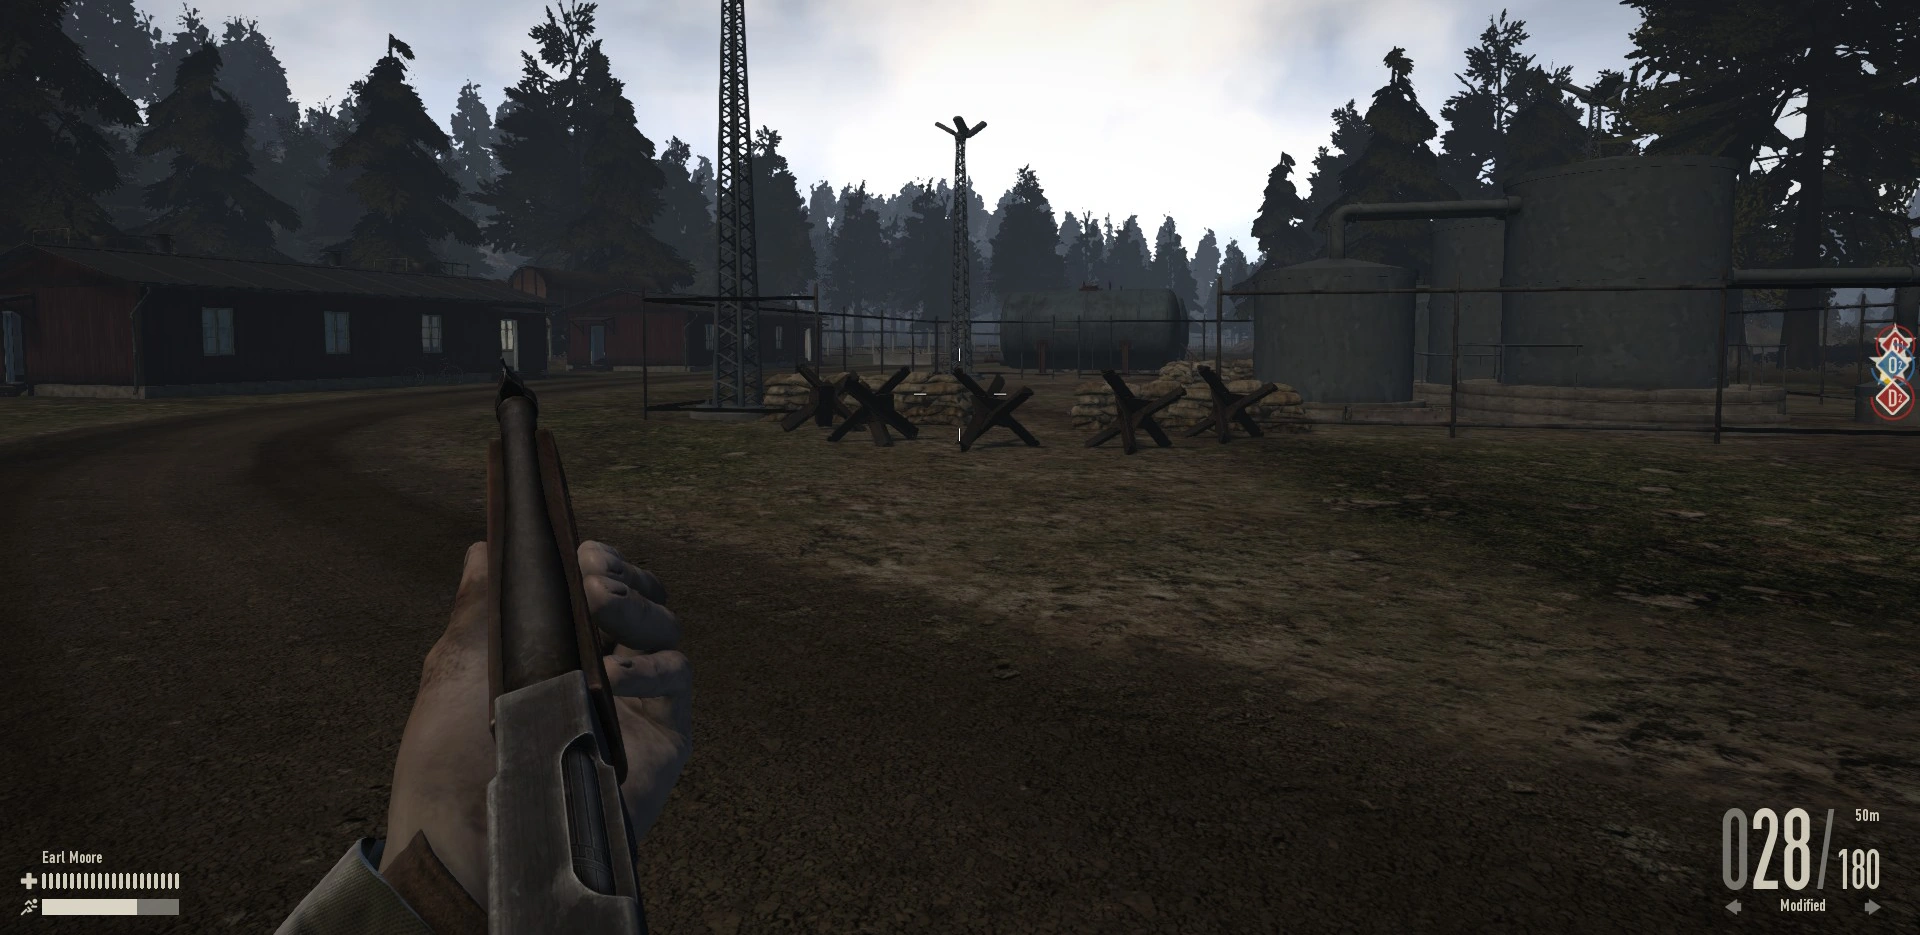
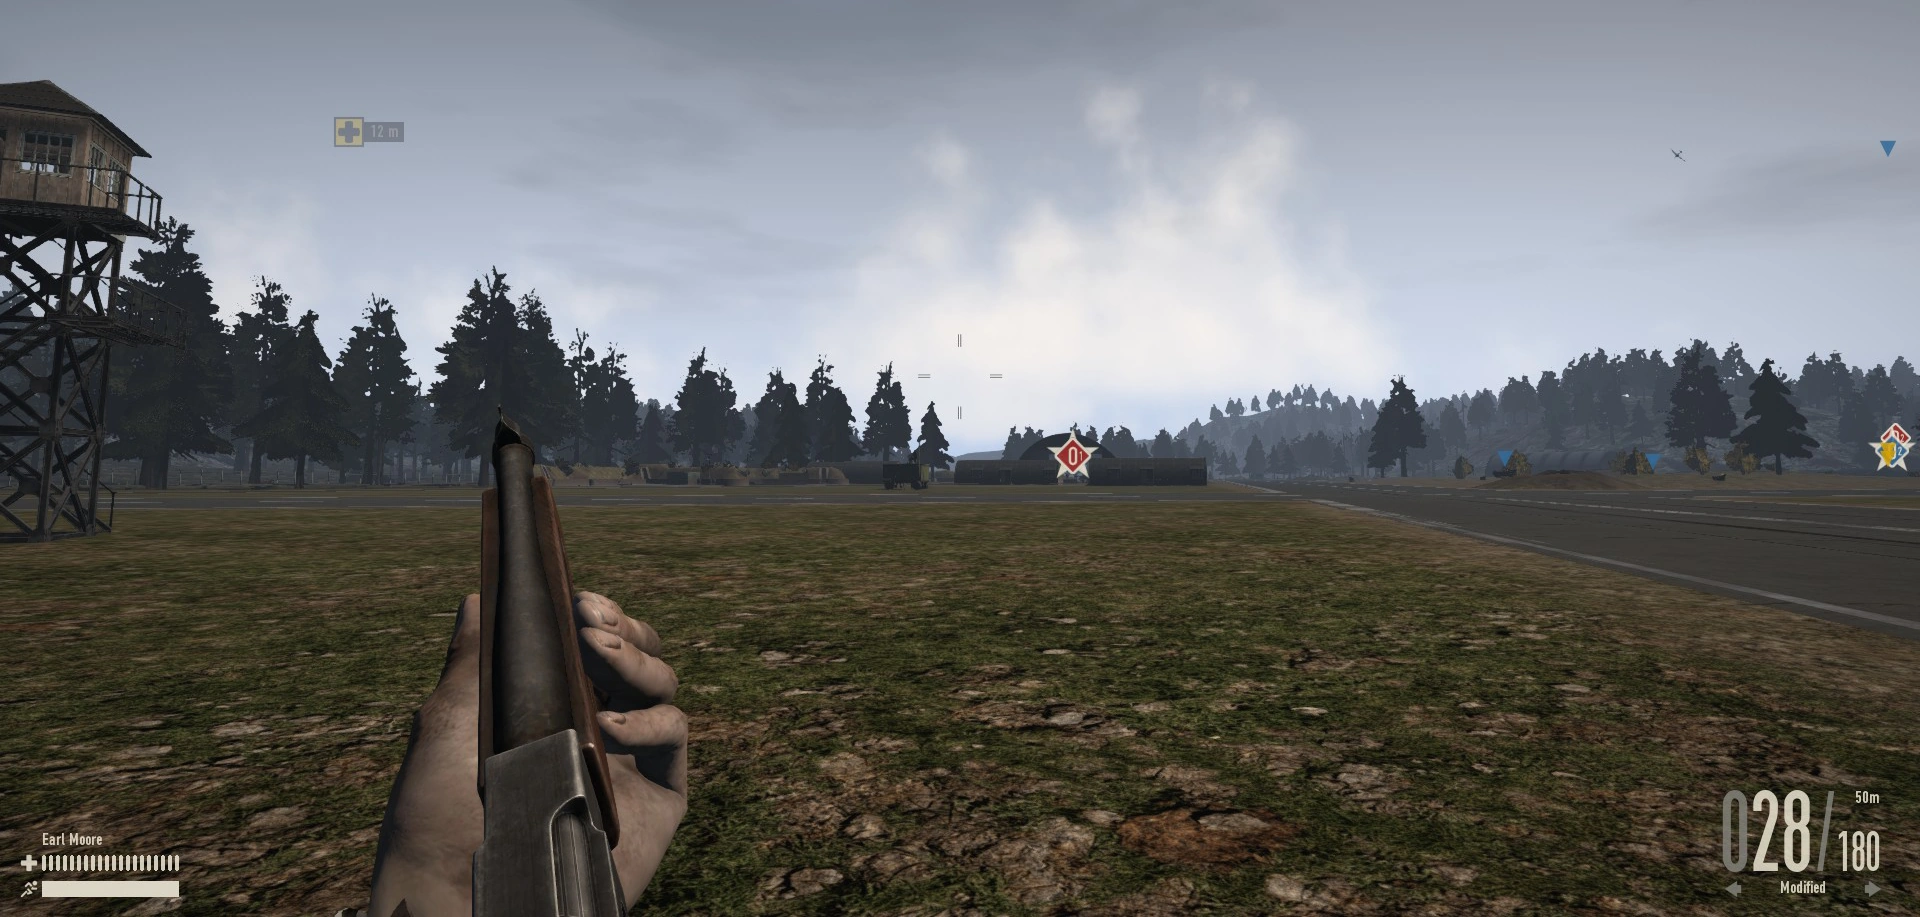
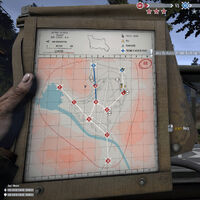
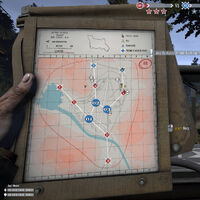
L'aeroporto ha 3 obiettivi principali da catturare (O1, O2 e O3), situati al centro della mappa, in un ampia zona senza ripari, dove i carri e i cecchini saranno molto avvantaggiati. L'aeroporto è circondato da una barriera che può essere distrutta con i veicoli, o altri modi. Gli obiettivi sono l'Hangar (O1), La Torre di Controllo (O2), e la Rimessa (O3). Ci sono quattro Punti di Accesso, A,B,C e D, ed al contrario della città, le Linee di Attacco sono formate da solamente 2 Punti di Cattura.
Linea di Attacco : A[ | ]


Linea 'A'
Questa linea di attacco permette di poter raggiungere l'obiettivo (O3), la Rimessa.
A1[ | ]
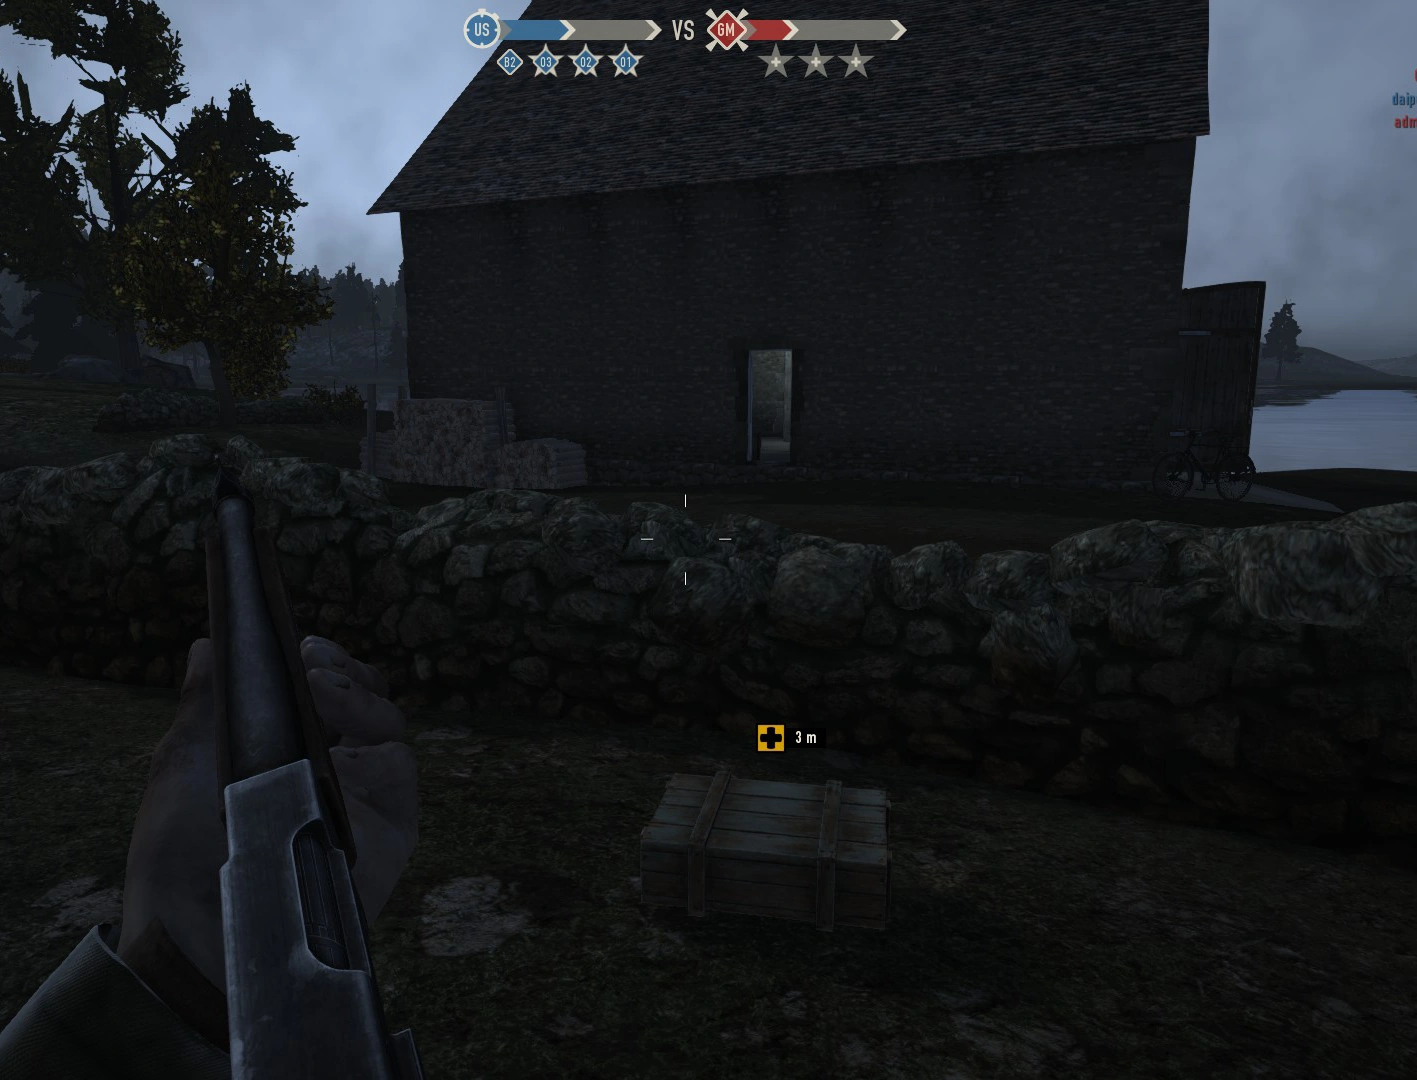
La postazione è formata da due case e da una cappana, in una delle due case è situata la radio, il tragitto verso il Deposito Carburante (A2),è lungo,si possono scegliere più percorsi, alcuni pieni di ripari, altri più esposti ma più brevi.Se il nemico dispone del punto D1 o D2 potrebbe tentare di tagliare il rinforzo di un possibile attacco.
Dotazioni
- Bicicletta
- Kit di Rifornimento
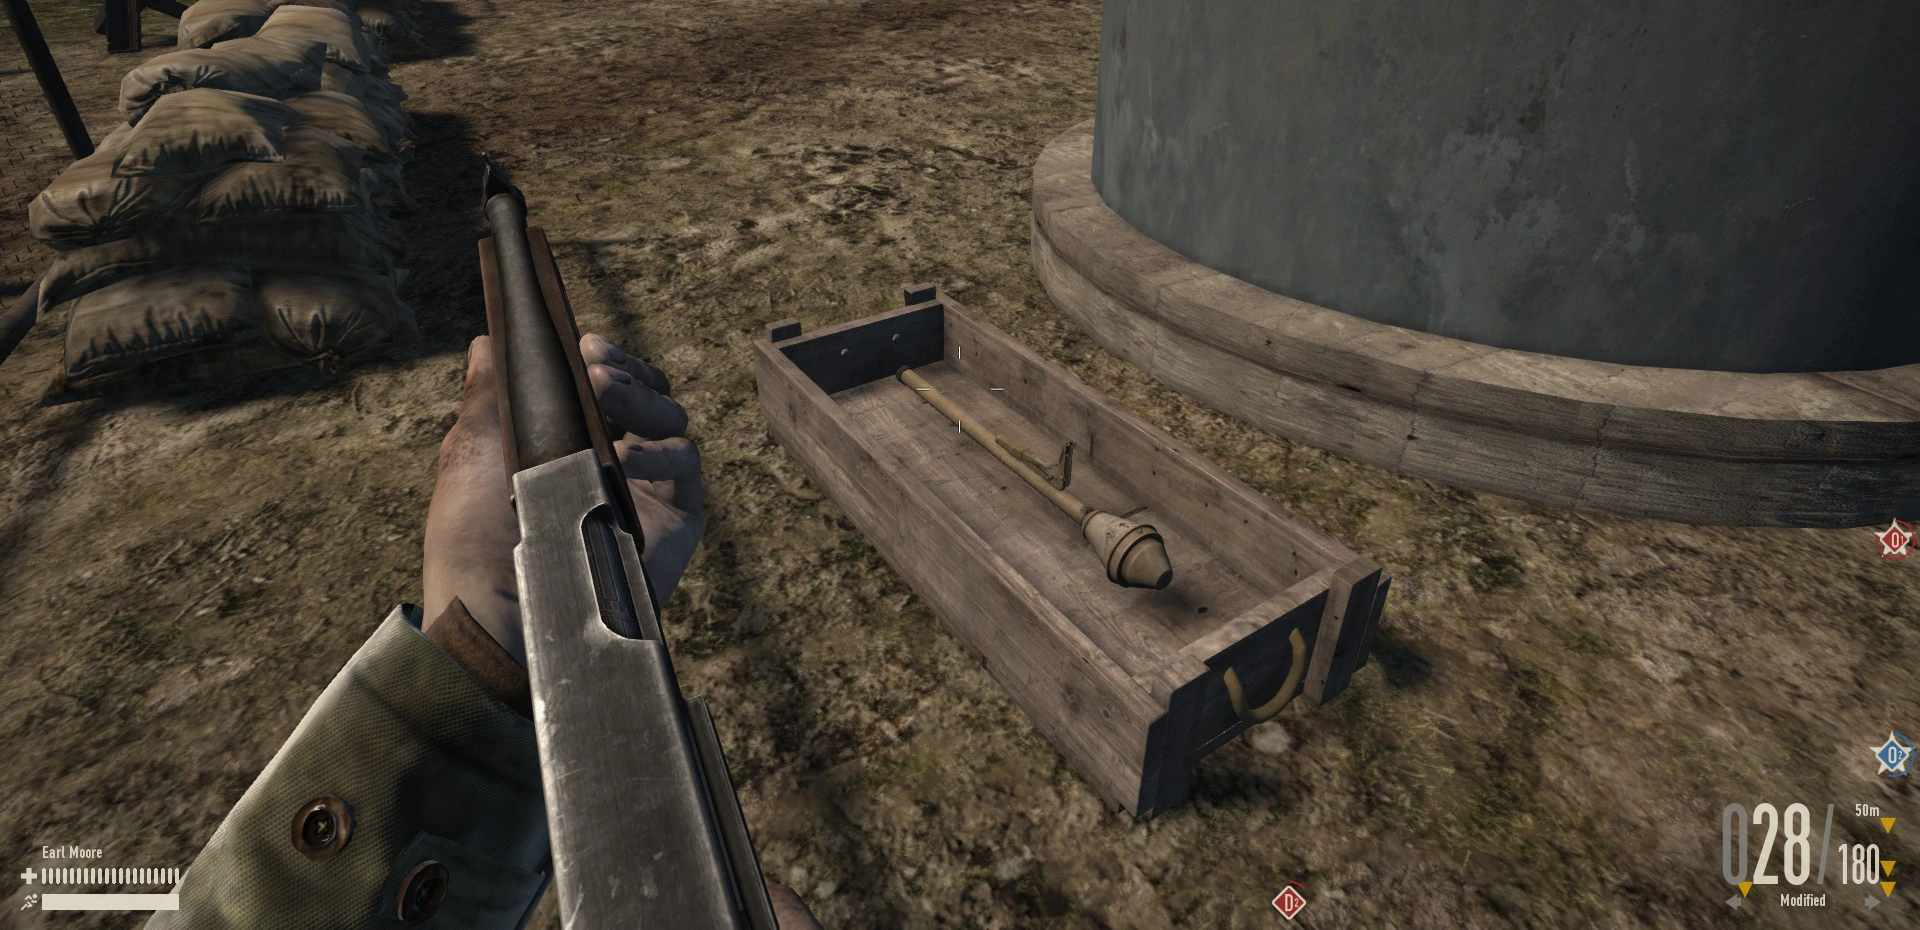
- Panzerfaust

- Casa Radio

- Stanza Radio
- Panzerfaust
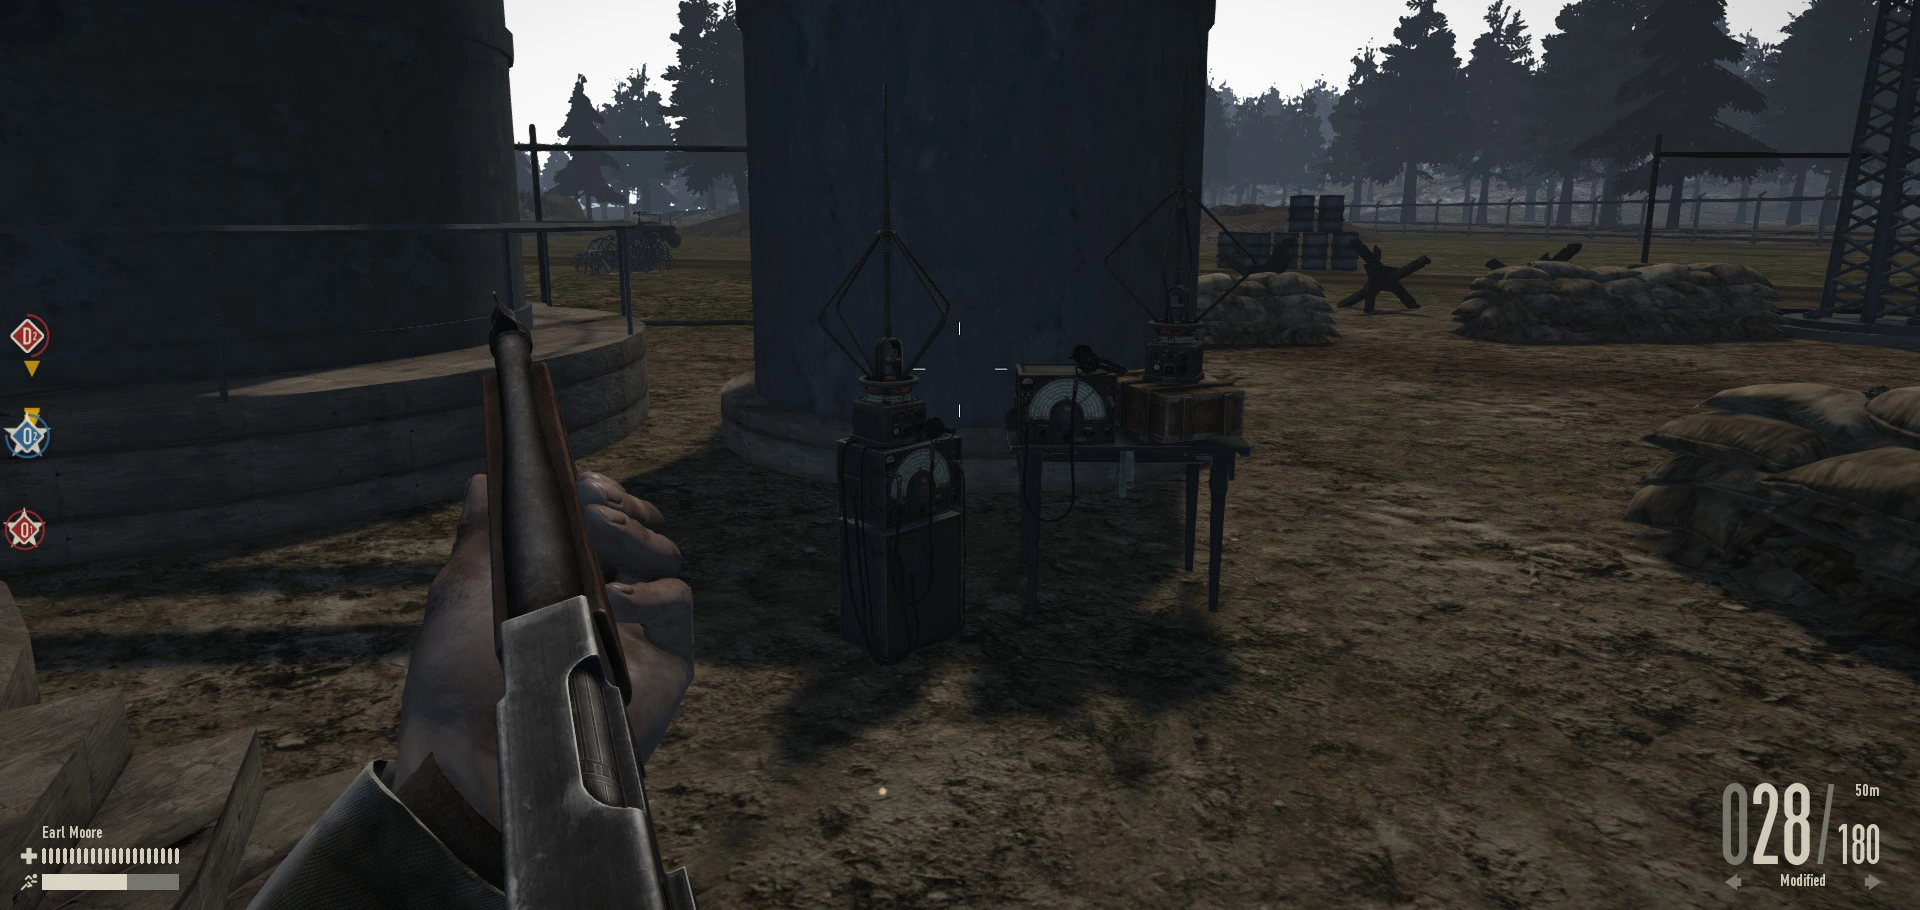
A2[ | ]
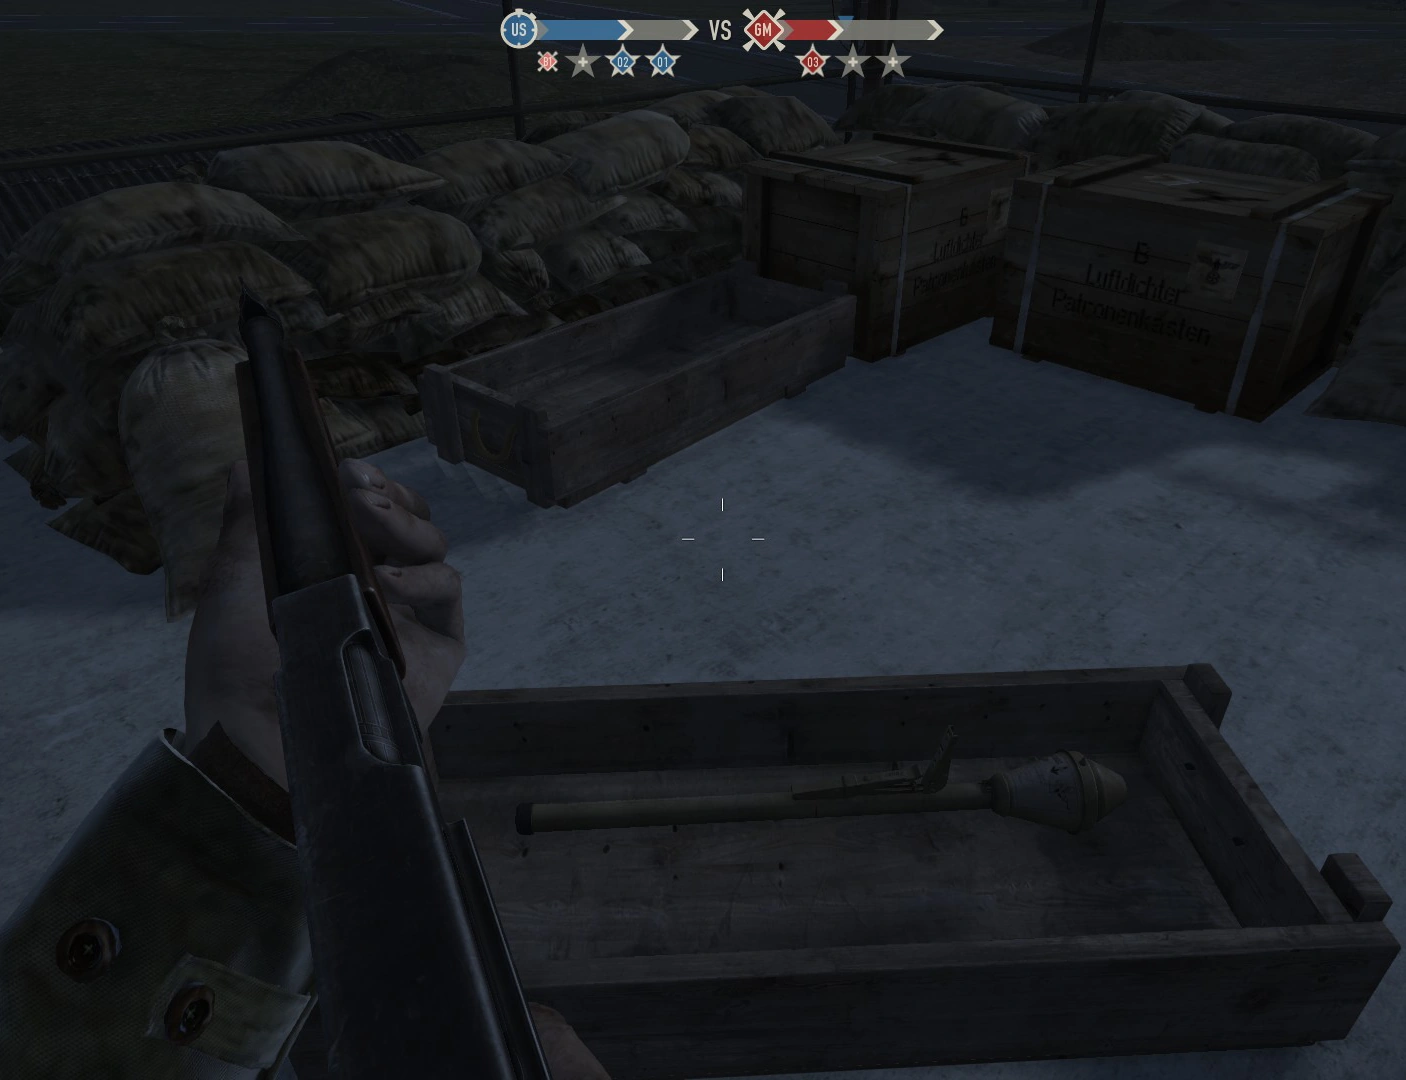
Il deposito carburante è formato da un recinto in cui ci sono dei silo di carburante utili per nascondersi. Su un lato c'è un edificio, e dietro una rotaia con una locomotiva, utili per nascondersi.In questo punto è anche disponibile una contraerea. In attacco la conquista di A2 permette la conquista di O3 La Rimessa. Il tragitto per la rimessa è molto esposto, gli unici nascondigli sono dei bunker situati a centinaia di metri di distanza.
Dotazioni
- Bicicletta
- AA Contraerea
- Panzerfaust

- Deposito Carburante
- Radio
- Panzerfaust
Linea di Attacco : B[ | ]


'B' Line
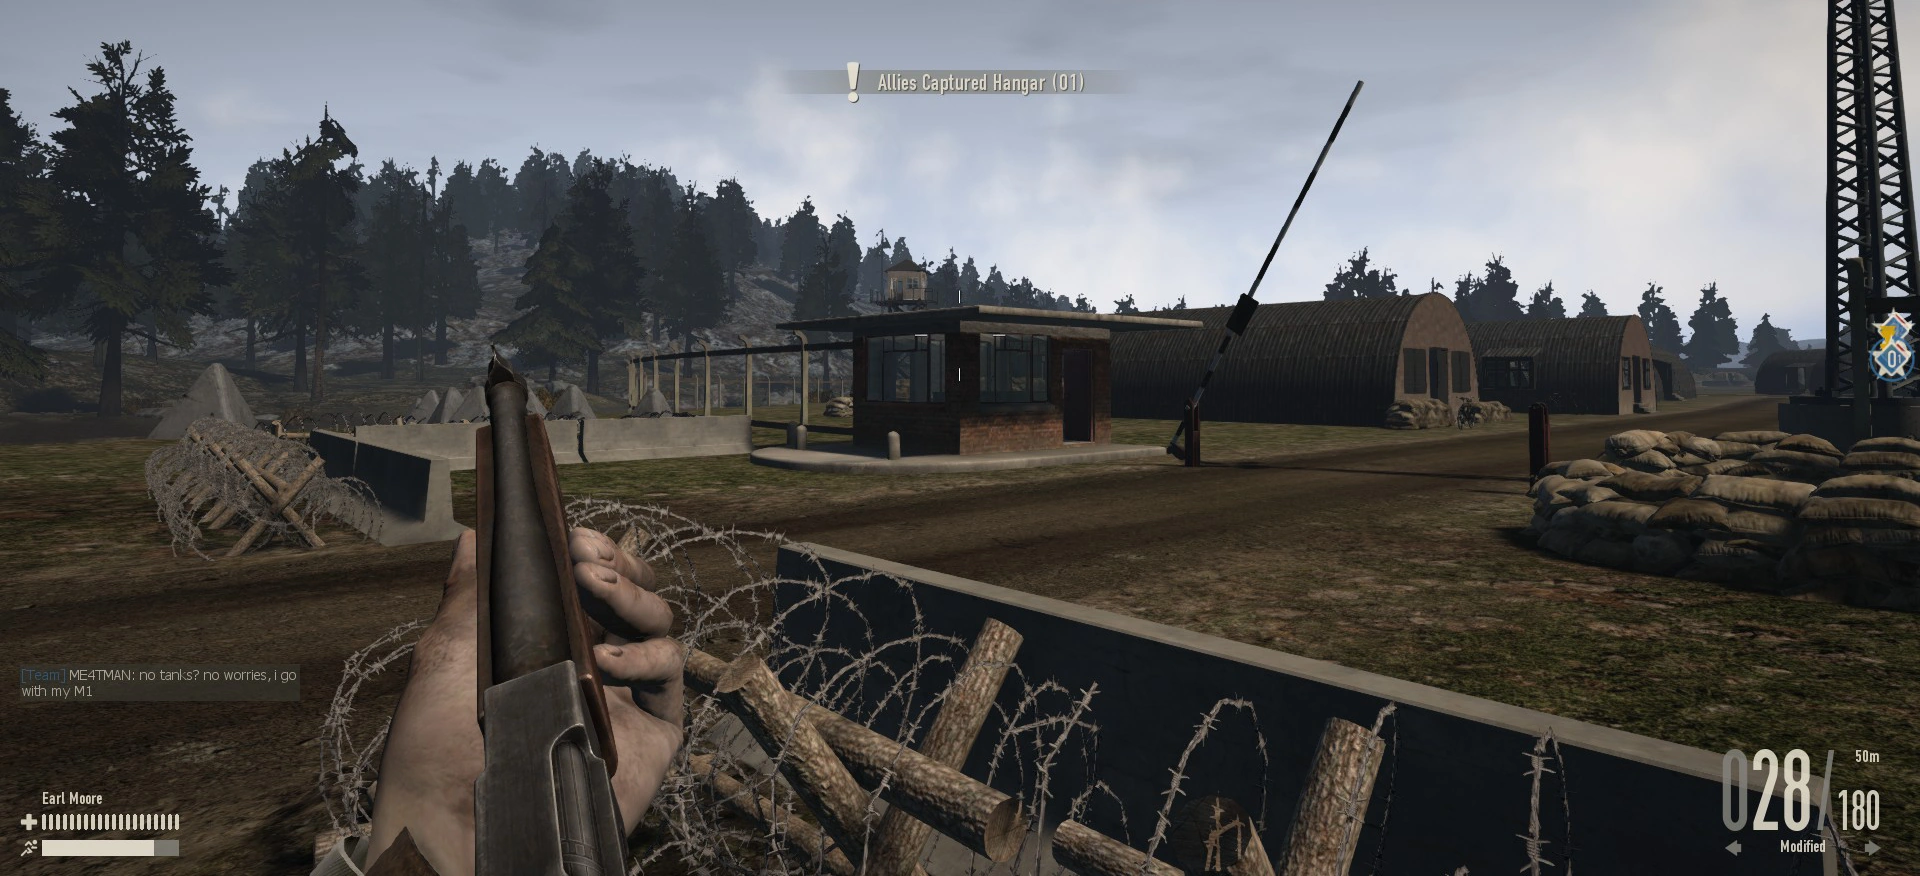
Questa linea di attacco permette di poter raggiungere l'obiettivo (O1), l'Hangar.
B1[ | ]
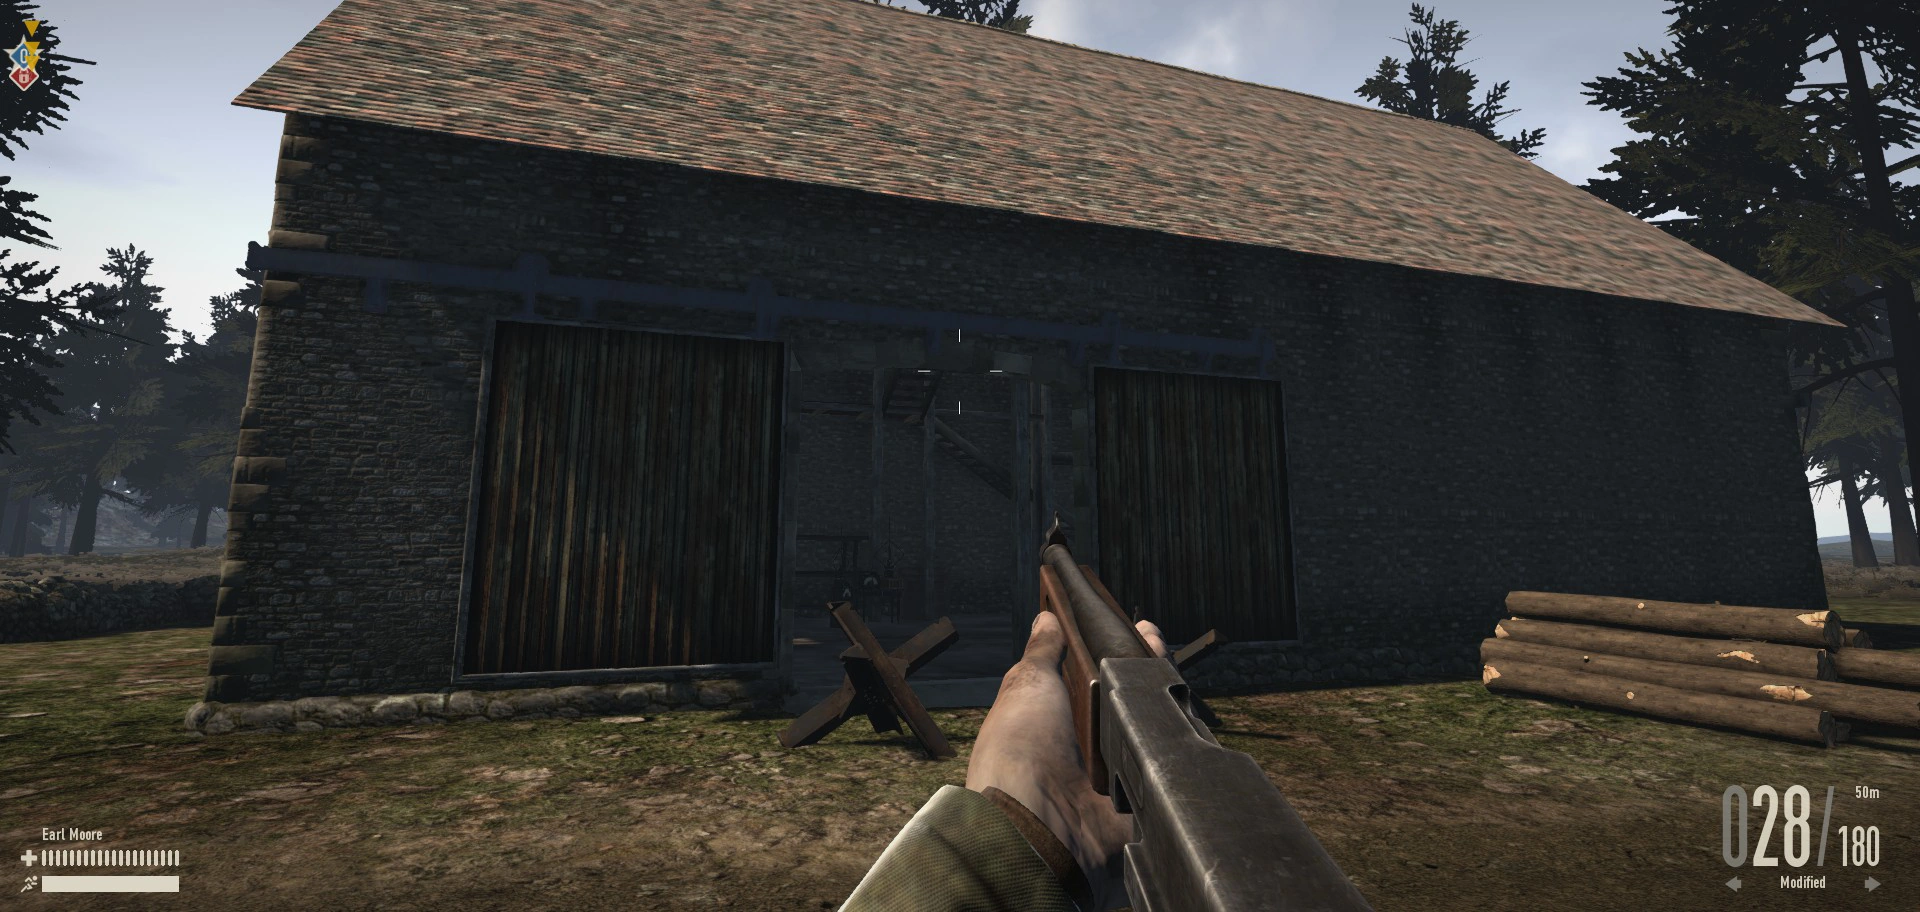
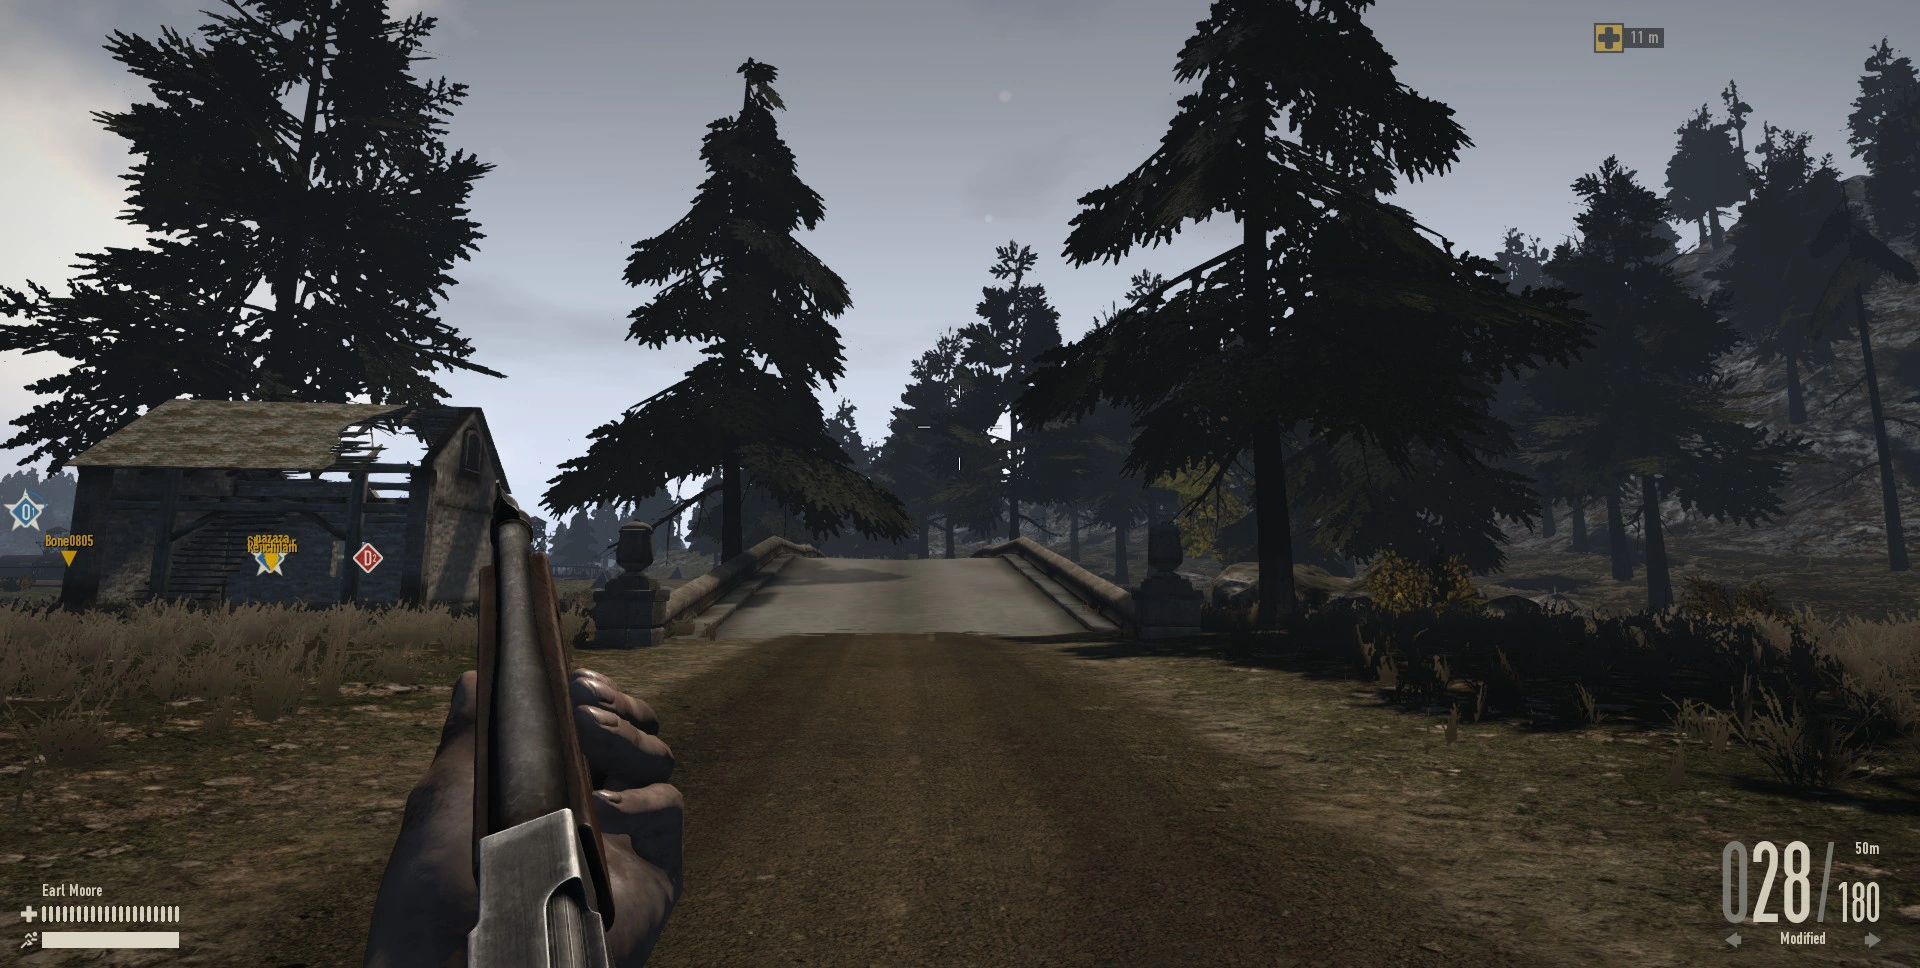
Il punto è un capannone abbandonato vicino ad una forsta. Ha due piani, ed al piano superiore ci sono due finestra aperte dalle quali poter sparare. Per arrivare a B2, bisogna attraversare un ponte, è quindi un punto più difficile da cattura perchè è più facile controllare le vie di accesso, e sarà difficile catturarlo senza l'ausilio dei paracadutisti.
Dotazioni
- Bicicletta
- Kit di Rifornimento
- Panzerfaust
- Capannone
- Panzerfaust
- Bridge to B2
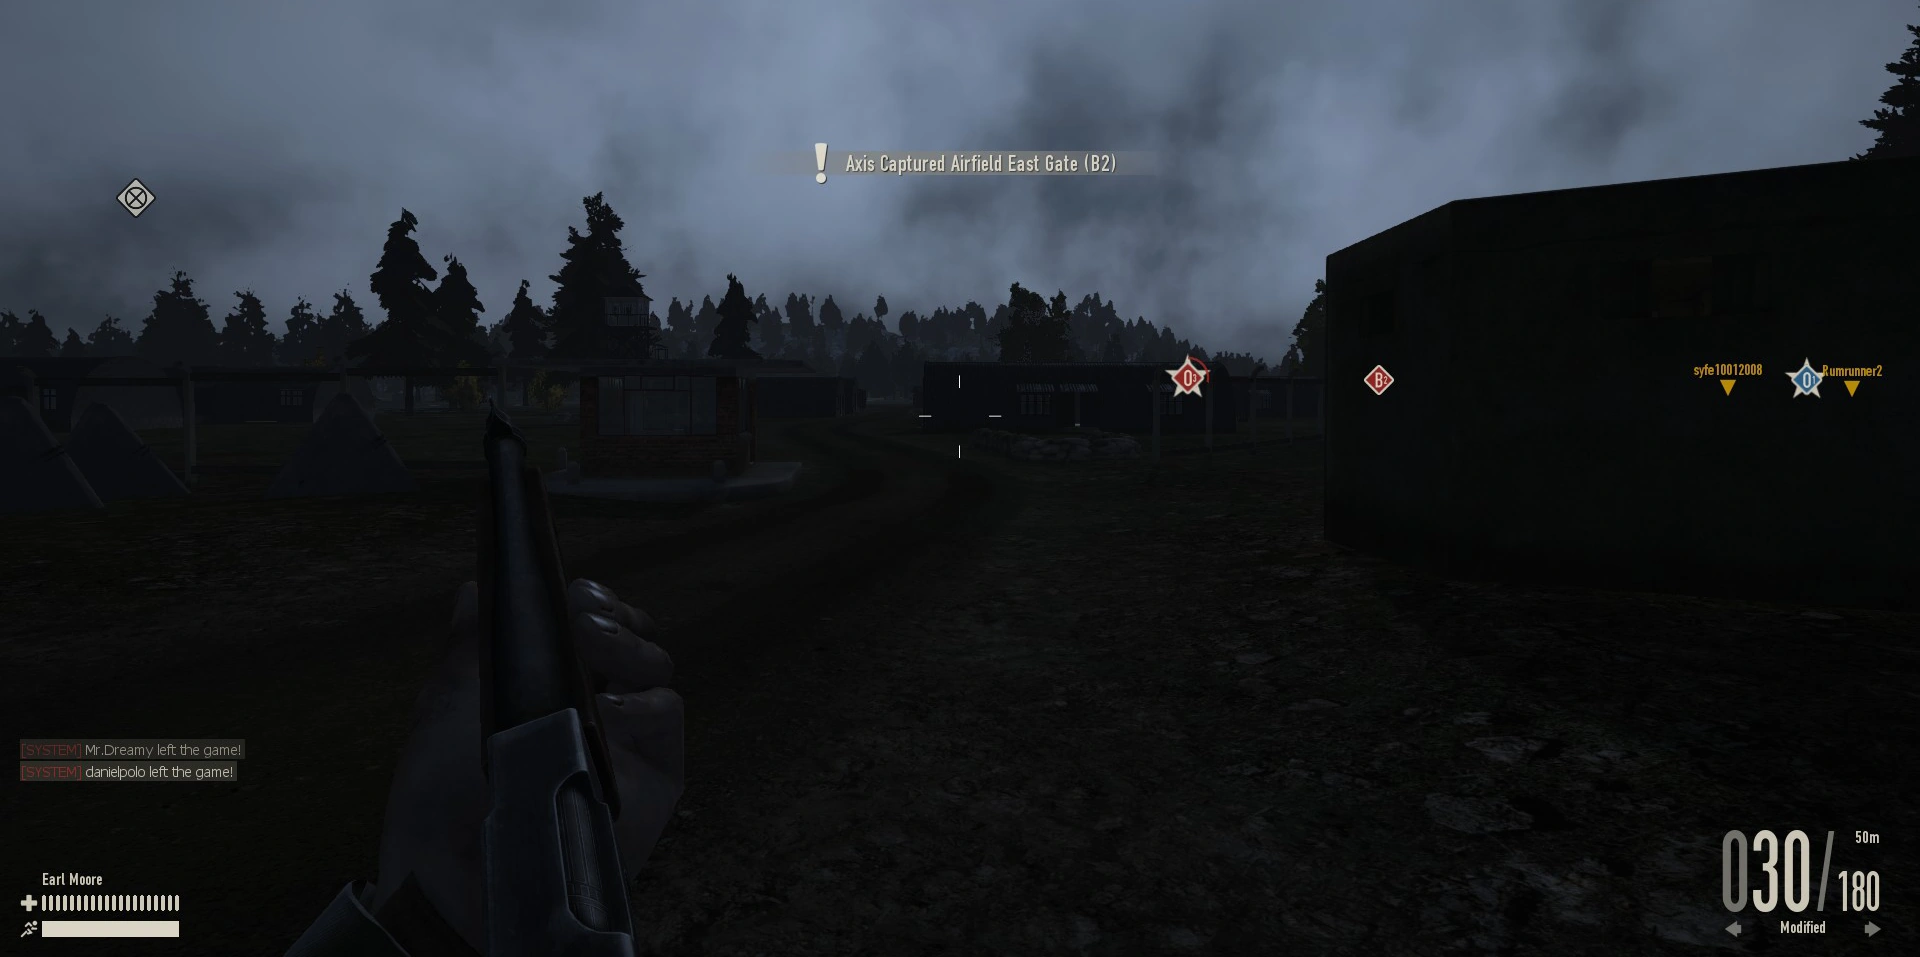
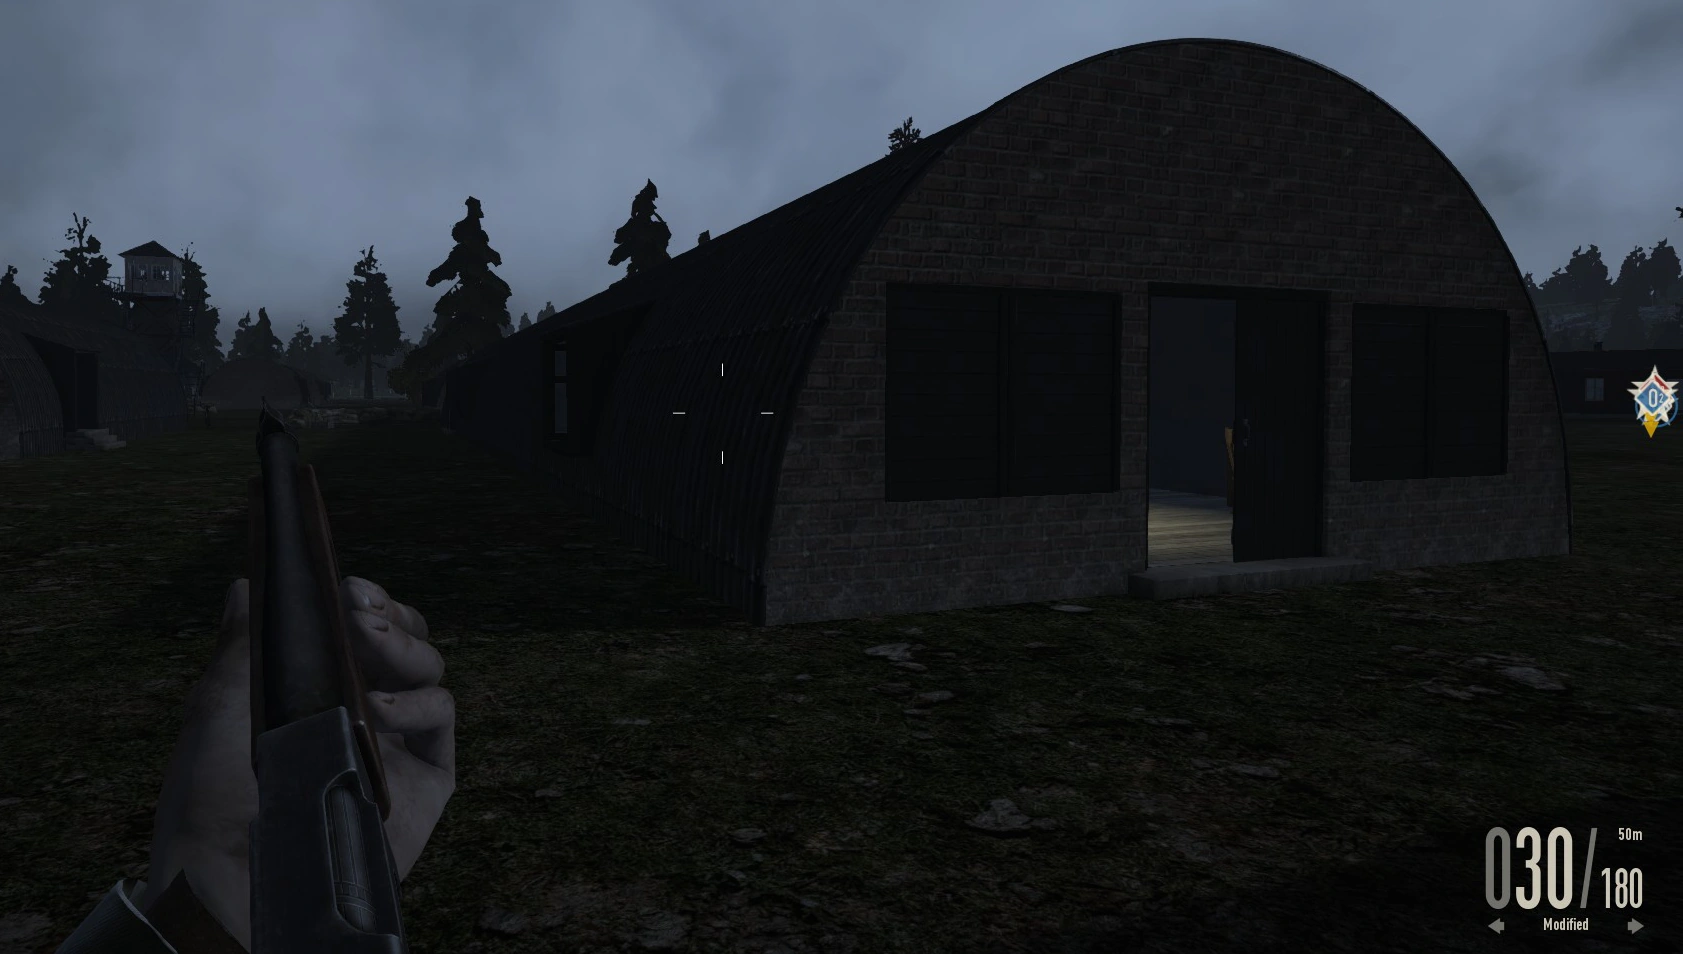
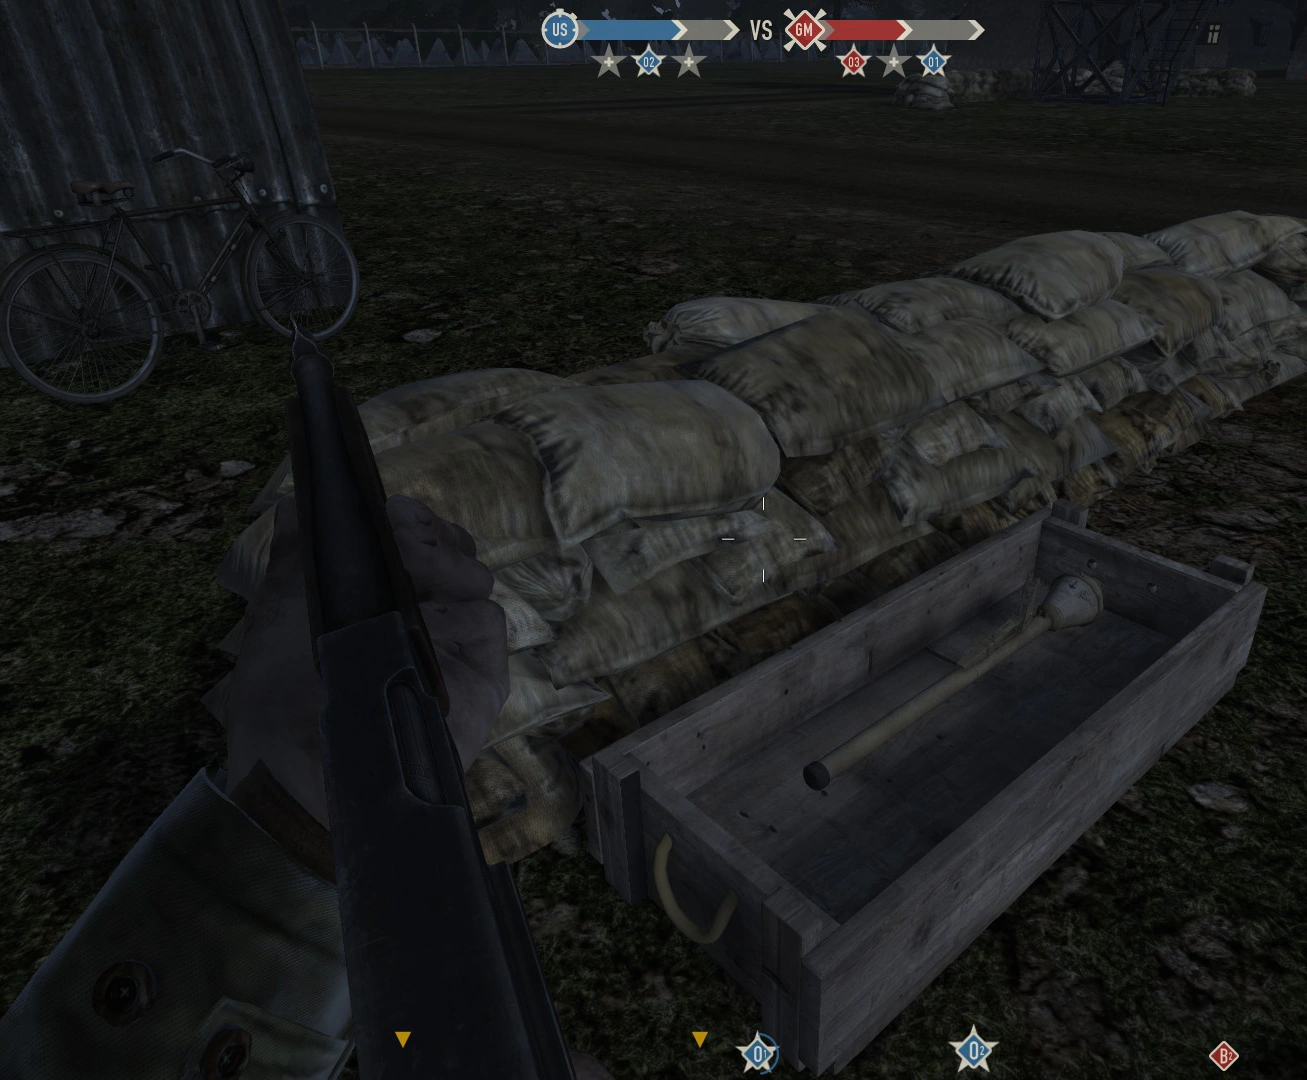
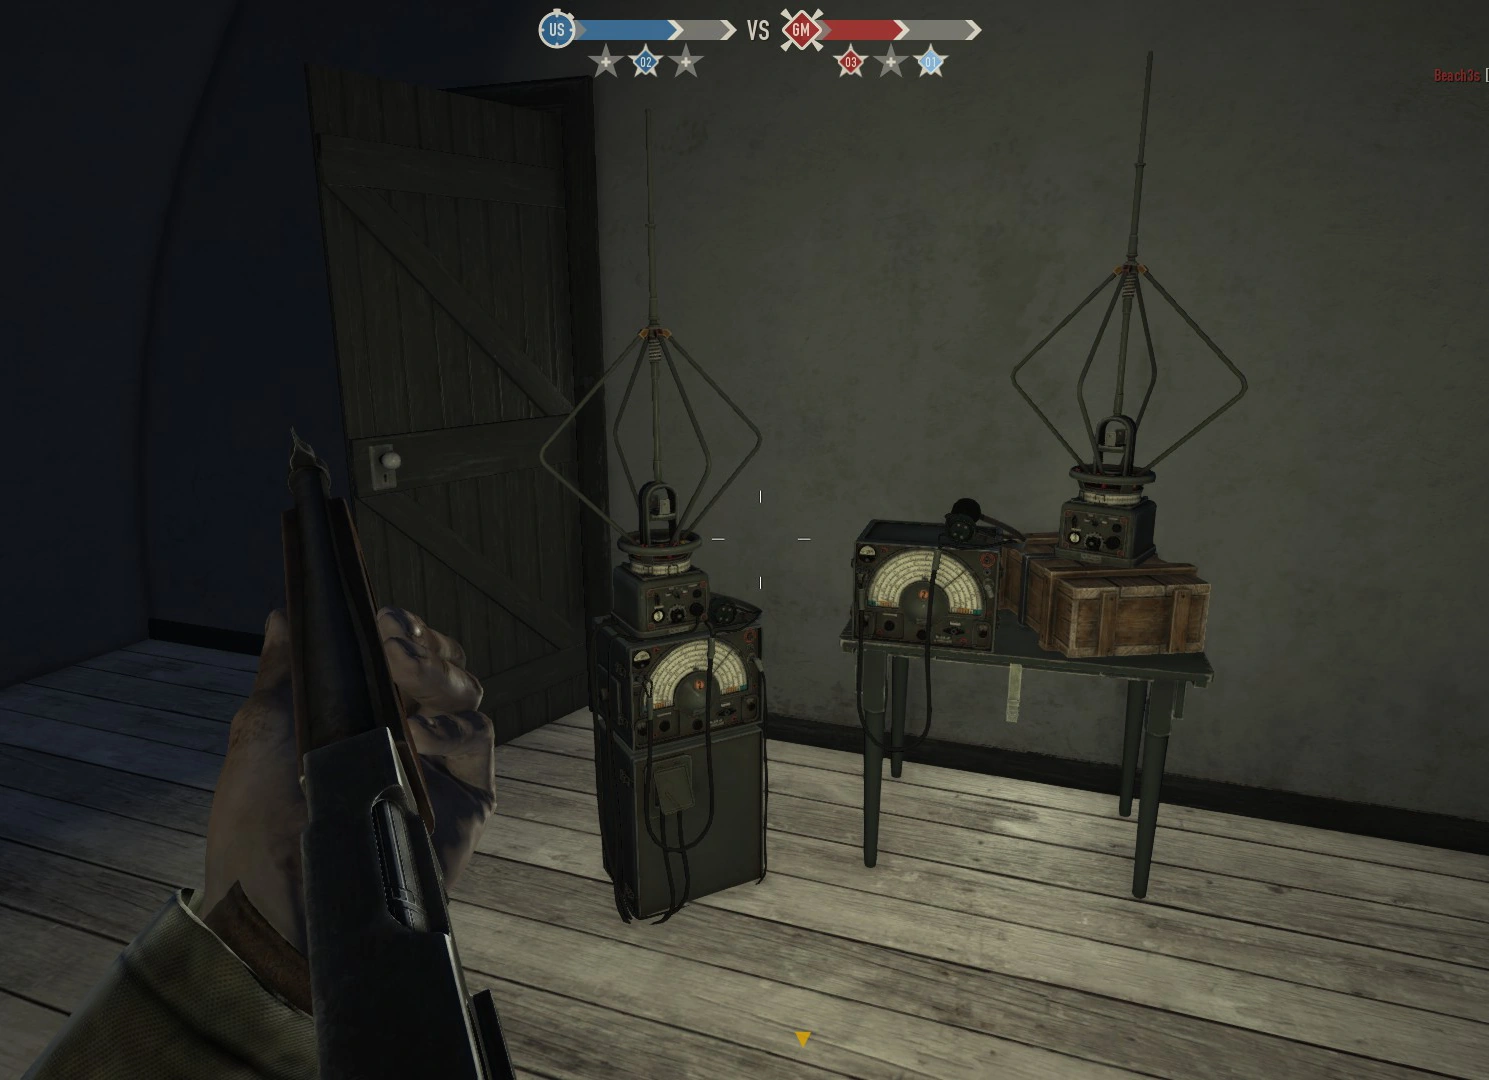
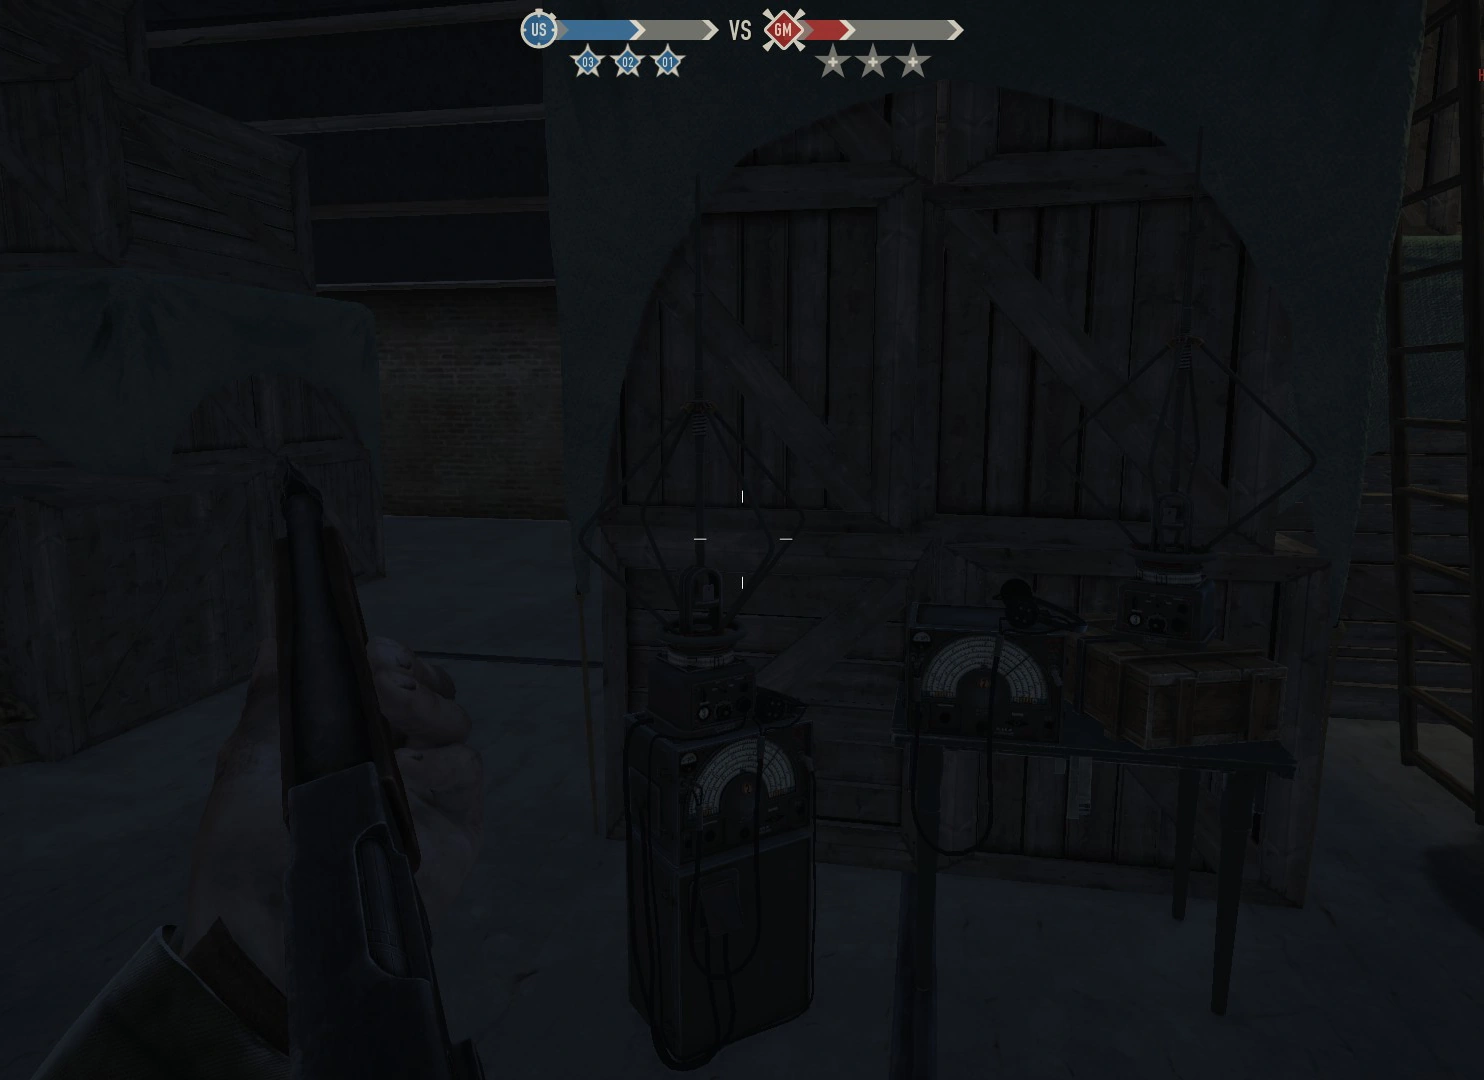
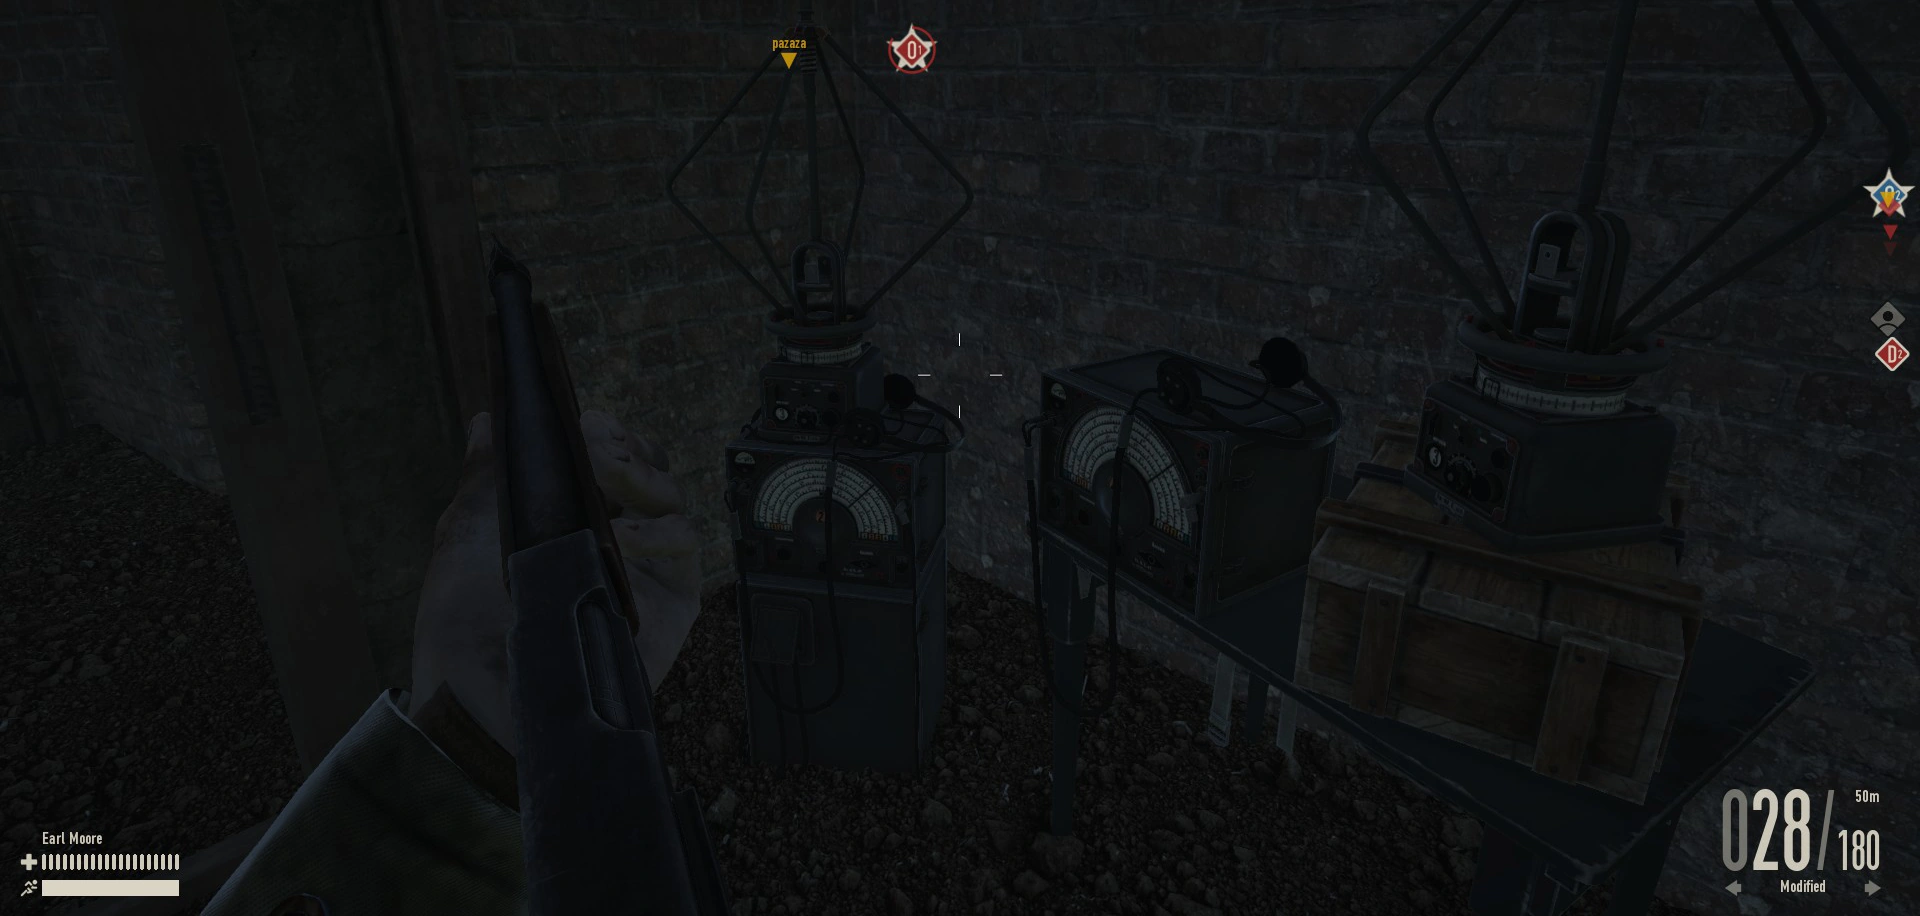
B2[ | ]
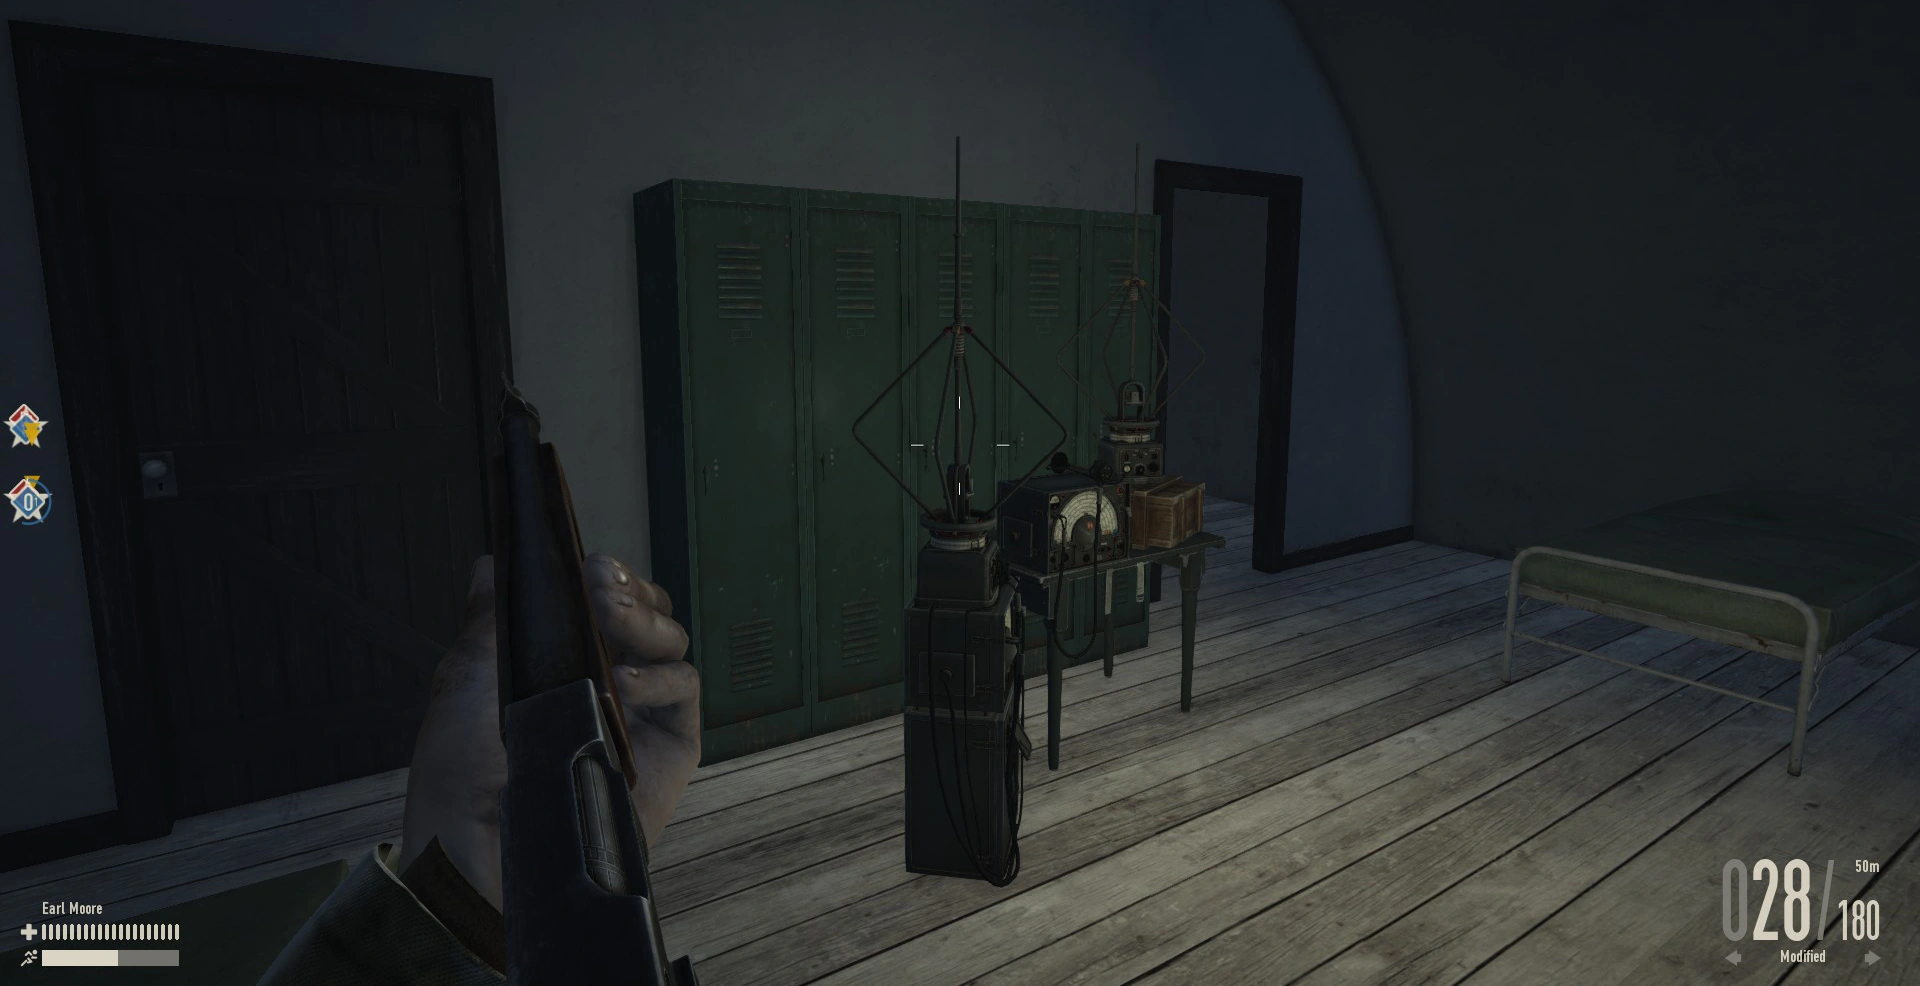
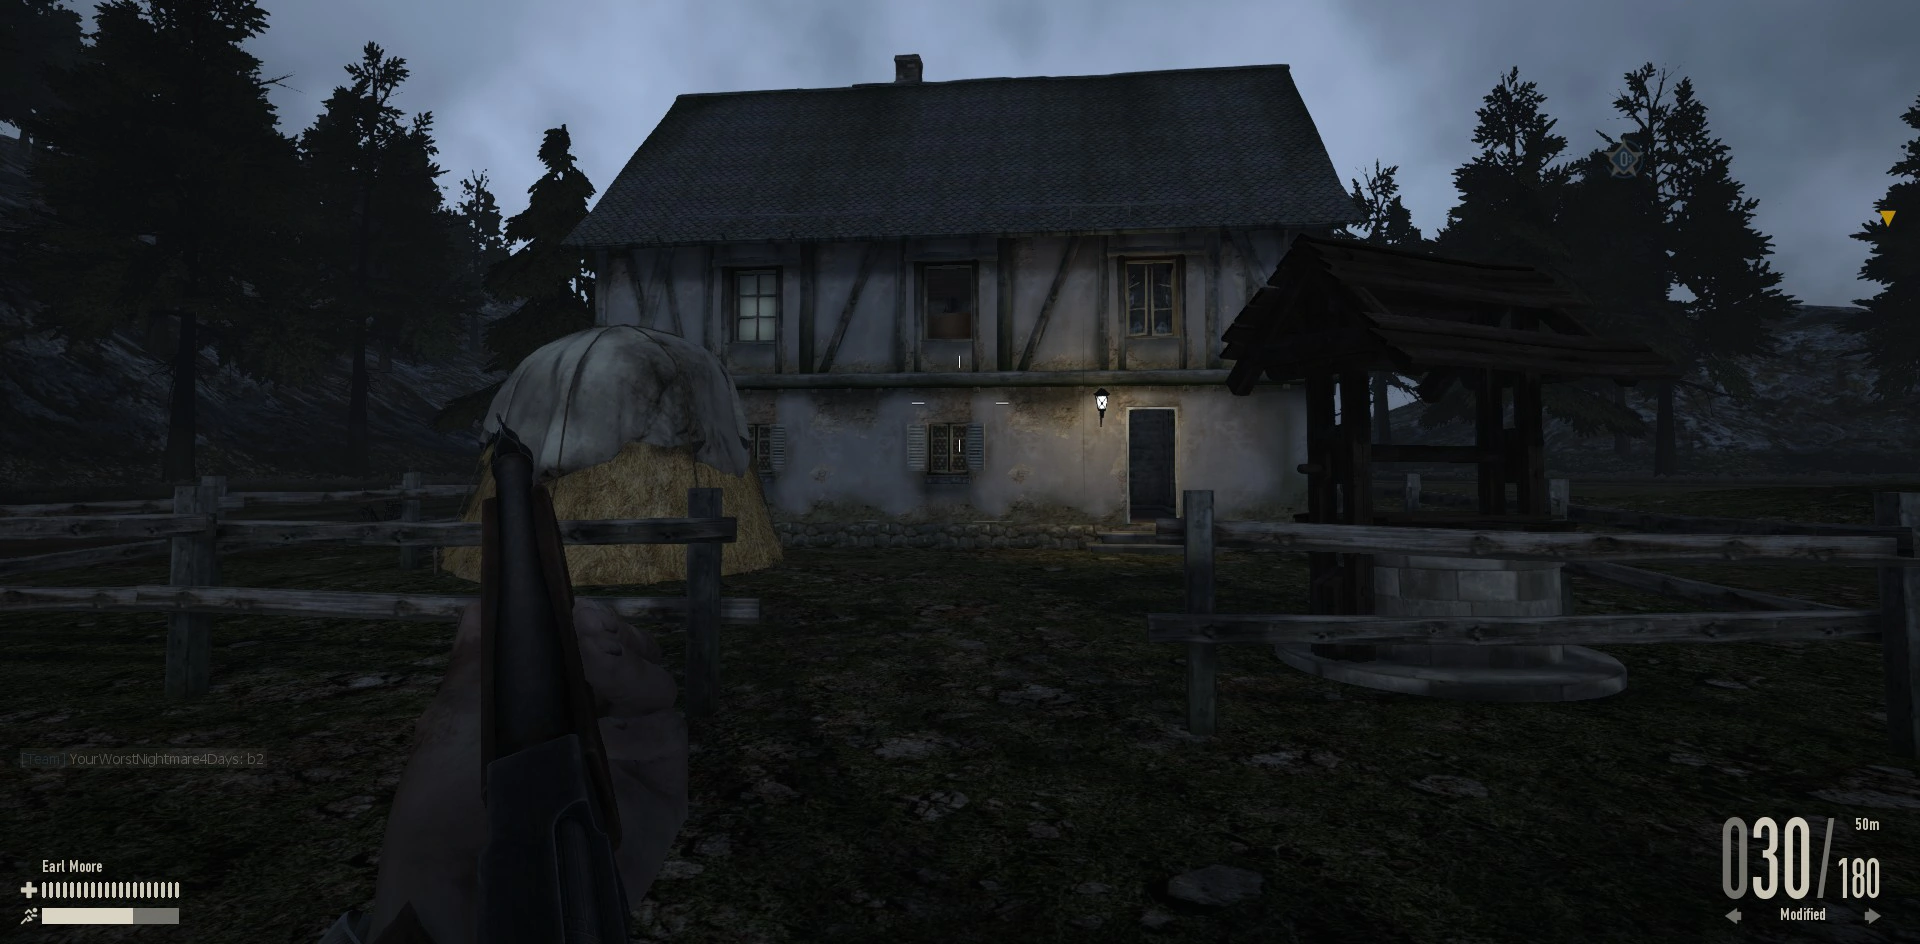
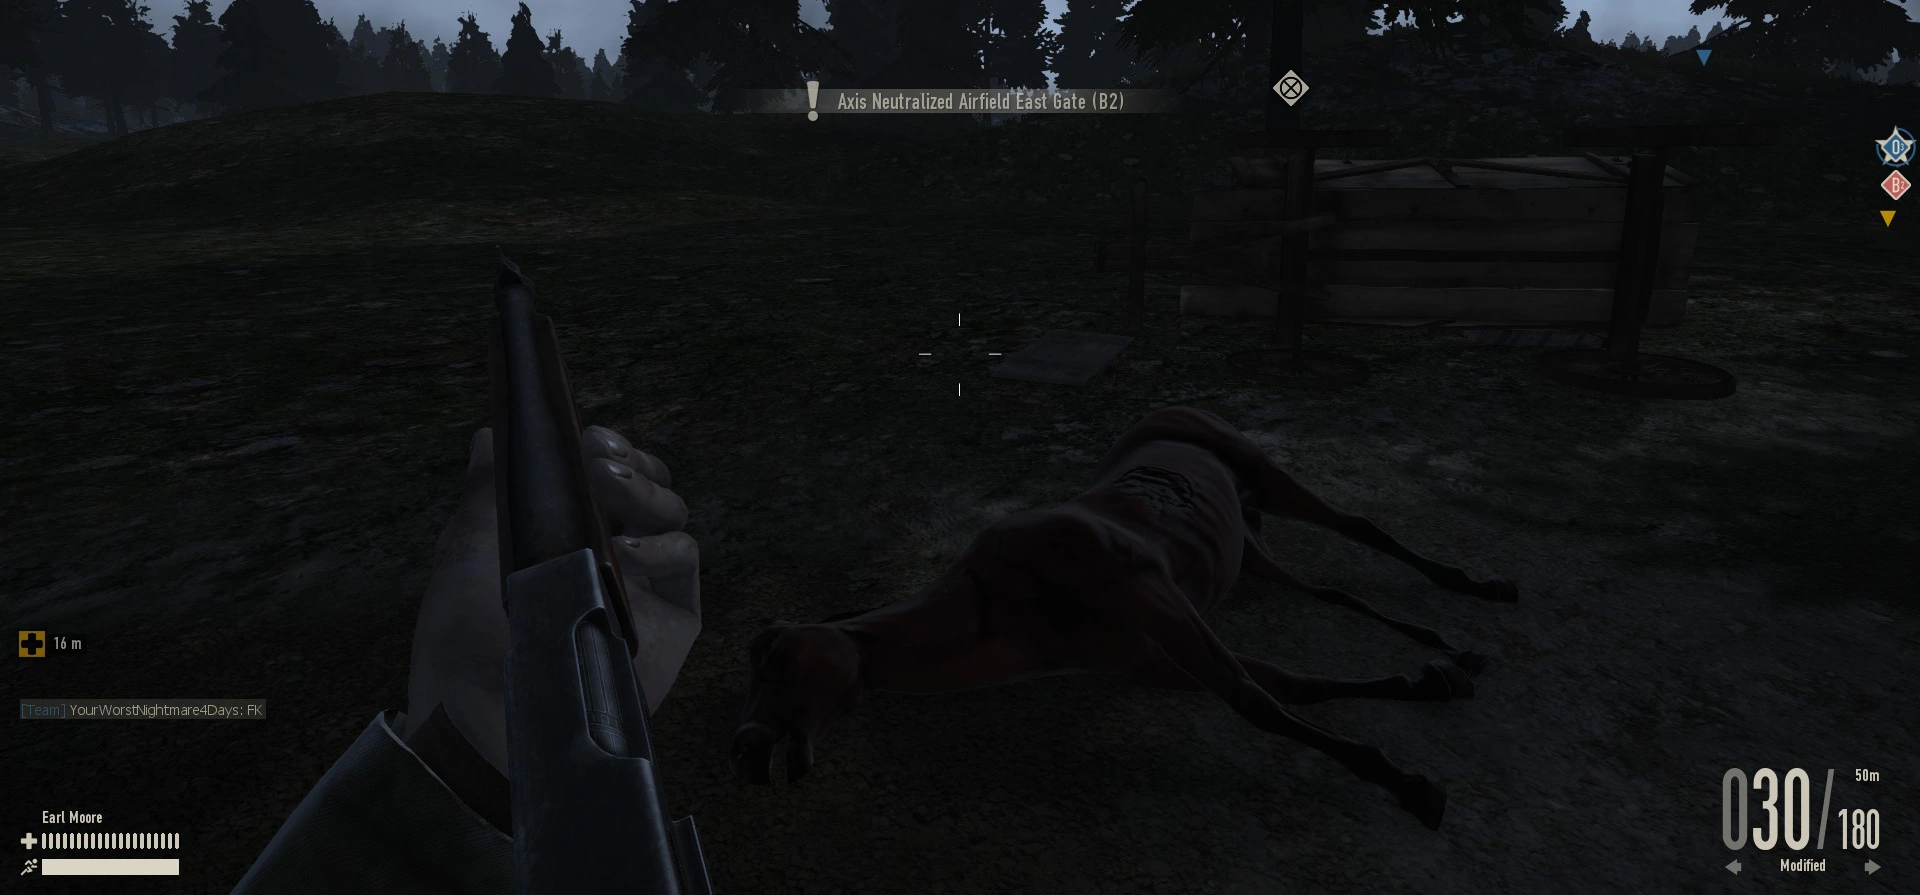
Una dei tanti dormitori contiene la stanza della radio.Ci sono due torri di guardia, e i dormitori offrono grande possibilità di copertura ai fanti.I carri devono stare attenti a girare troppo vicino a questi edifici.Una volta catturato, se siete in attacco, potrete attaccare O1 l'hangar. Il tragitto è agevolato da alcune strutture, ma comunque pericoloso.Bisogna fare attenzione alle incursioni da nord da parte dei nemici che potrebbero nascere ad O3.
Dotazioni
- Bicicletta
- Panzerfaust
- Entrata
- Stanza Radio
- Strada per O1
C Line[ | ]


'C' Line
This attack line takes you towards the airfield hangar (O1) as your first main objective to capture.
C1[ | ]
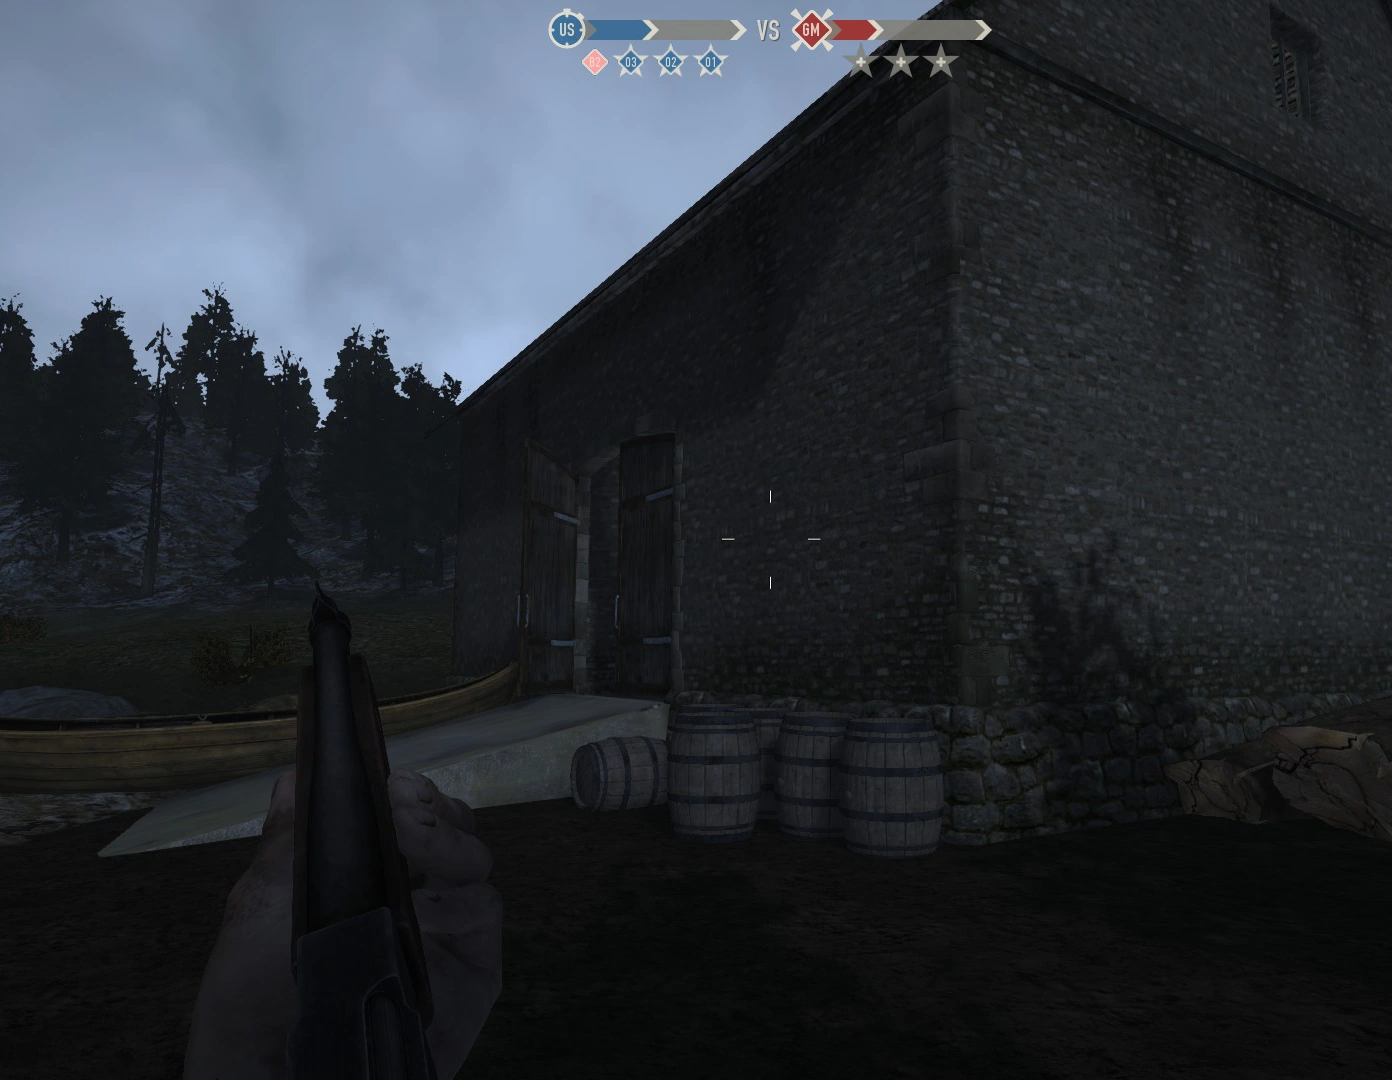
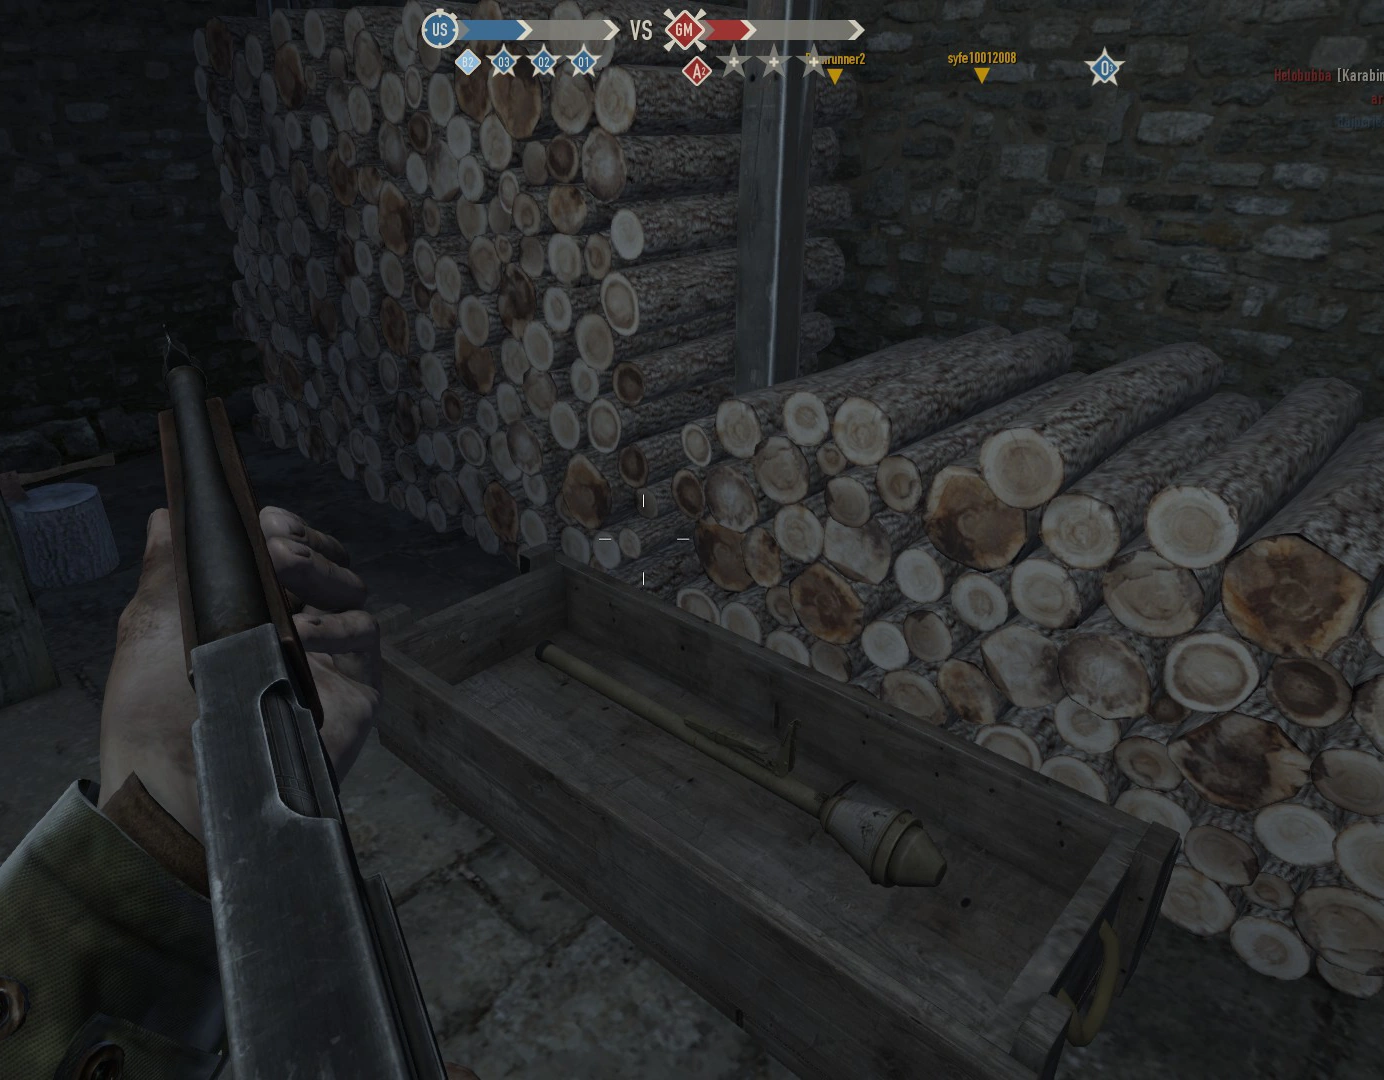
Another abandoned barn at C1 holds another attack route for the assault team towards the hangar (O1). This barn has a different structure than the B1 barn and is split in two areas with a small doorway connecting them. In both rooms there is a ladder which can take you to an upper area where you have open windows to shoot from or to be shot at. There is one supply medical box and one panzerfaust available. On the northside of the barn is a huge hill which offers alot of coverage and is often used by tanks and snipers to shoot from. Again check your map and beware of defenders able to attack you from the hill side if they have control of D line at the start or later in the game. Moving from C1 to C2 can be done by either the direct approach or flanking from the north or south. You can choose to flank from near the hangar located southwest of the control tower (O2) or from the river area south of C2.
Highlights
- Bicycles
- Big hill to the north for great cover
- Supply / Medical box
- Panzerfaust
- River to wash your bloody clothing
- Barn
- Supply
- Panzerfaust
C2[ | ]
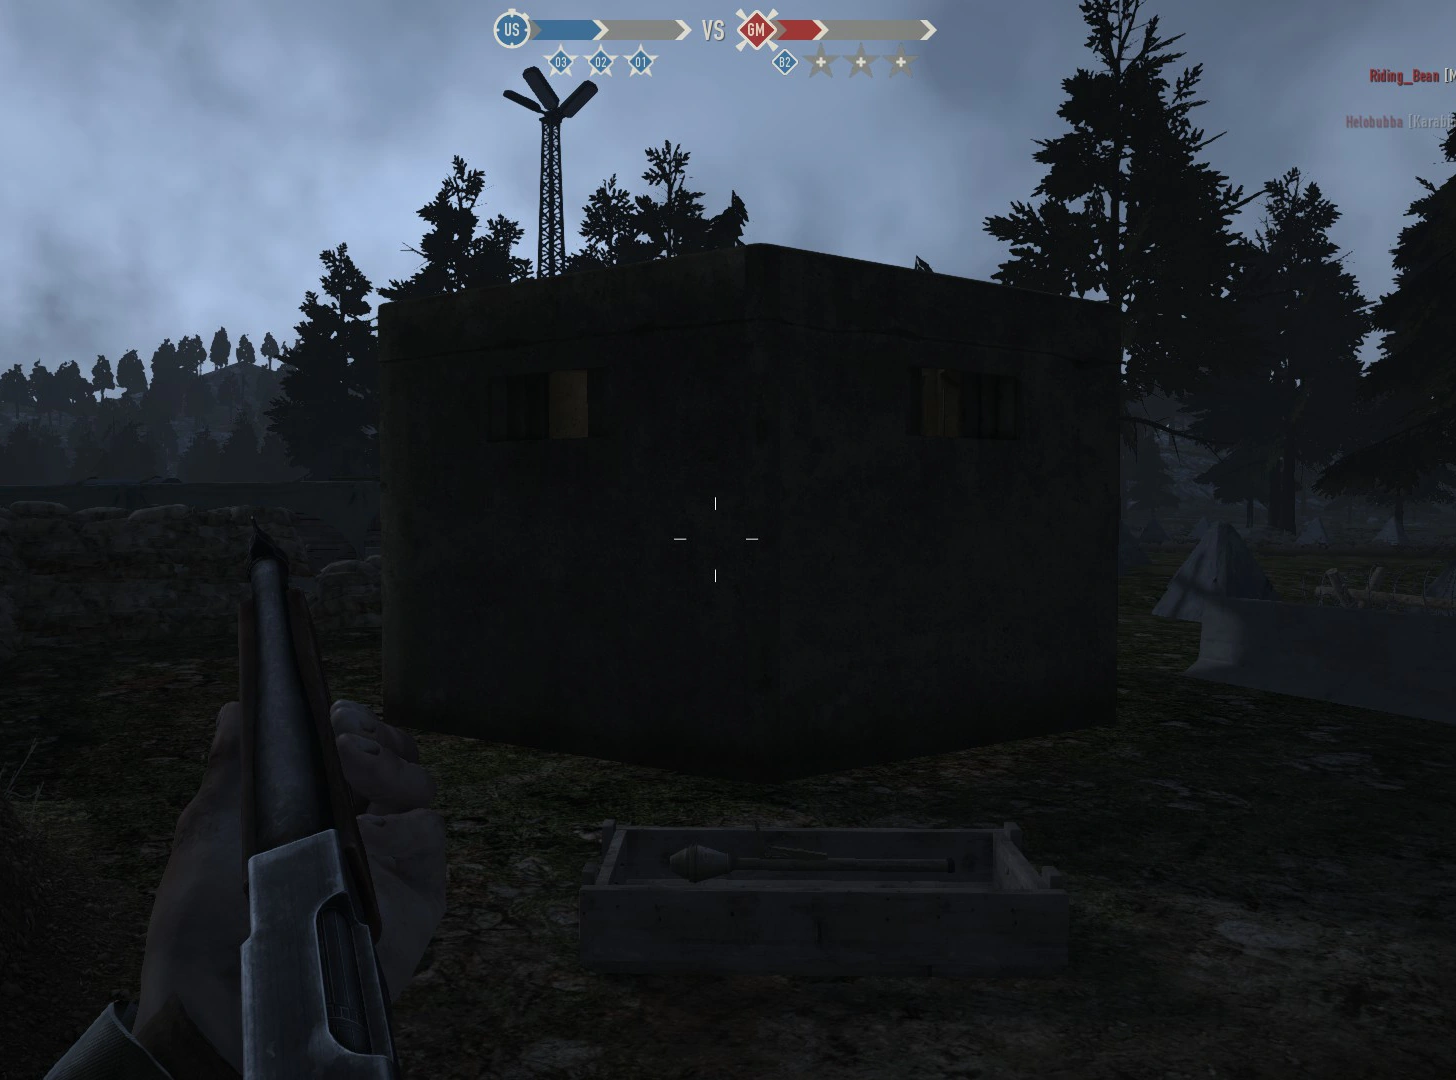
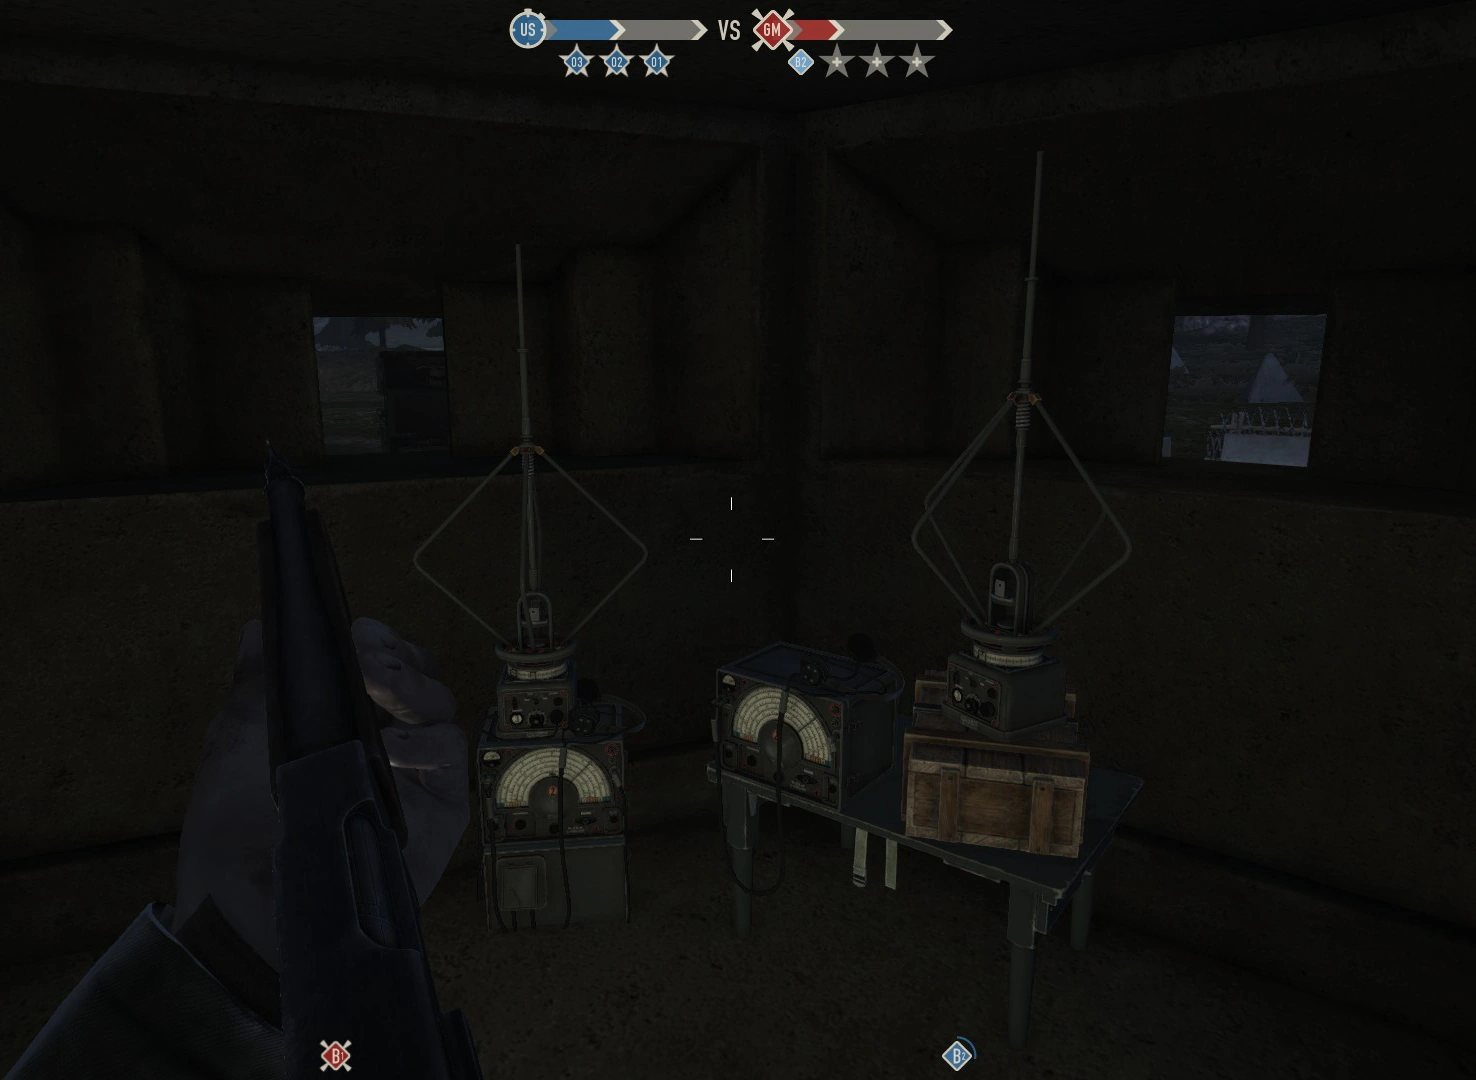
Located inside a small bunker next to a boom barrier is the radio which enables you to capture this point. The area is surrounded by a fence and infantry need to come from either the entrance or from the northern area where there is an opening in the fence. Tanks and jeeps can also knock down the fence which offers extra passageways for the infantry. But remember this goes for both ways, enabling for defending and attacking infantry to go through the opening. The small bunker itself has open areas to look through and shoot through, but its best to just cover while capturing this point as many tanks or snipers will do their best to shoot through the holes. Capturing this point will unlock one of the main objectives, the hangar (O1). Moving from C2 to O1 is best done with a fast moving vehicle or by using the cover from the bunkers and underground tunnels located near the river banks on the inside of the fence.
Highlights
- Bicycles
- Panzerfaust
- Alot of cover near the radio room
- Unlocks O1 when captured
- Radio Bunker
- Radio
- Road to O1
D Line[ | ]

'D' Line
This attack line takes you towards the control tower (O2) as your first main objective to capture.
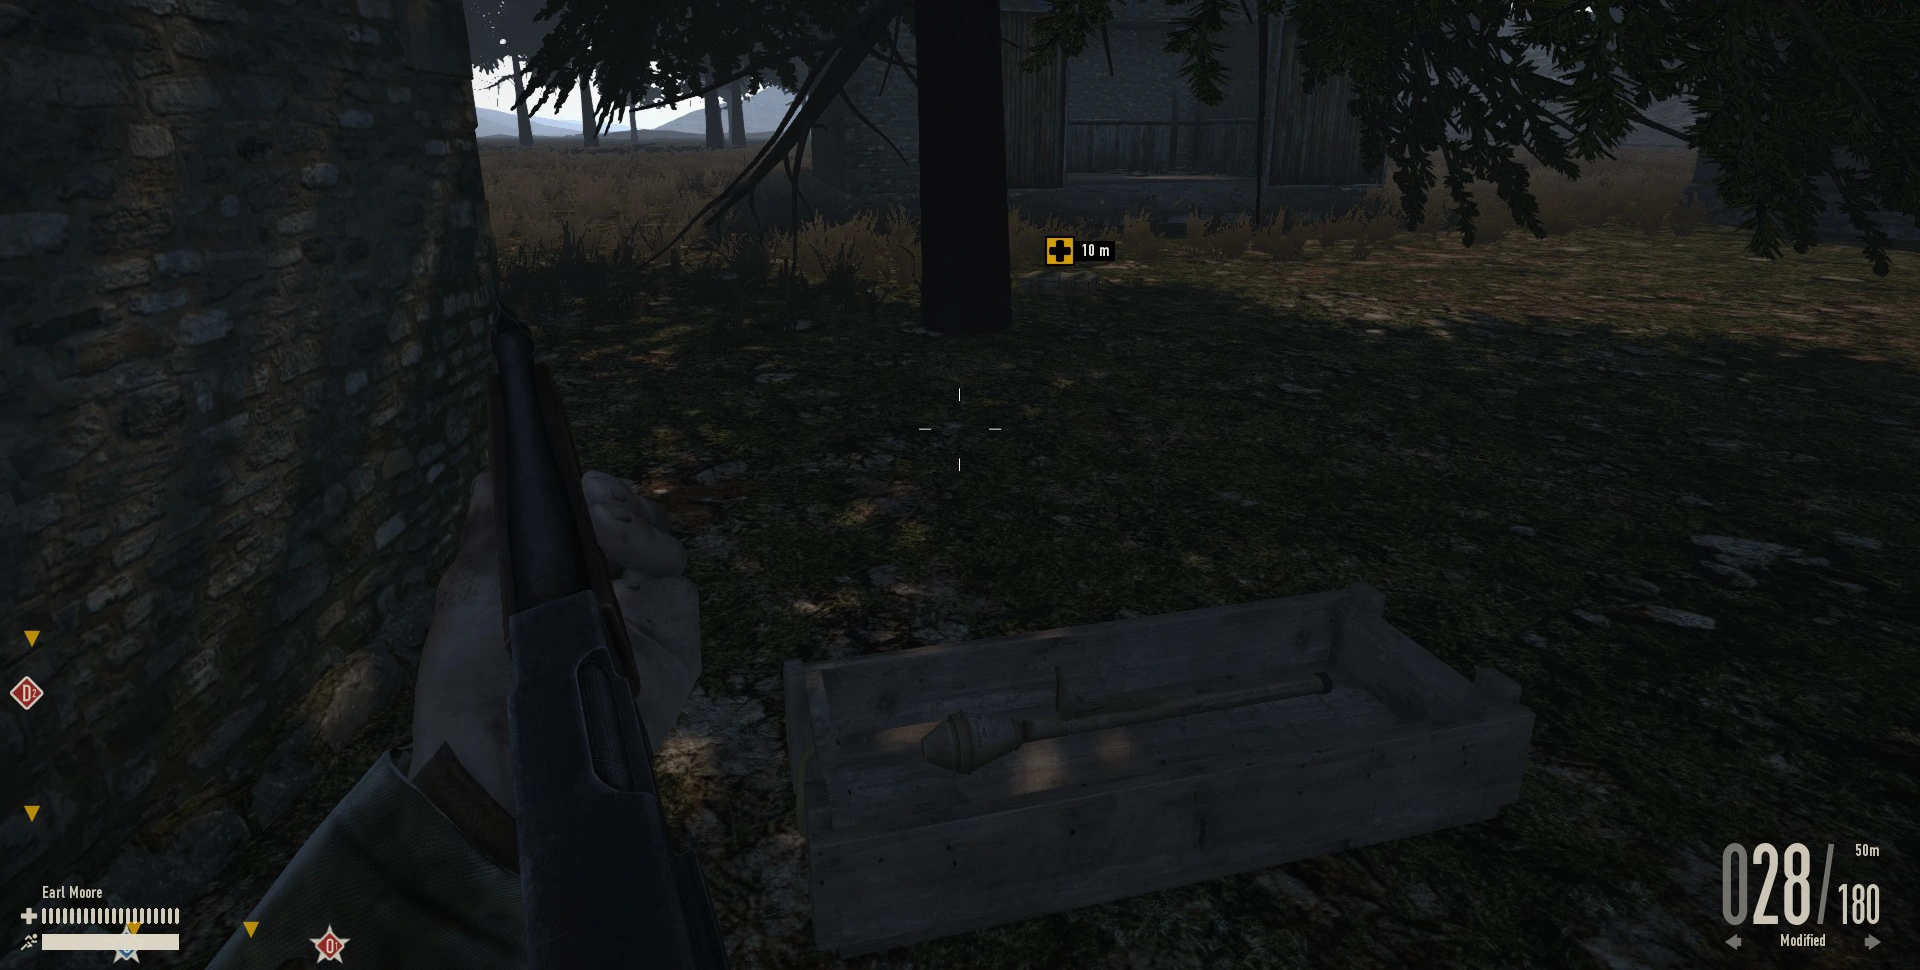
D1[ | ]
A small house at the edge of the airfield offers another attack route for the assault team. Beware when starting that it is possible that the defending team controles A line and can flank you from the east at the start. To the west you will notice a huge hill which offers you great coverage and a safer route towards D2 or C1 for the defenders. Remember to move as quick you can towards D2 as the defending team will most likely have some defenders spawn at O2 to quickly defend and or capture D2.
Highlights
- Bicycles
- Panzerfaust
- Huge hill to the west
- Prone to flanks when not controling A line
- Radio House
- Fallen Comrade
- Road to D2
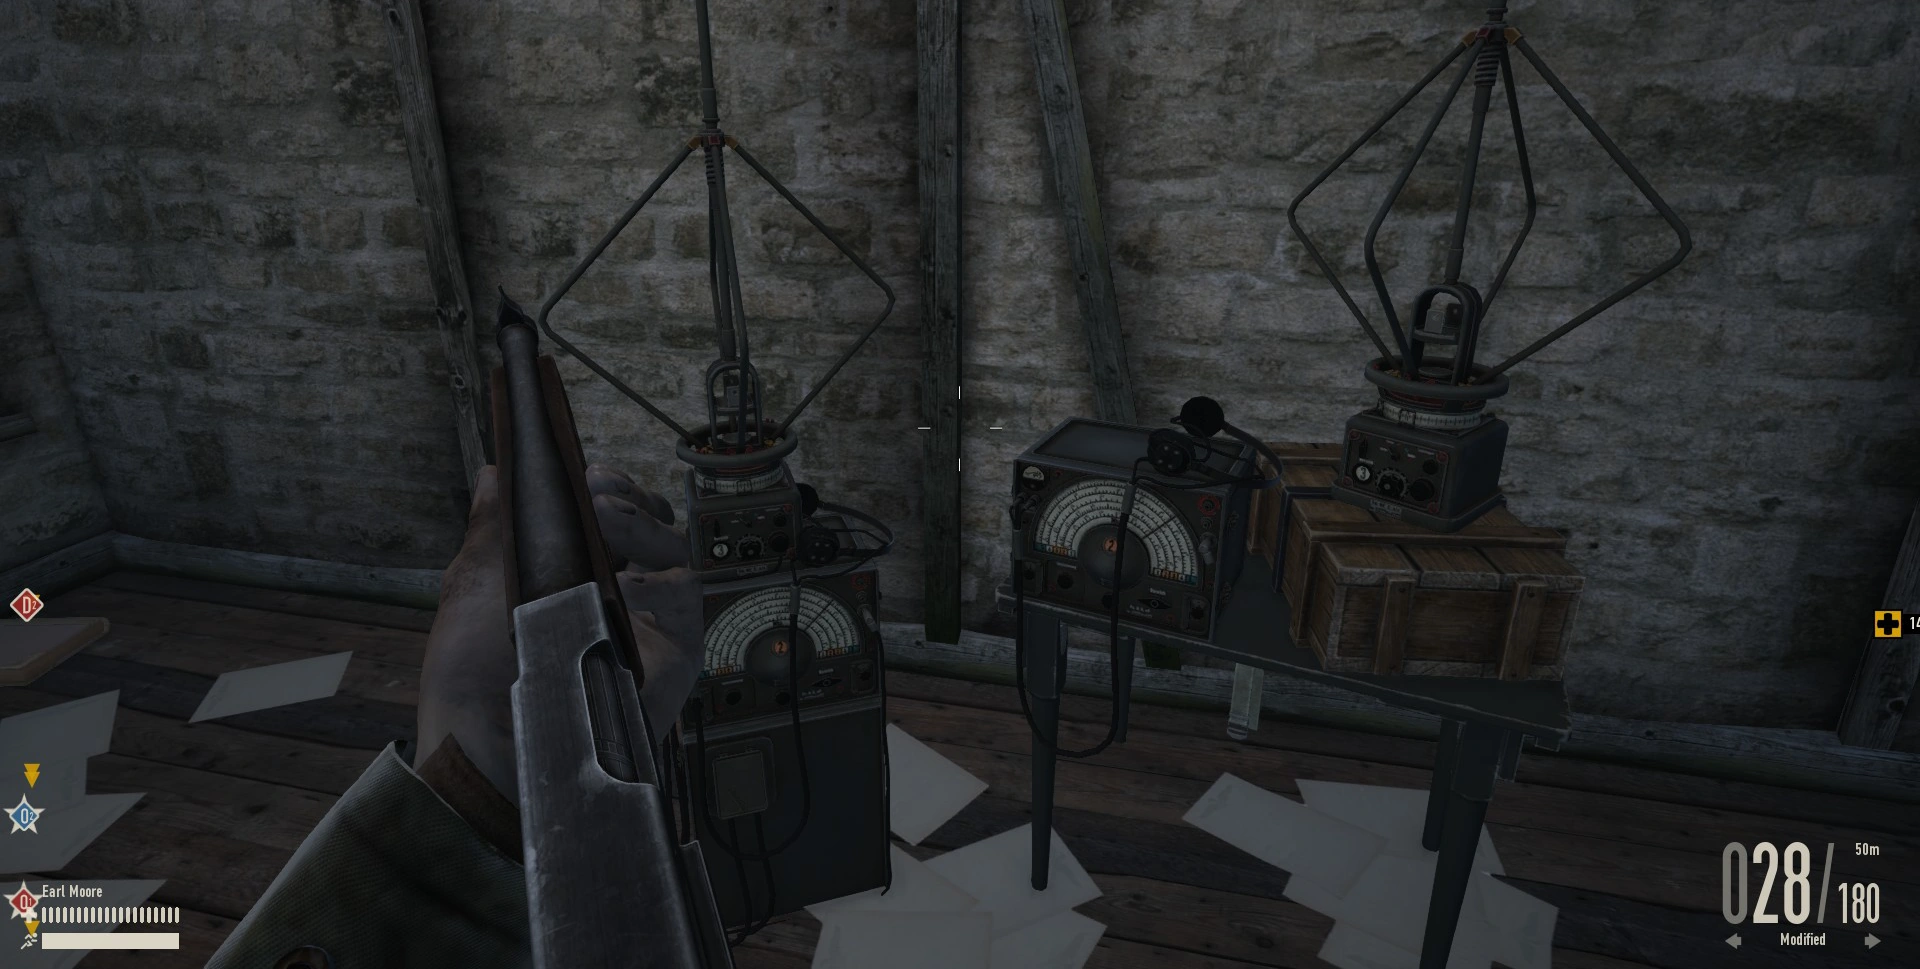
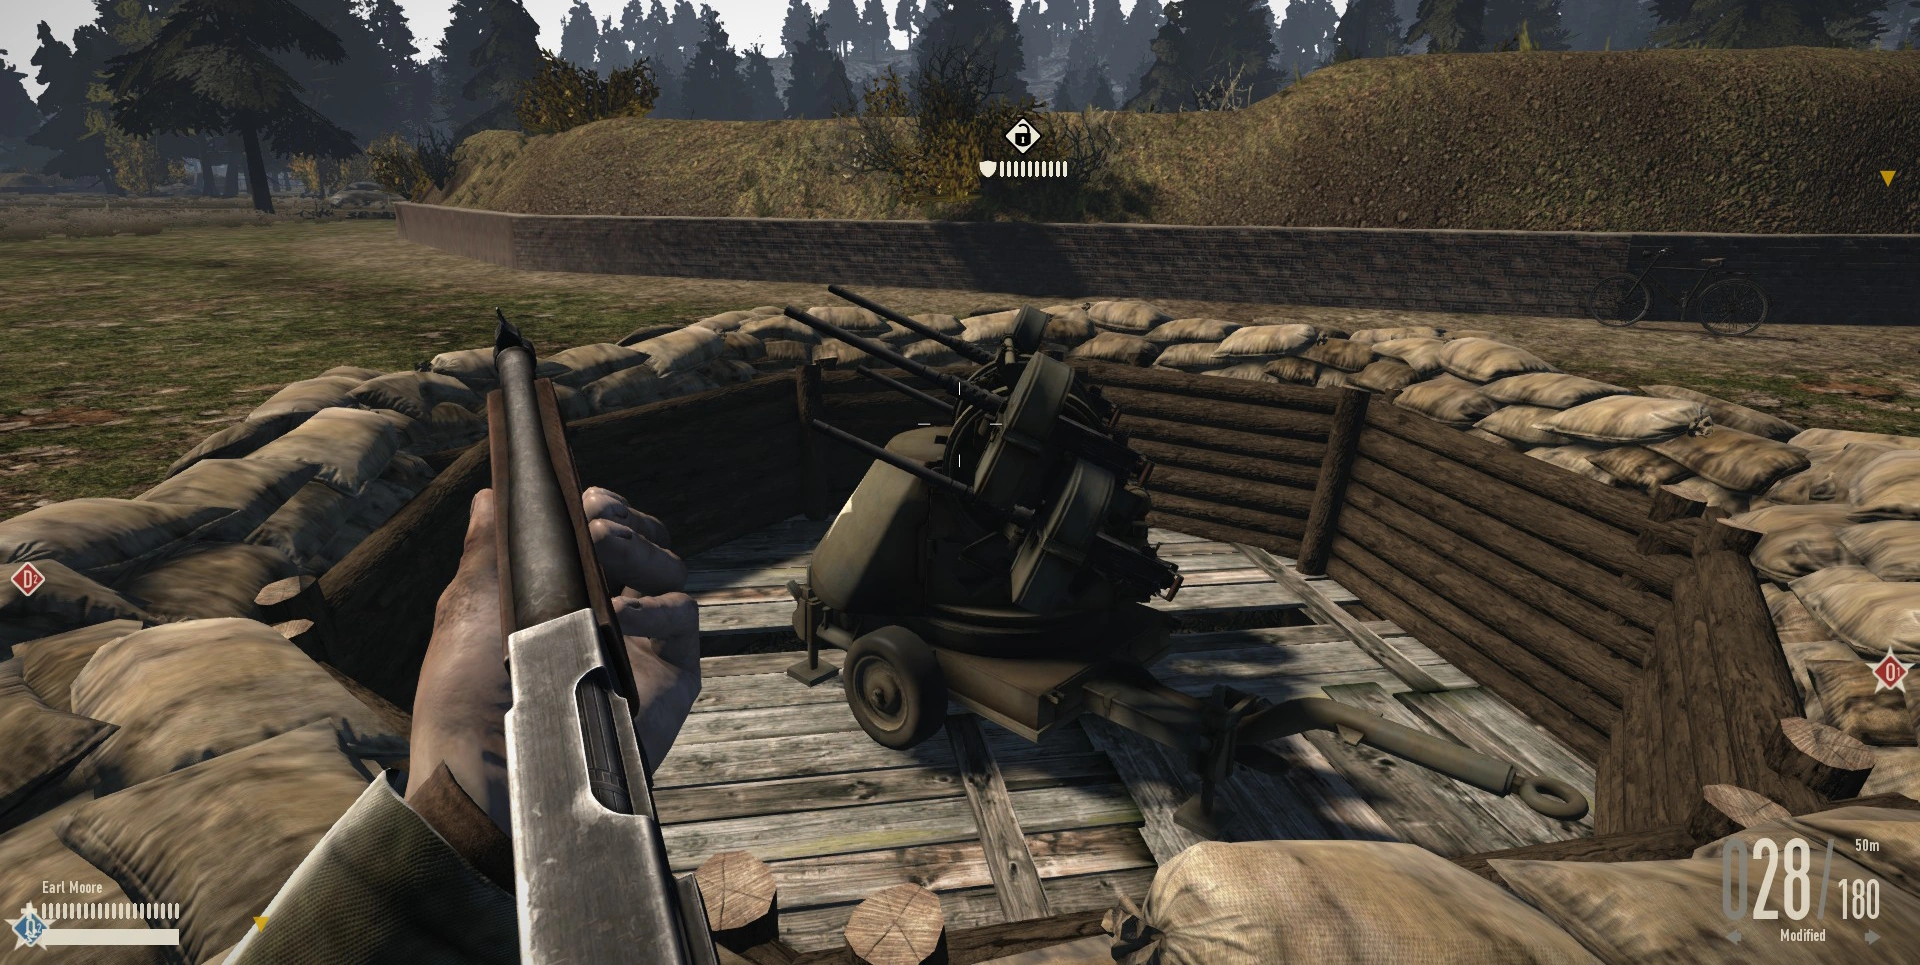
D2[ | ]
Located inside one of the many barracks is the radio room. The area offers many sneaky places for infantry to hide and is a dangerous place for tankers or vehicles to travel through. It has a fence surrounding it with one entrance towards the north where the road to D1 is located. It has one panzerfaust and one anti aircraft gun. Capturing this objective unlocks the control tower (O2). Moving towards the control tower can be very difficult as you can be attacked from the hill to the west, O2 and even defenders trying to flank you from O3. Use the barracks and given coverage to your advantage and move fast if in a vehicle.
Highlights
- Bicycles
- Panzerfaust
- Many barracks offer great cover
- AA gun
- Unlocks O2 when captured
- Barrack
- Panzerfaust
- Radio
The Objective[ | ]

O1, O2 & O3
The objective points, O1 O2 and O3, are located in the middle of the airfield, and each point has it's own runway where defending fighter planes may take off.
You need to successfully defend or capture all three main objectives to win the battle and conquer or keep the airfield.
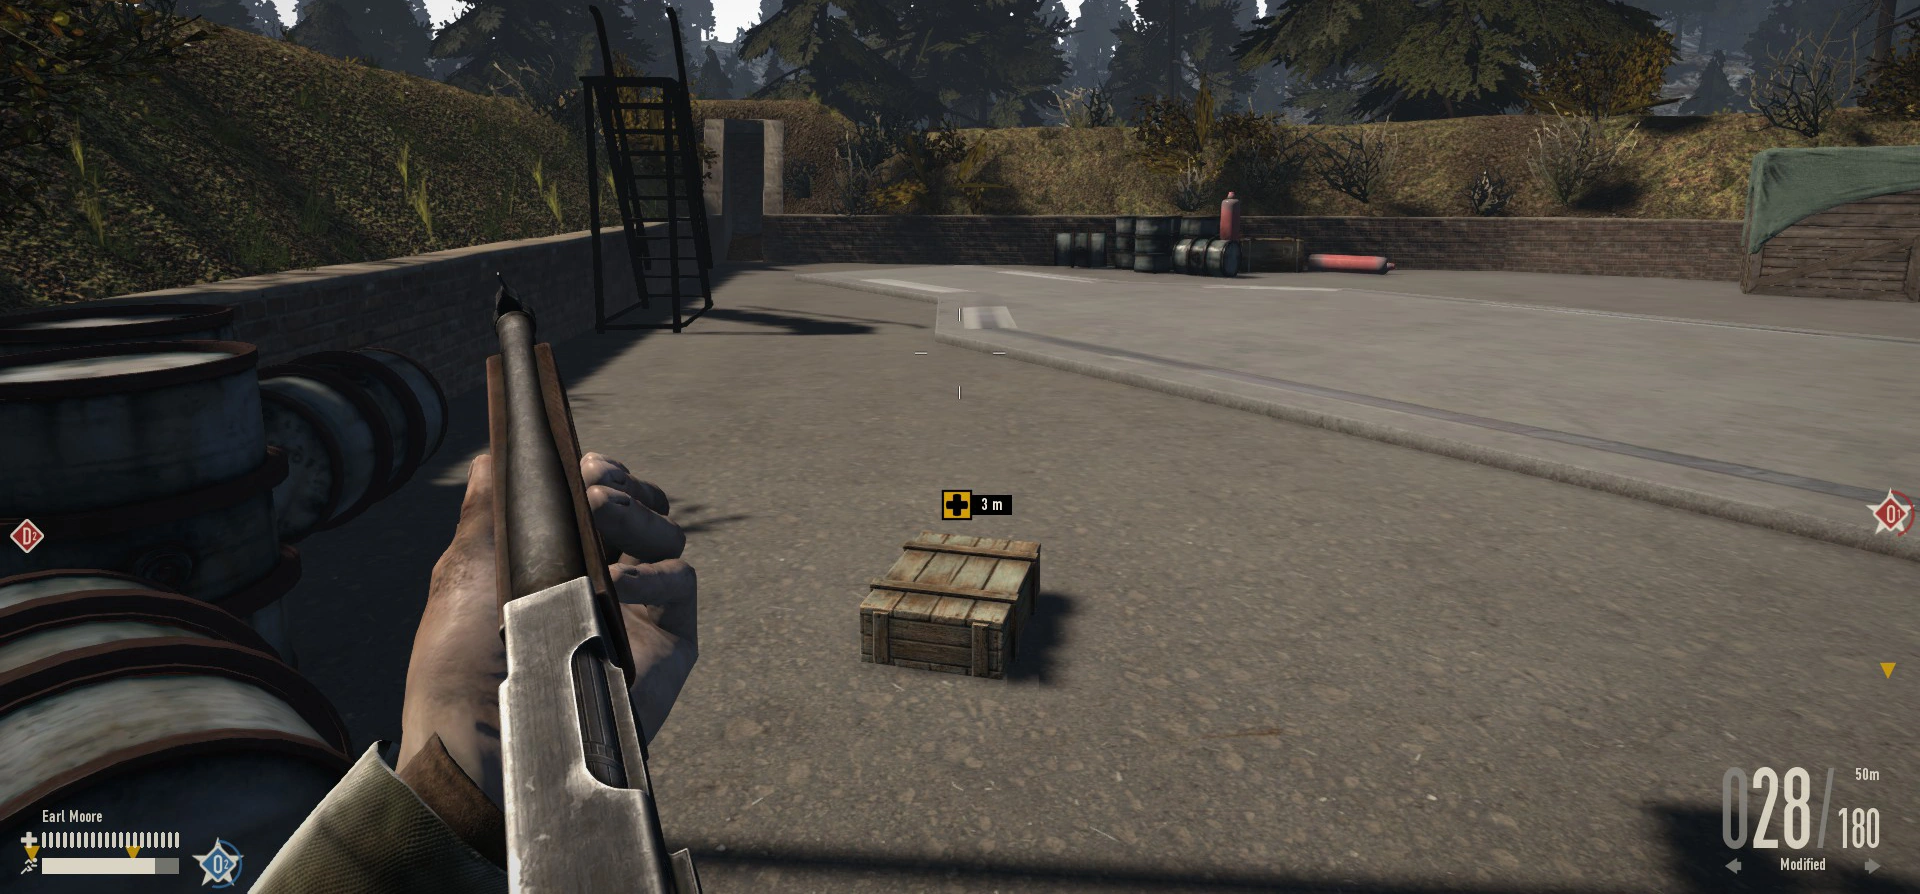
01[ | ]
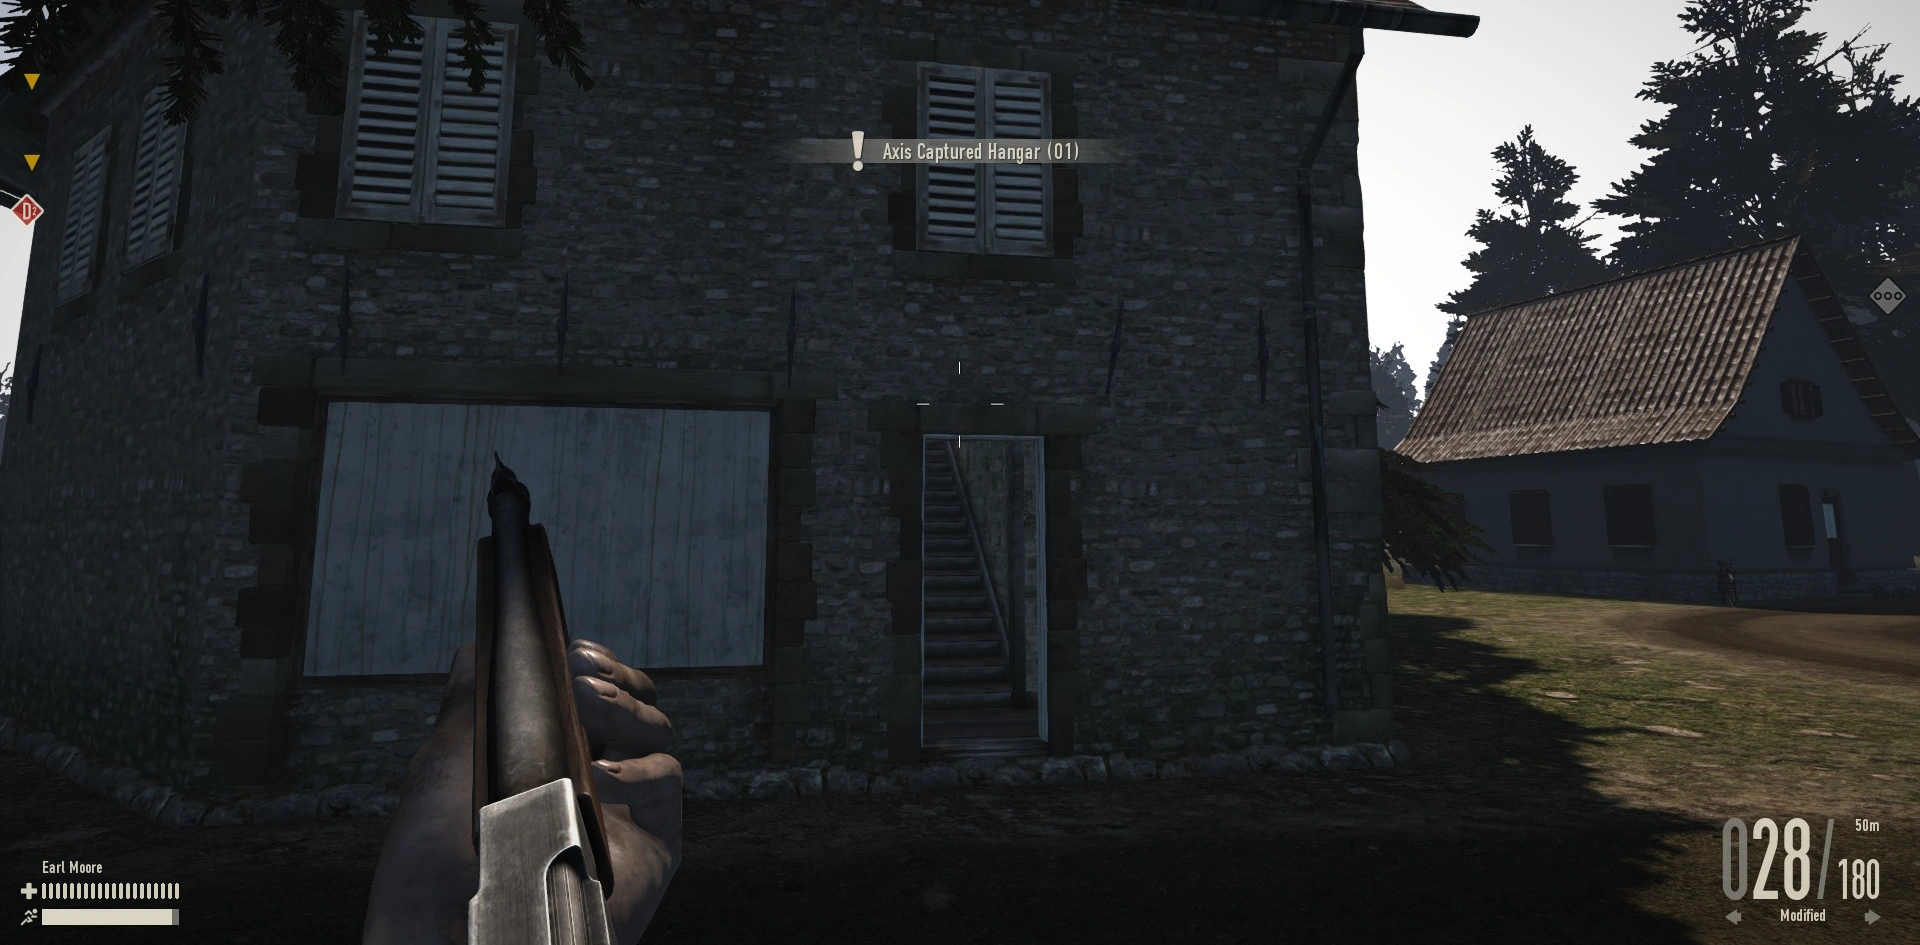
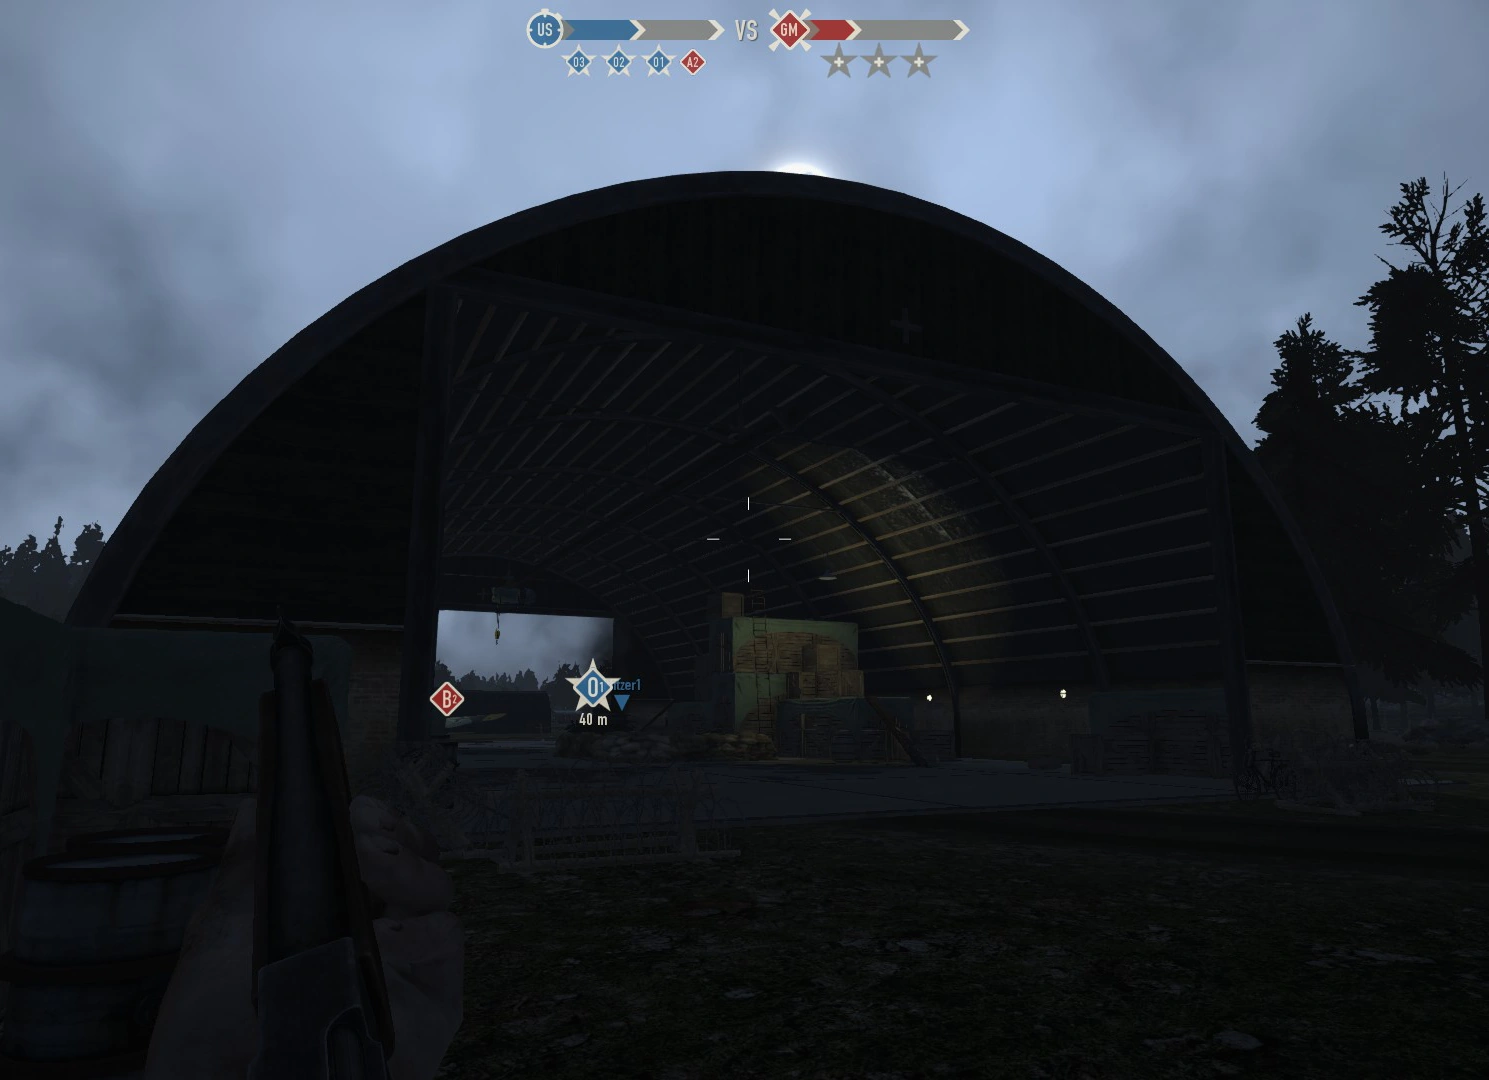
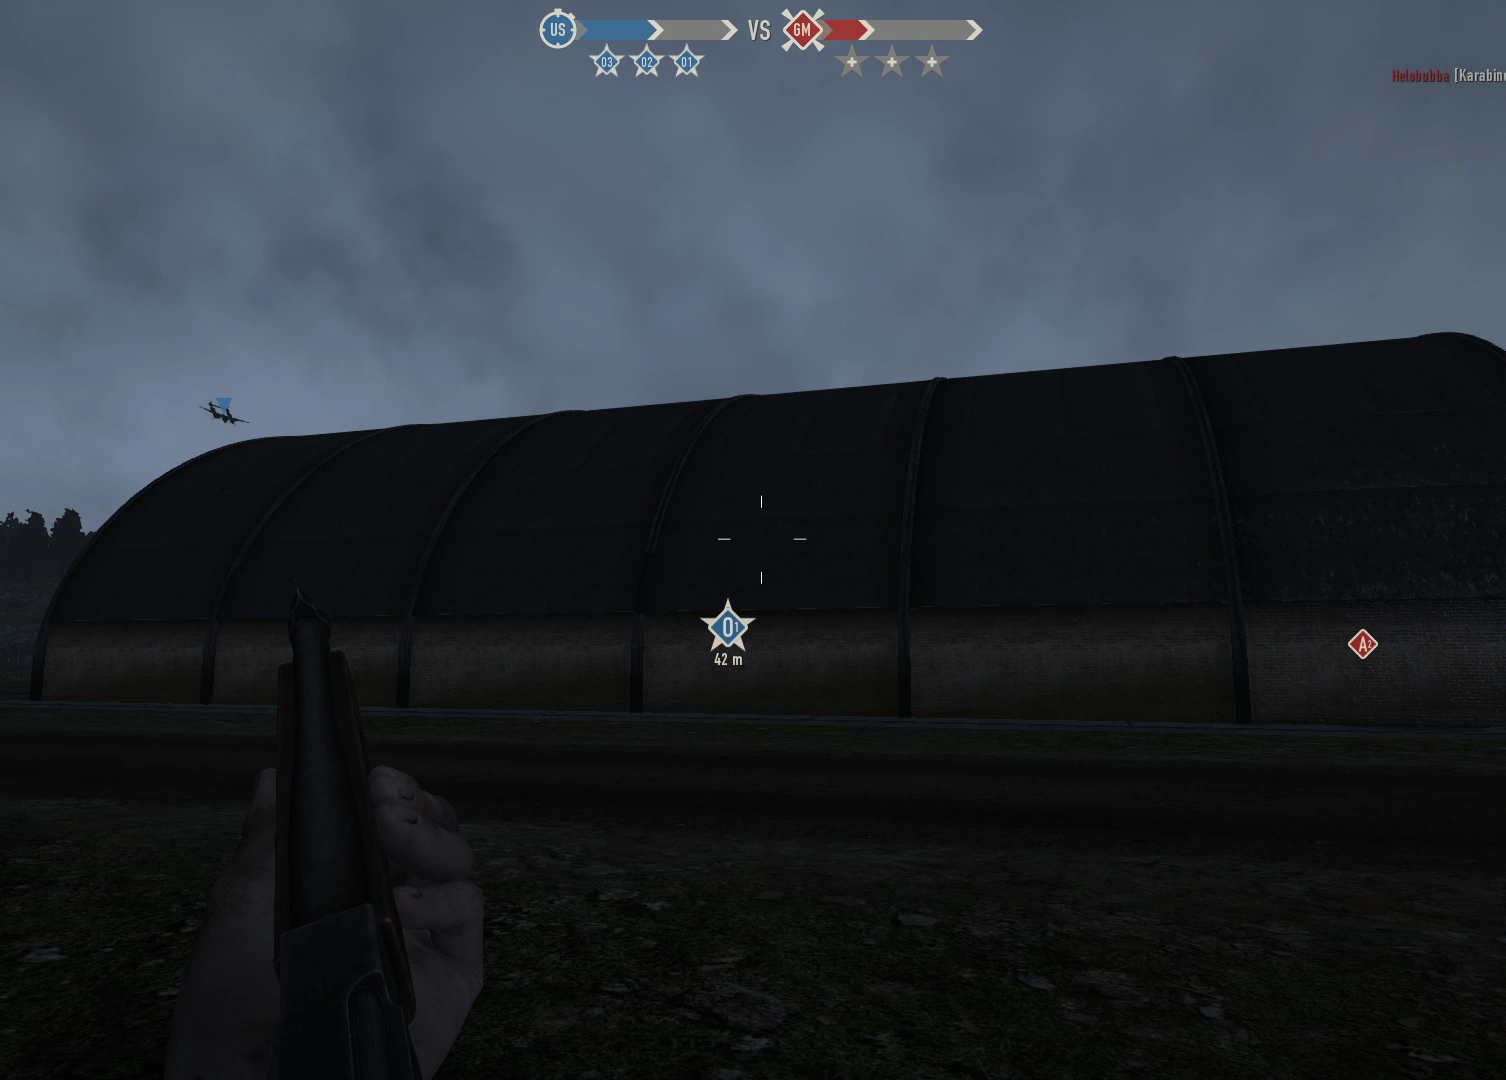
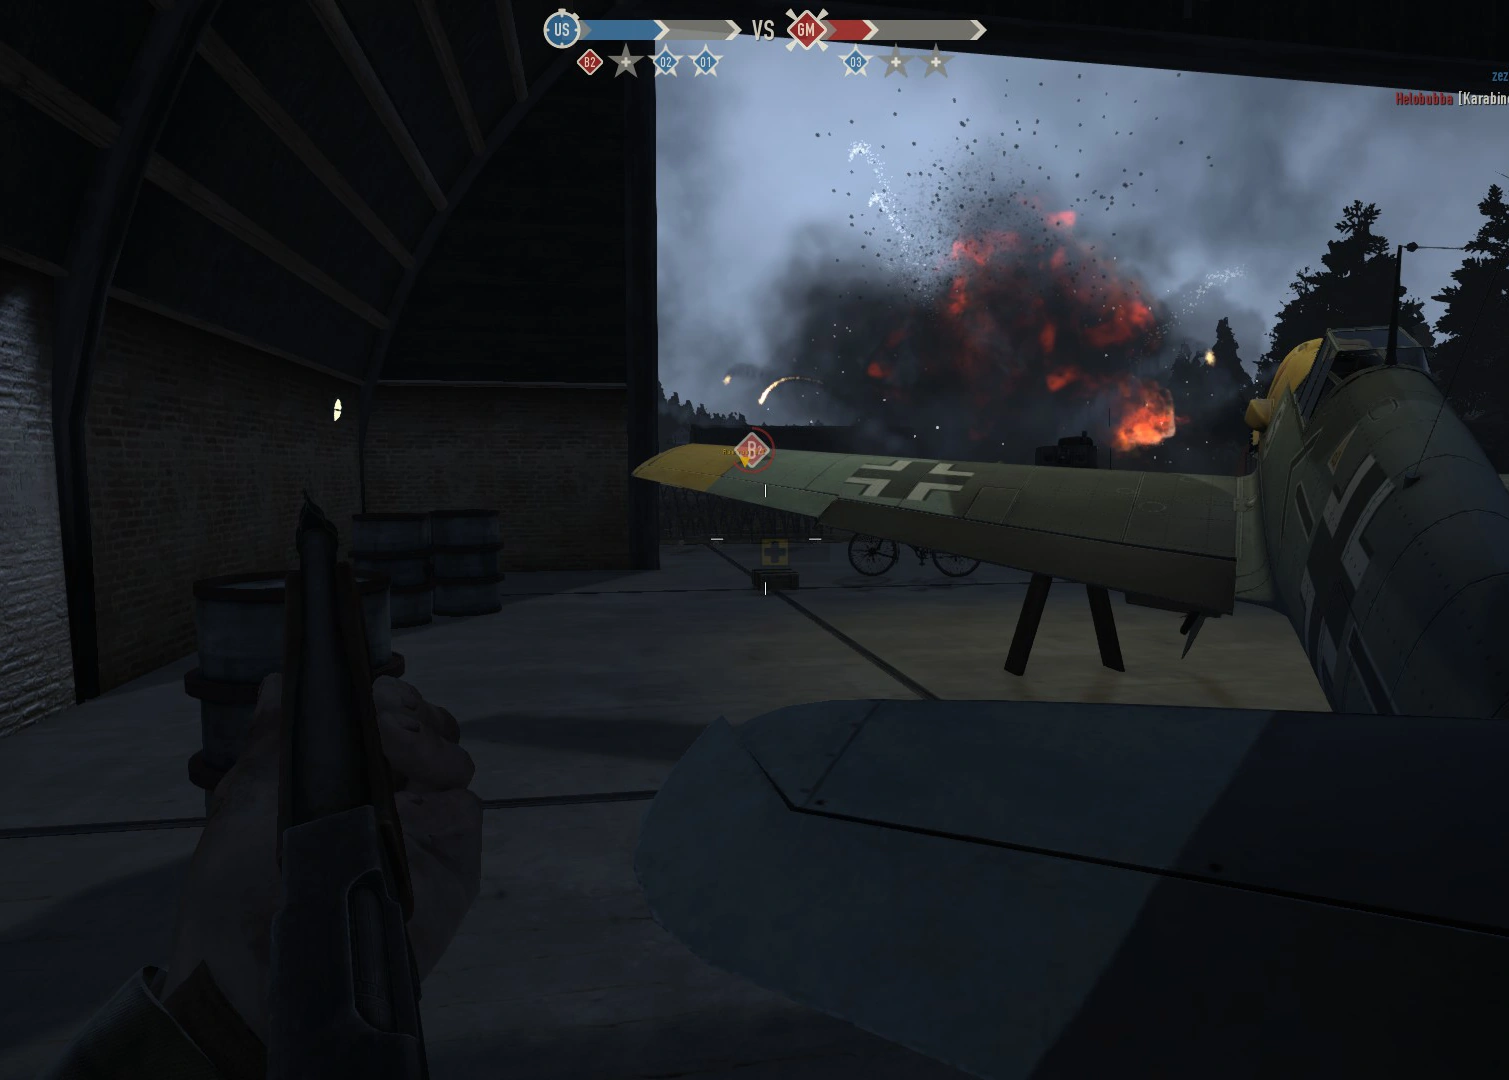
- O1 is a hanger building which can be taken after capturing either C2 or B2.
- Inside the hanger there are many places you can hide in, such as: a bin, under a plane, or behind crates.
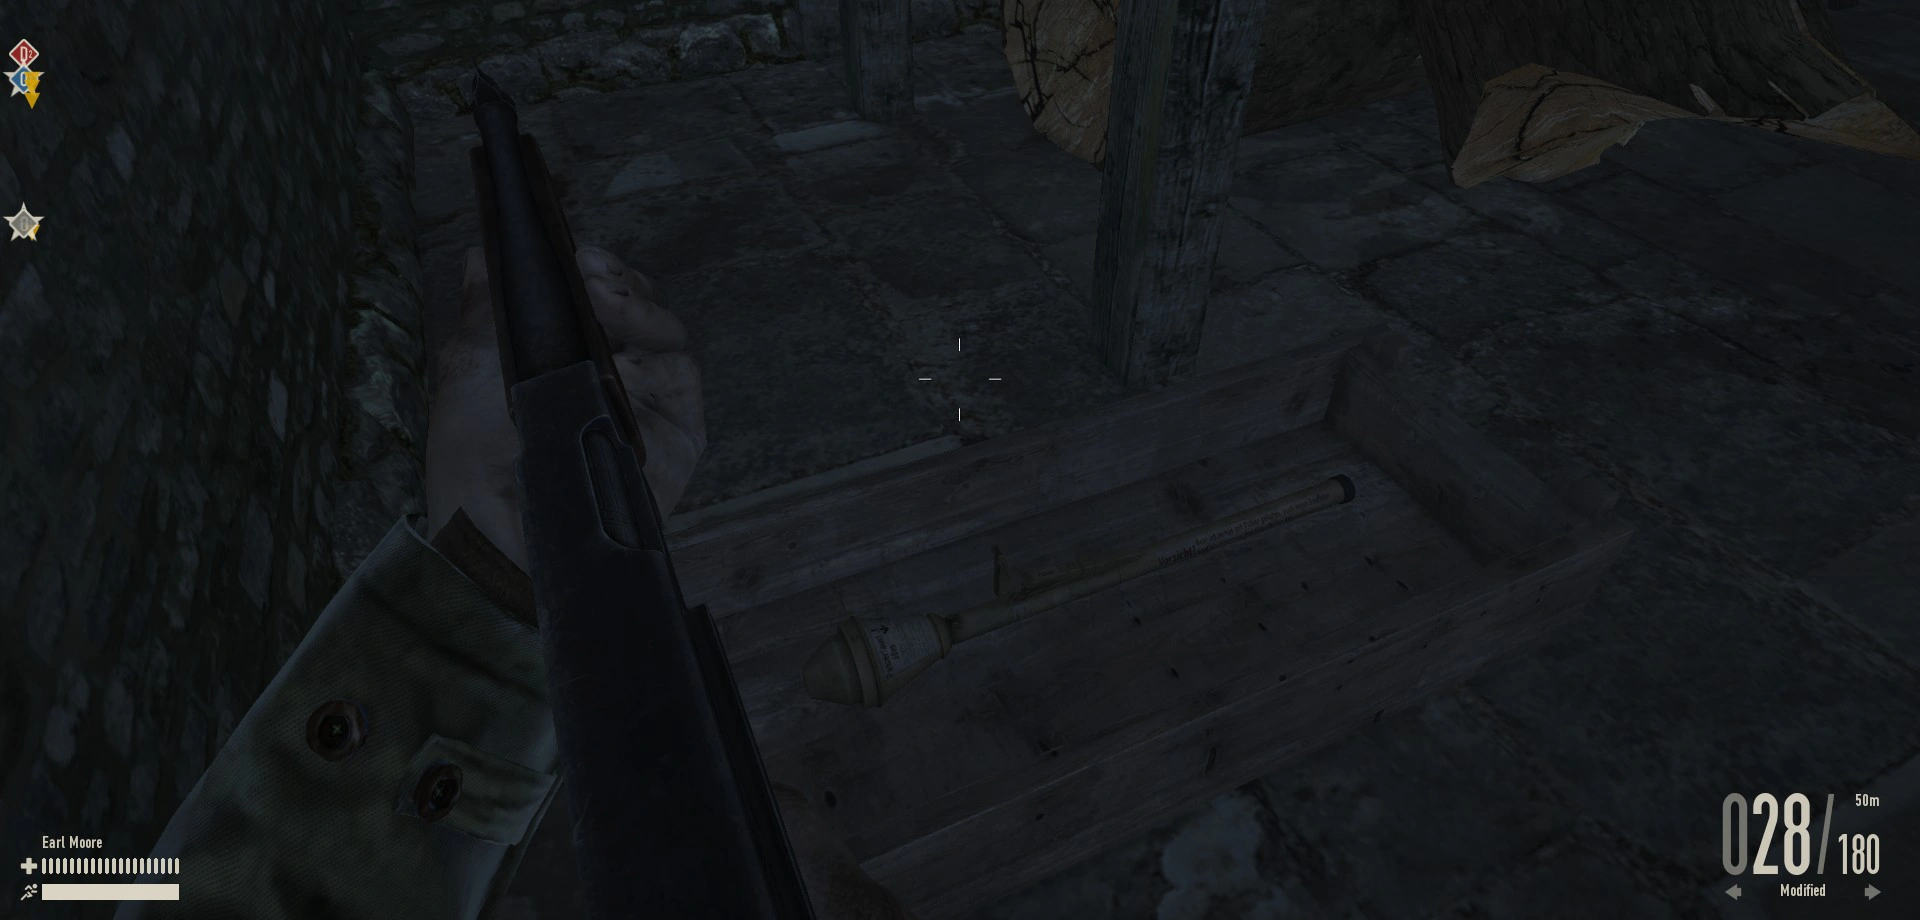
- There is a supply crate located at one end of the hanger, and a panzerfaust on the other.
- O1 is the only point able to be captured by tanks.
- O1 emergency spawn is either in the woods near it, or towards O2 and O3.
Highlights
- Bicycles
- Panzerfaust
- AA Gun
- Supply / Medical box
- Unlocks O2 when captured
- Hangar
- Side View
- Supply
- Panzerfaust
- Radio
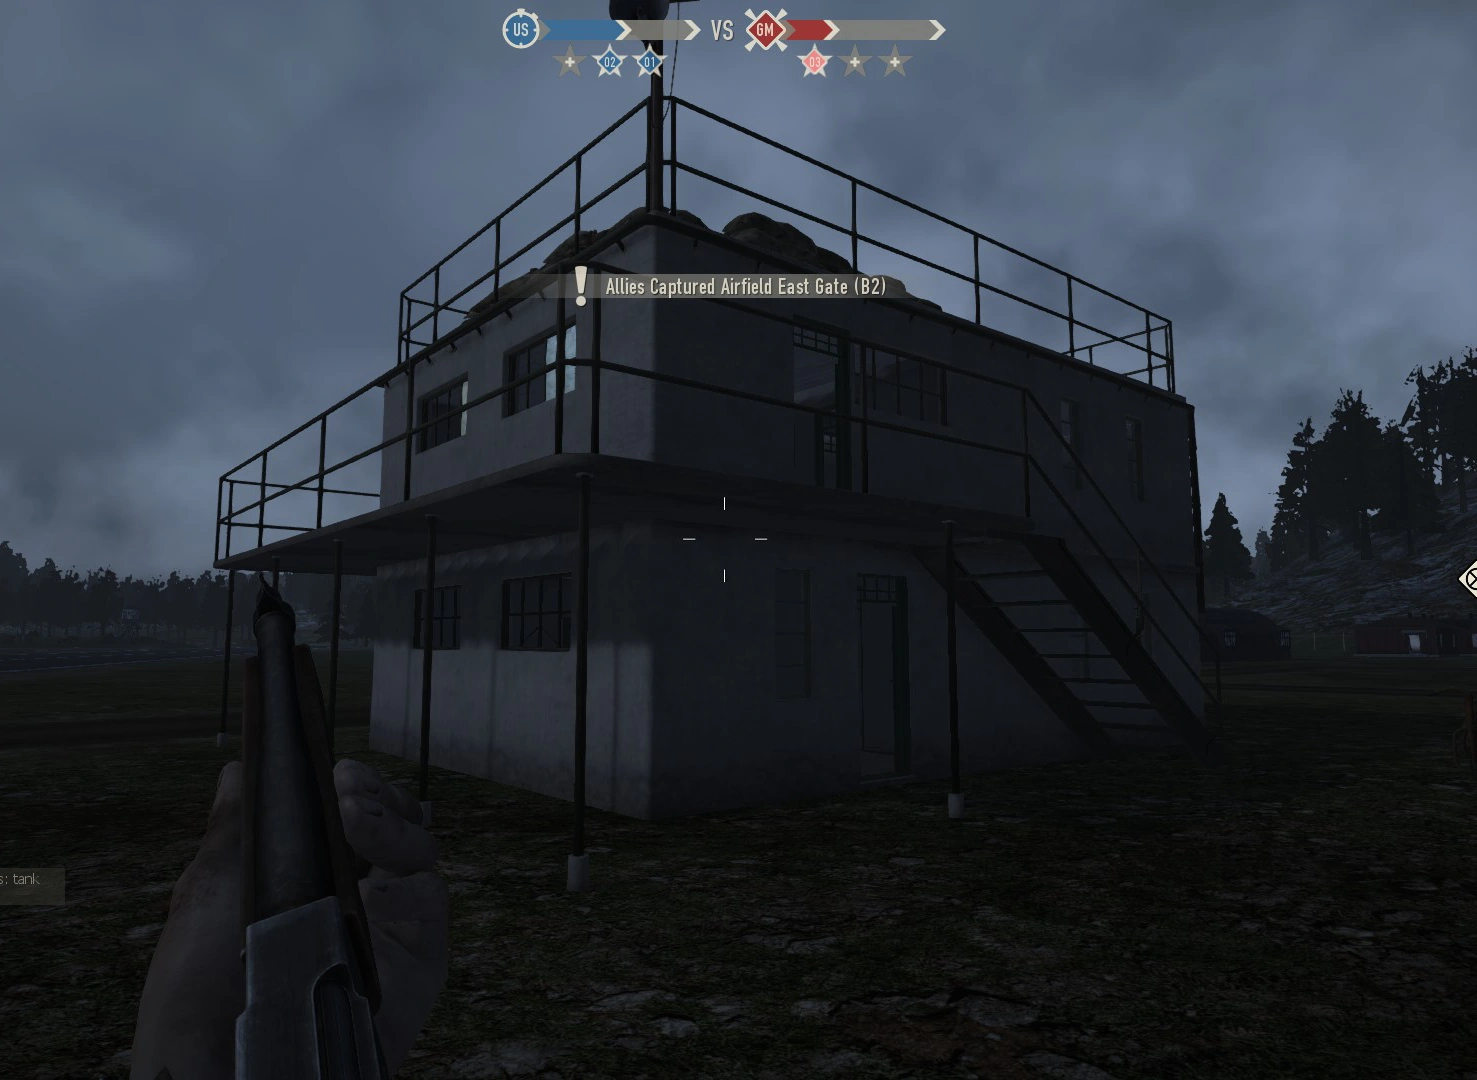
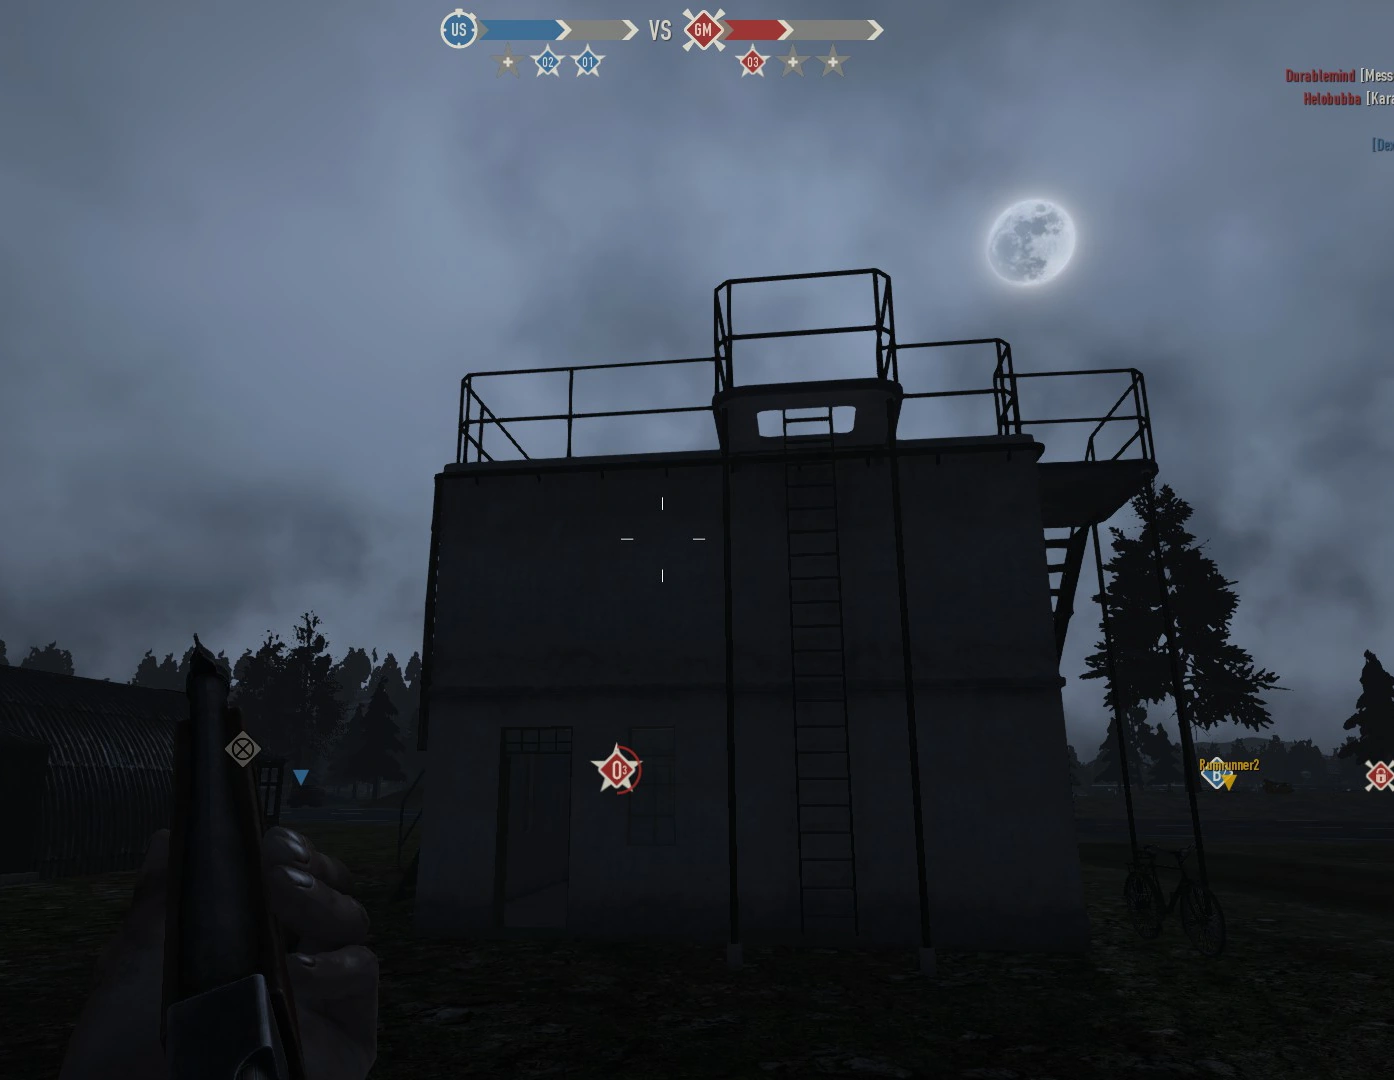
02[ | ]
- O2 is the control tower of the airfield and can be taken after capturing D2.
- On top of the control tower is a panzerfaust crate, but it is exposed to enemy fire.
- There are multiple entrances to O2: two doors on the ground floor, or the stairs leading to the second floor and roof.
- One can stay on the second floor and throw grenades onto the first floor.
- O2 emergency spawn is in a building a fair distance away.
Highlights
- Bicycles
- Panzerfaust
- Barracks and two small bunkers for cover
- Supply / Medical box
- Unlocks O1 & O3 when captured
- Control Tower
- Side view
- Radio
- Supply
- Panzerfaust

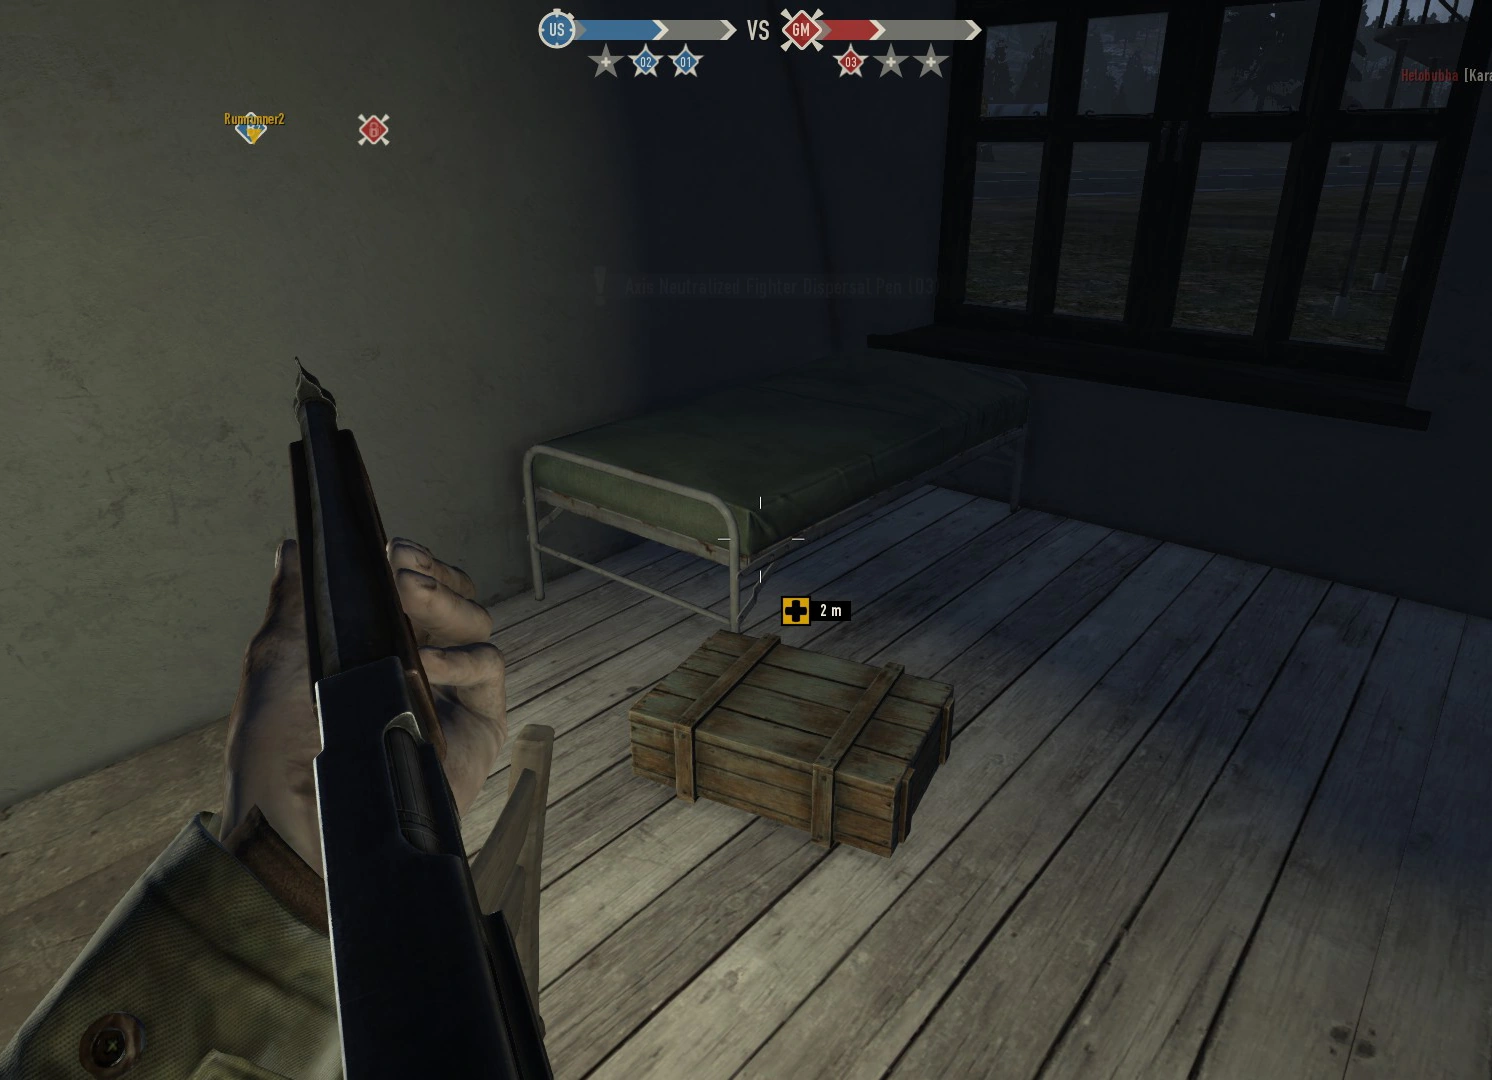
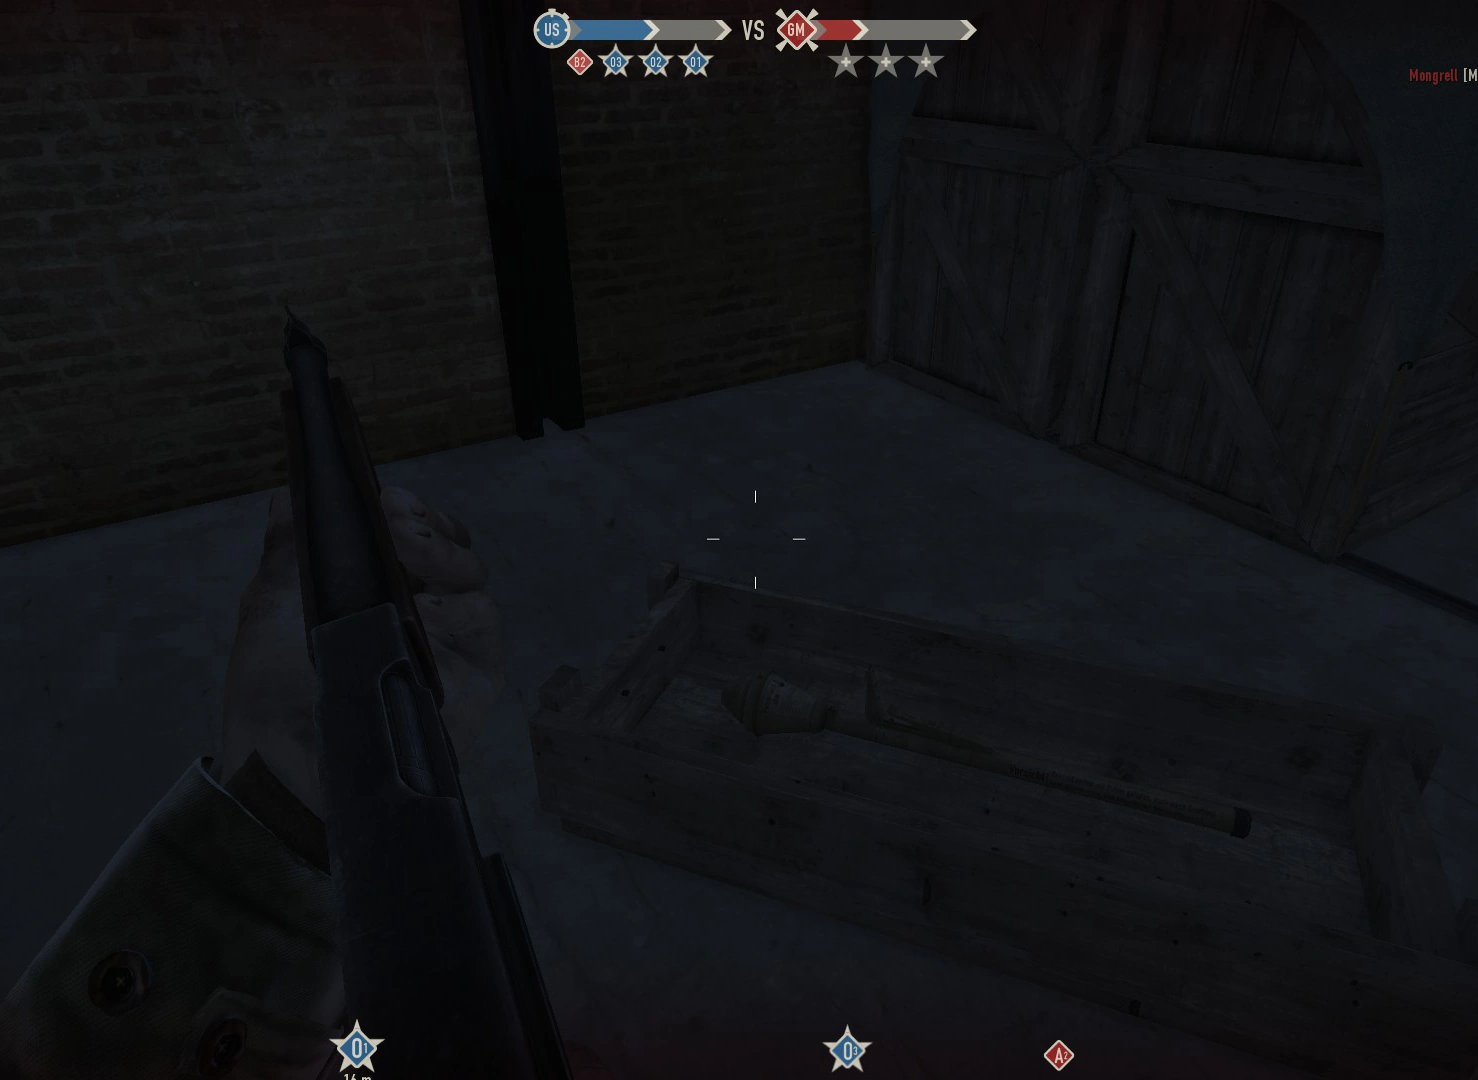
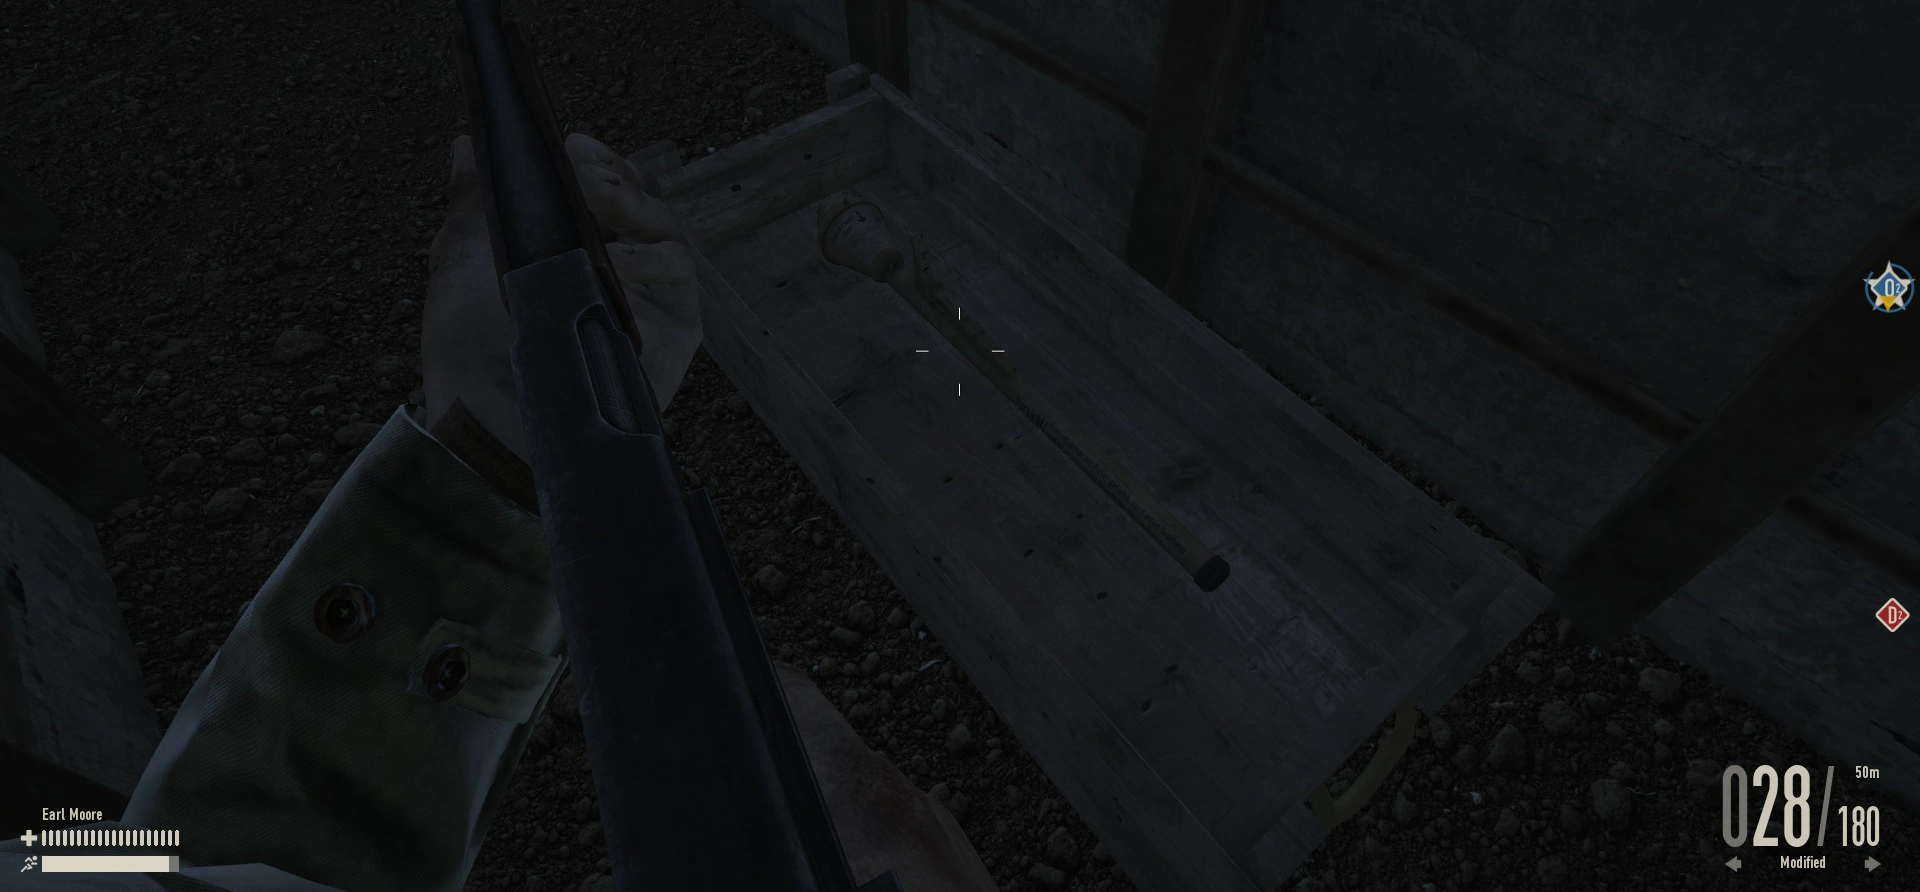
O3[ | ]
- O3 is a fighter dispersal pen to the right of O1 and O2, and can be taken after capturing A2.
- The capture point is located inside one of the tunnels.
- O3 has a panzerfaust crate inside the tunnel containing the capture point, and a supply crate outside.
- The room containing the radio is rather easy to defend if you have a fully automatic weapon.
- O3 is easily camped by tanks, but they are easily repelled.
- O3 emergency spawn is in the woods behind it, and is easily camped by tanks.
Highlights
- Bicycles
- AA Gun
- Panzerfaust
- Supply / Medical box
- Bunkers and underground pathways for great cover
- Unlocks O2 when captured
- Front Entrance
- AA Gun
- Radio
- Panzerfaust
- Supply

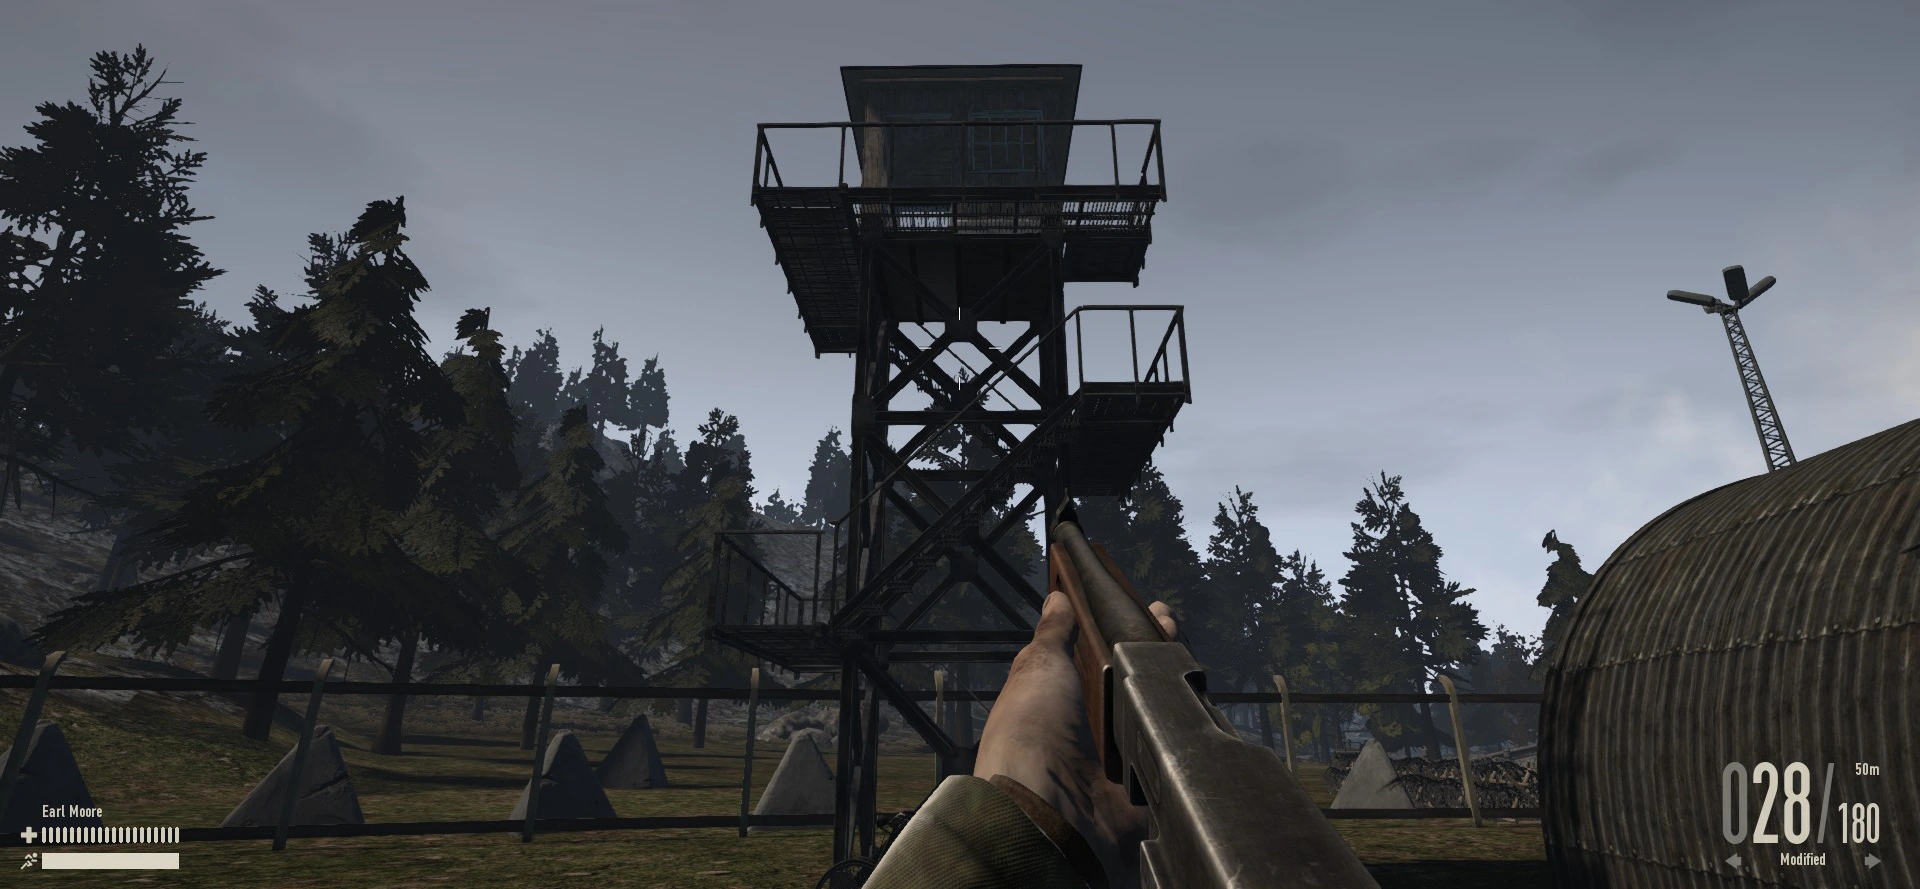
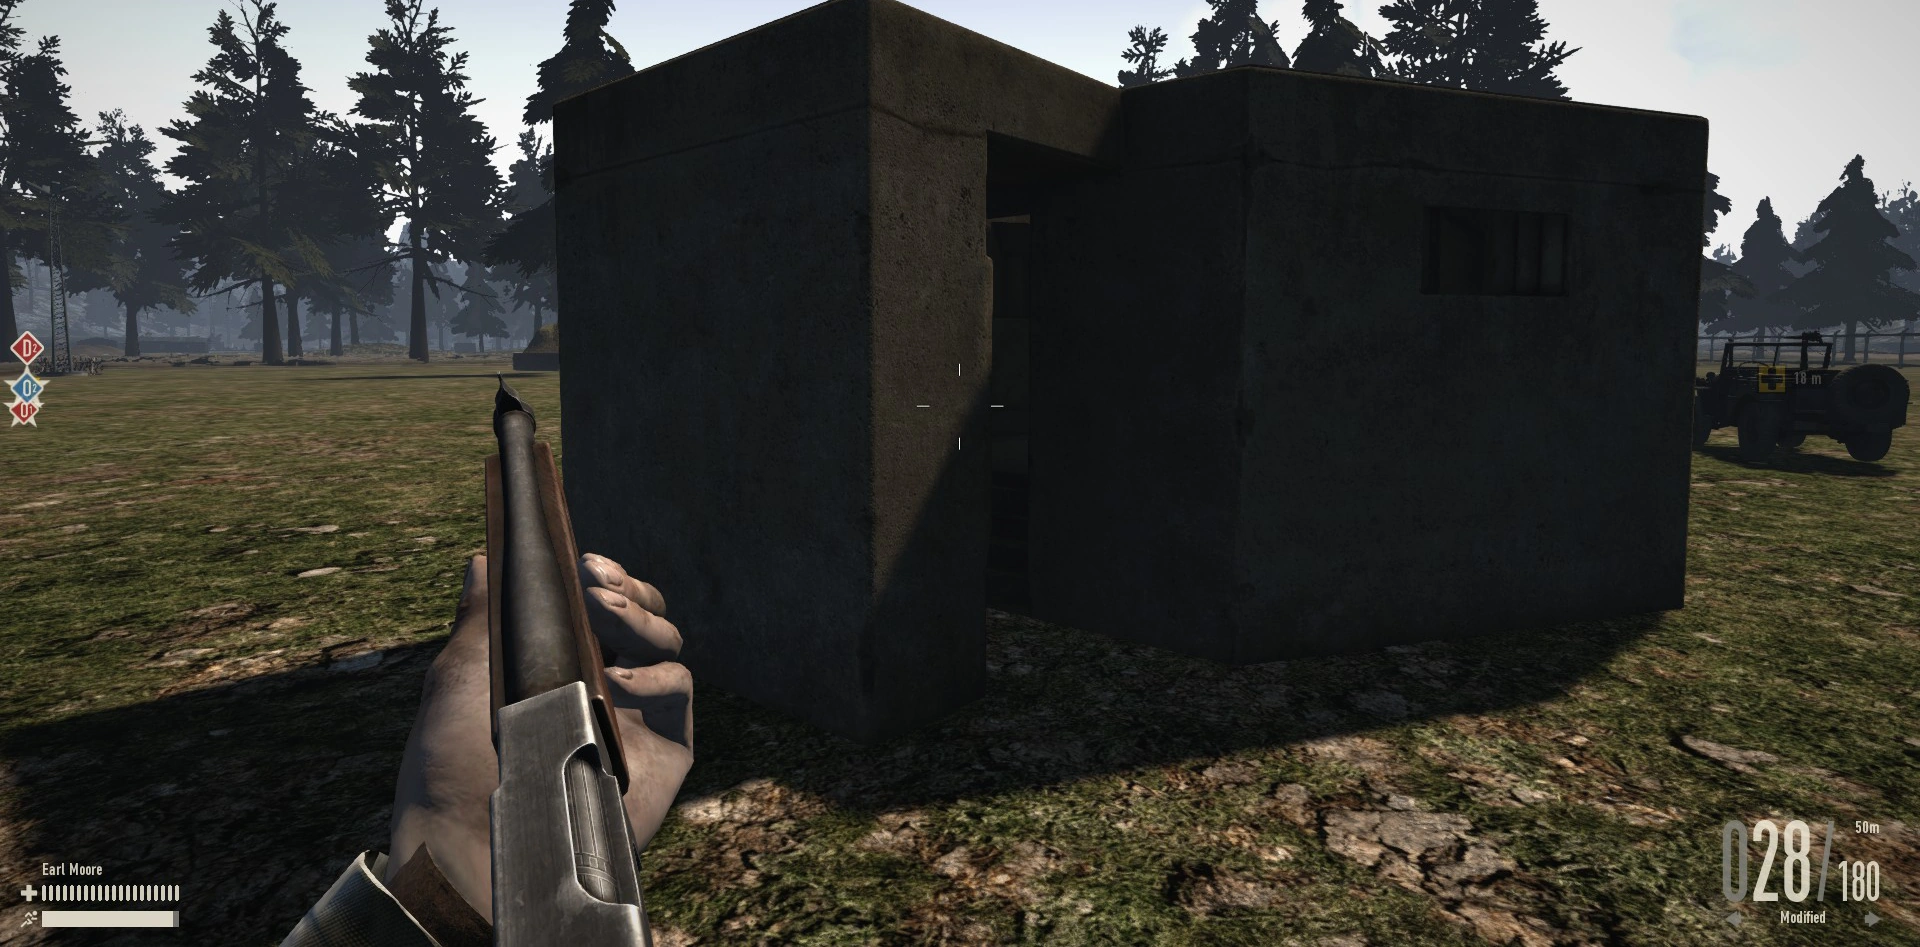
Points of Interest[ | ]
- Guard Towers
- Bunkers
- Tunnels