Description[ | ]
An airfield is a ![]() map point where airplanes are based while not in combat. Combat aircraft always have to travel between friendly airfields within the blue circle. Combat aircraft return to their base when a battle is finished, unless the assault team is annihilated. Transport planes also have to move between Airfields before selecting a city or skirmish to assault.
map point where airplanes are based while not in combat. Combat aircraft always have to travel between friendly airfields within the blue circle. Combat aircraft return to their base when a battle is finished, unless the assault team is annihilated. Transport planes also have to move between Airfields before selecting a city or skirmish to assault.
Layout[ | ]


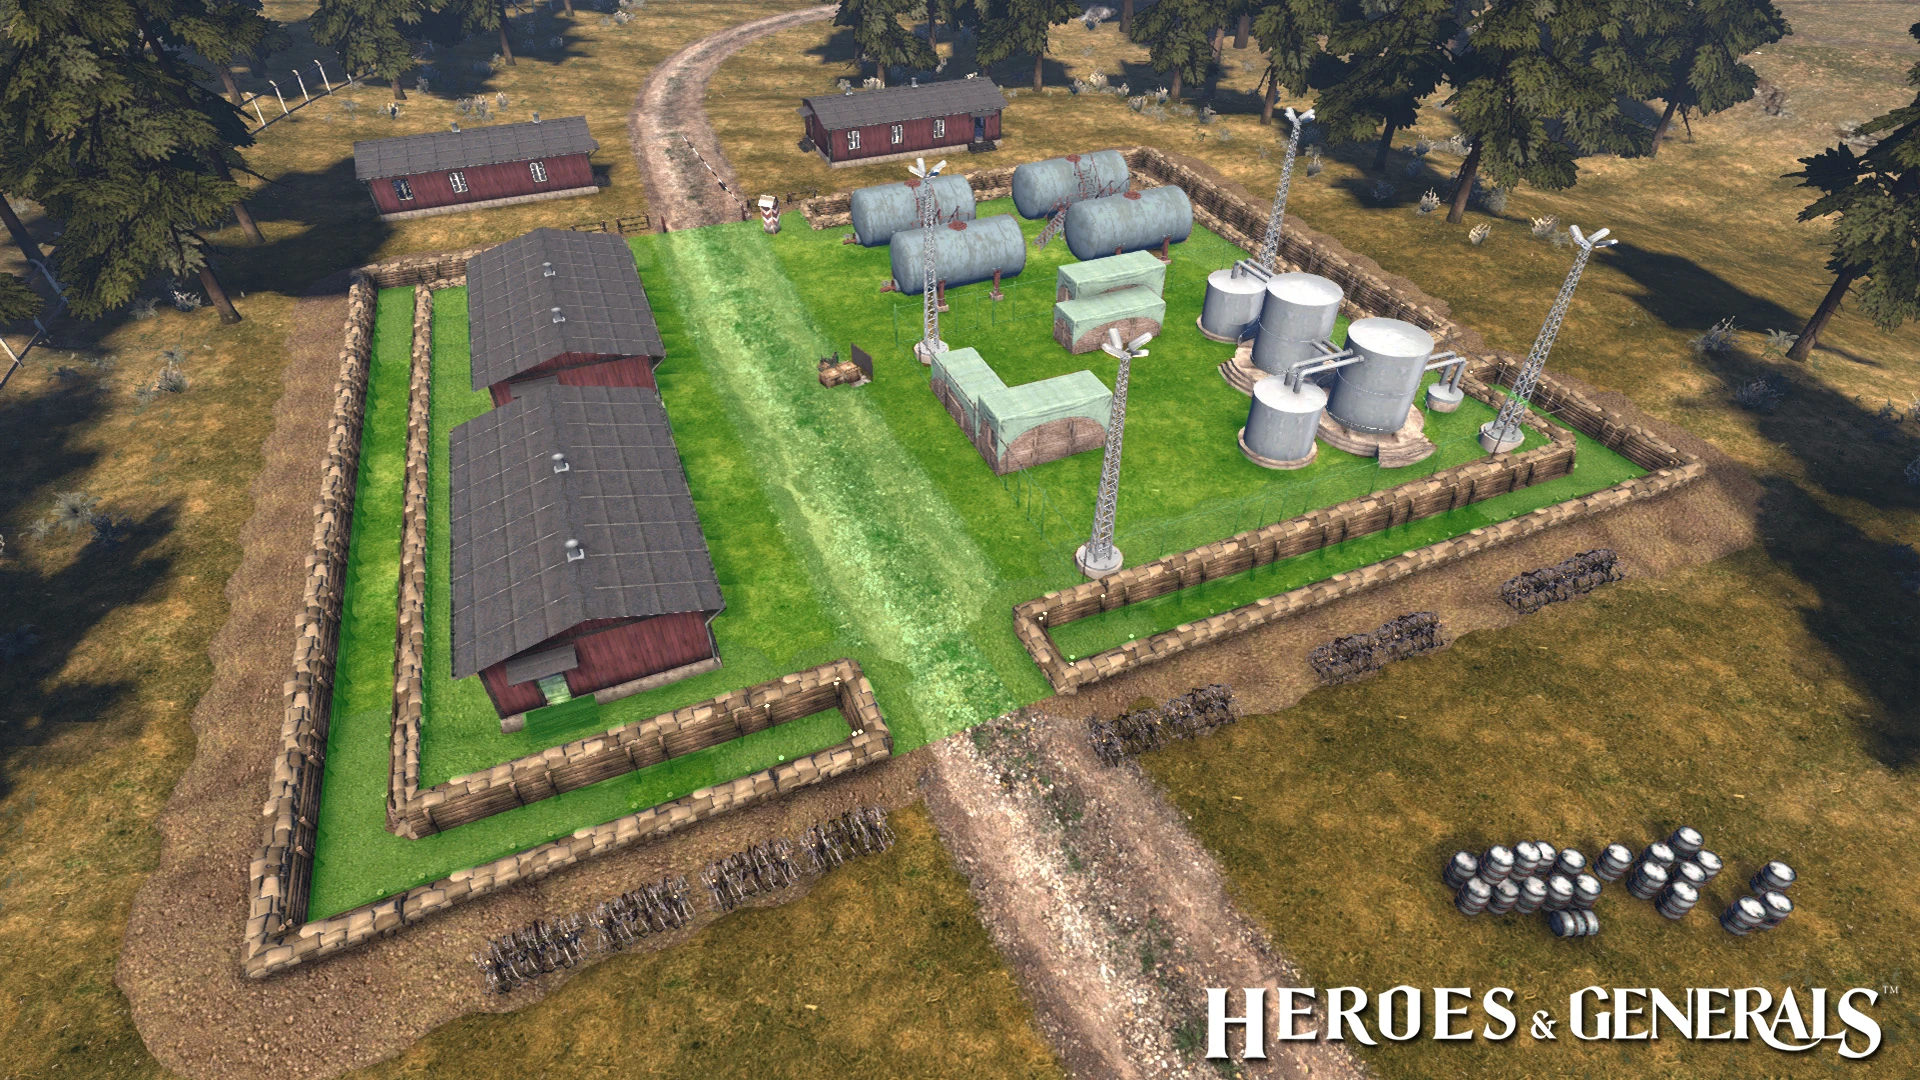
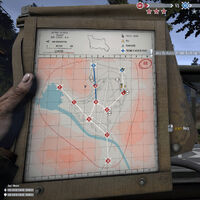
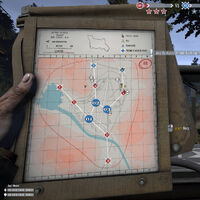
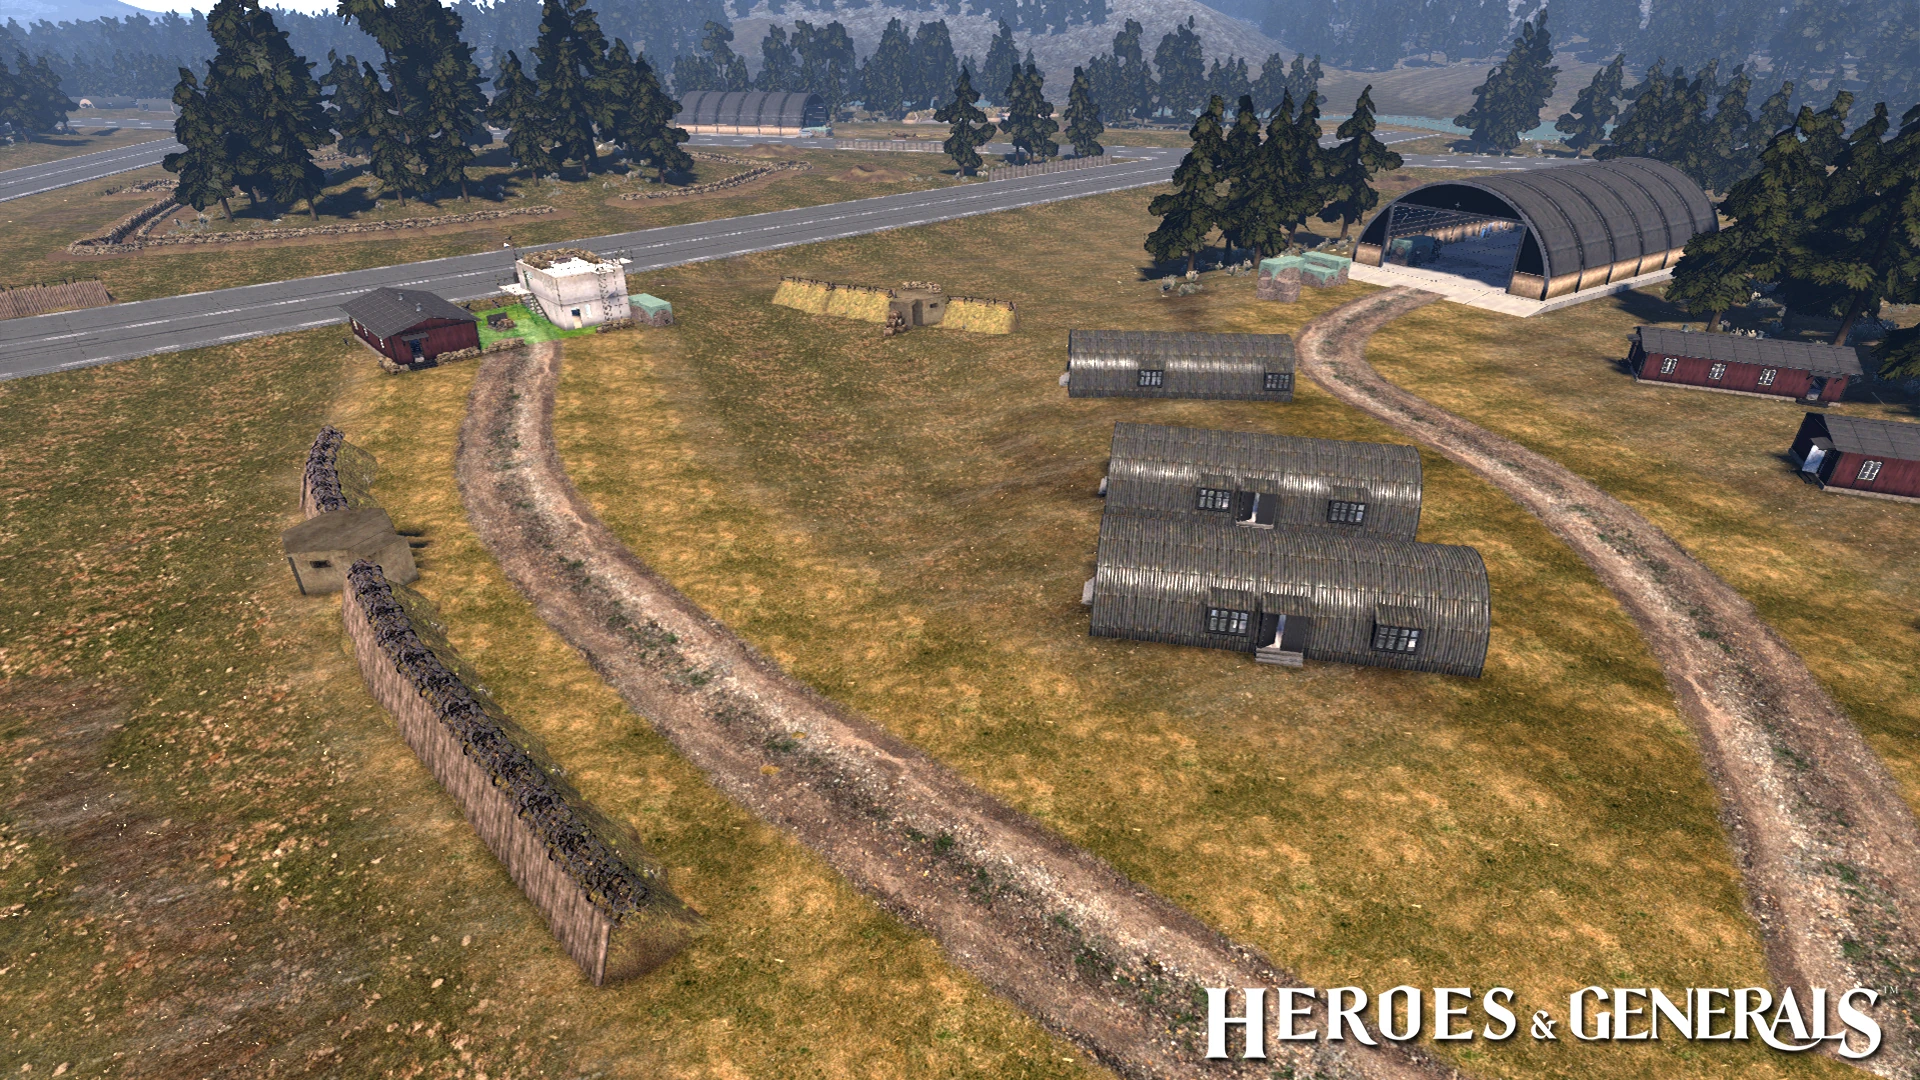
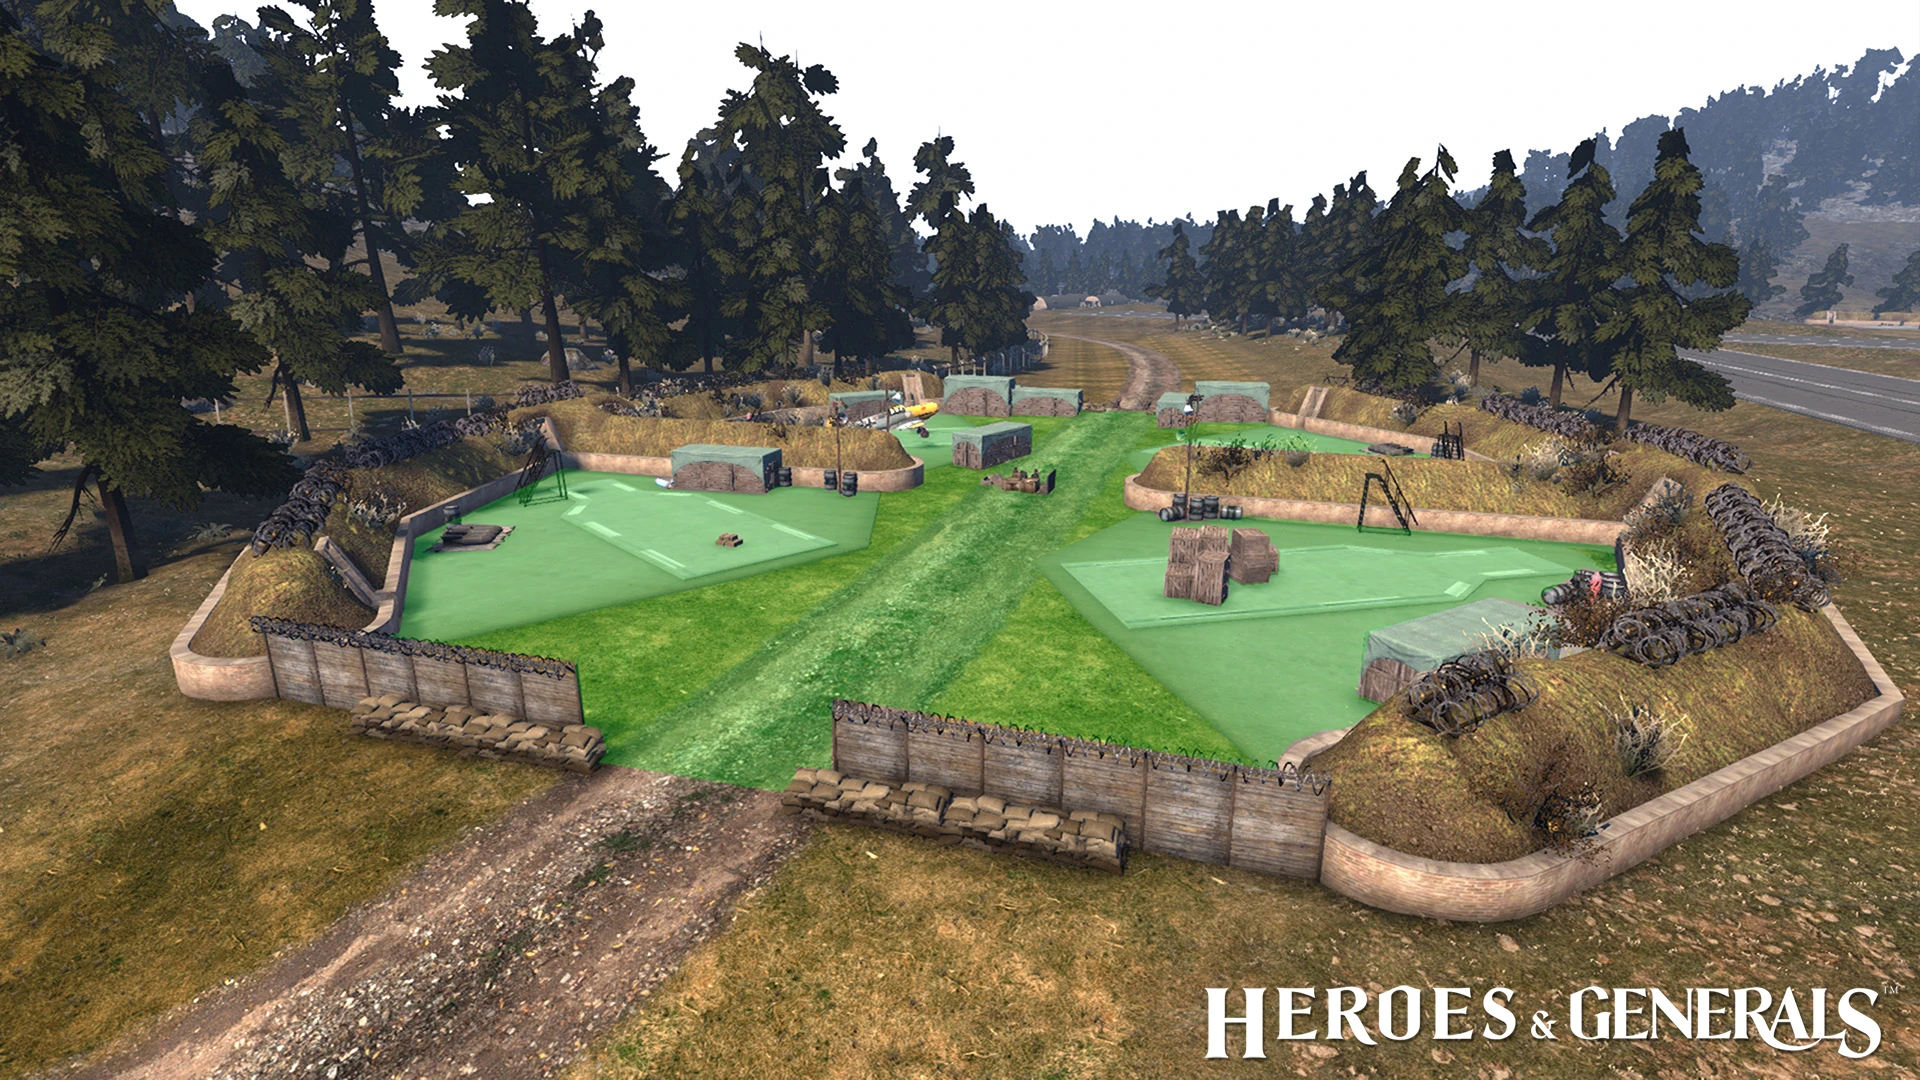
Map Layout
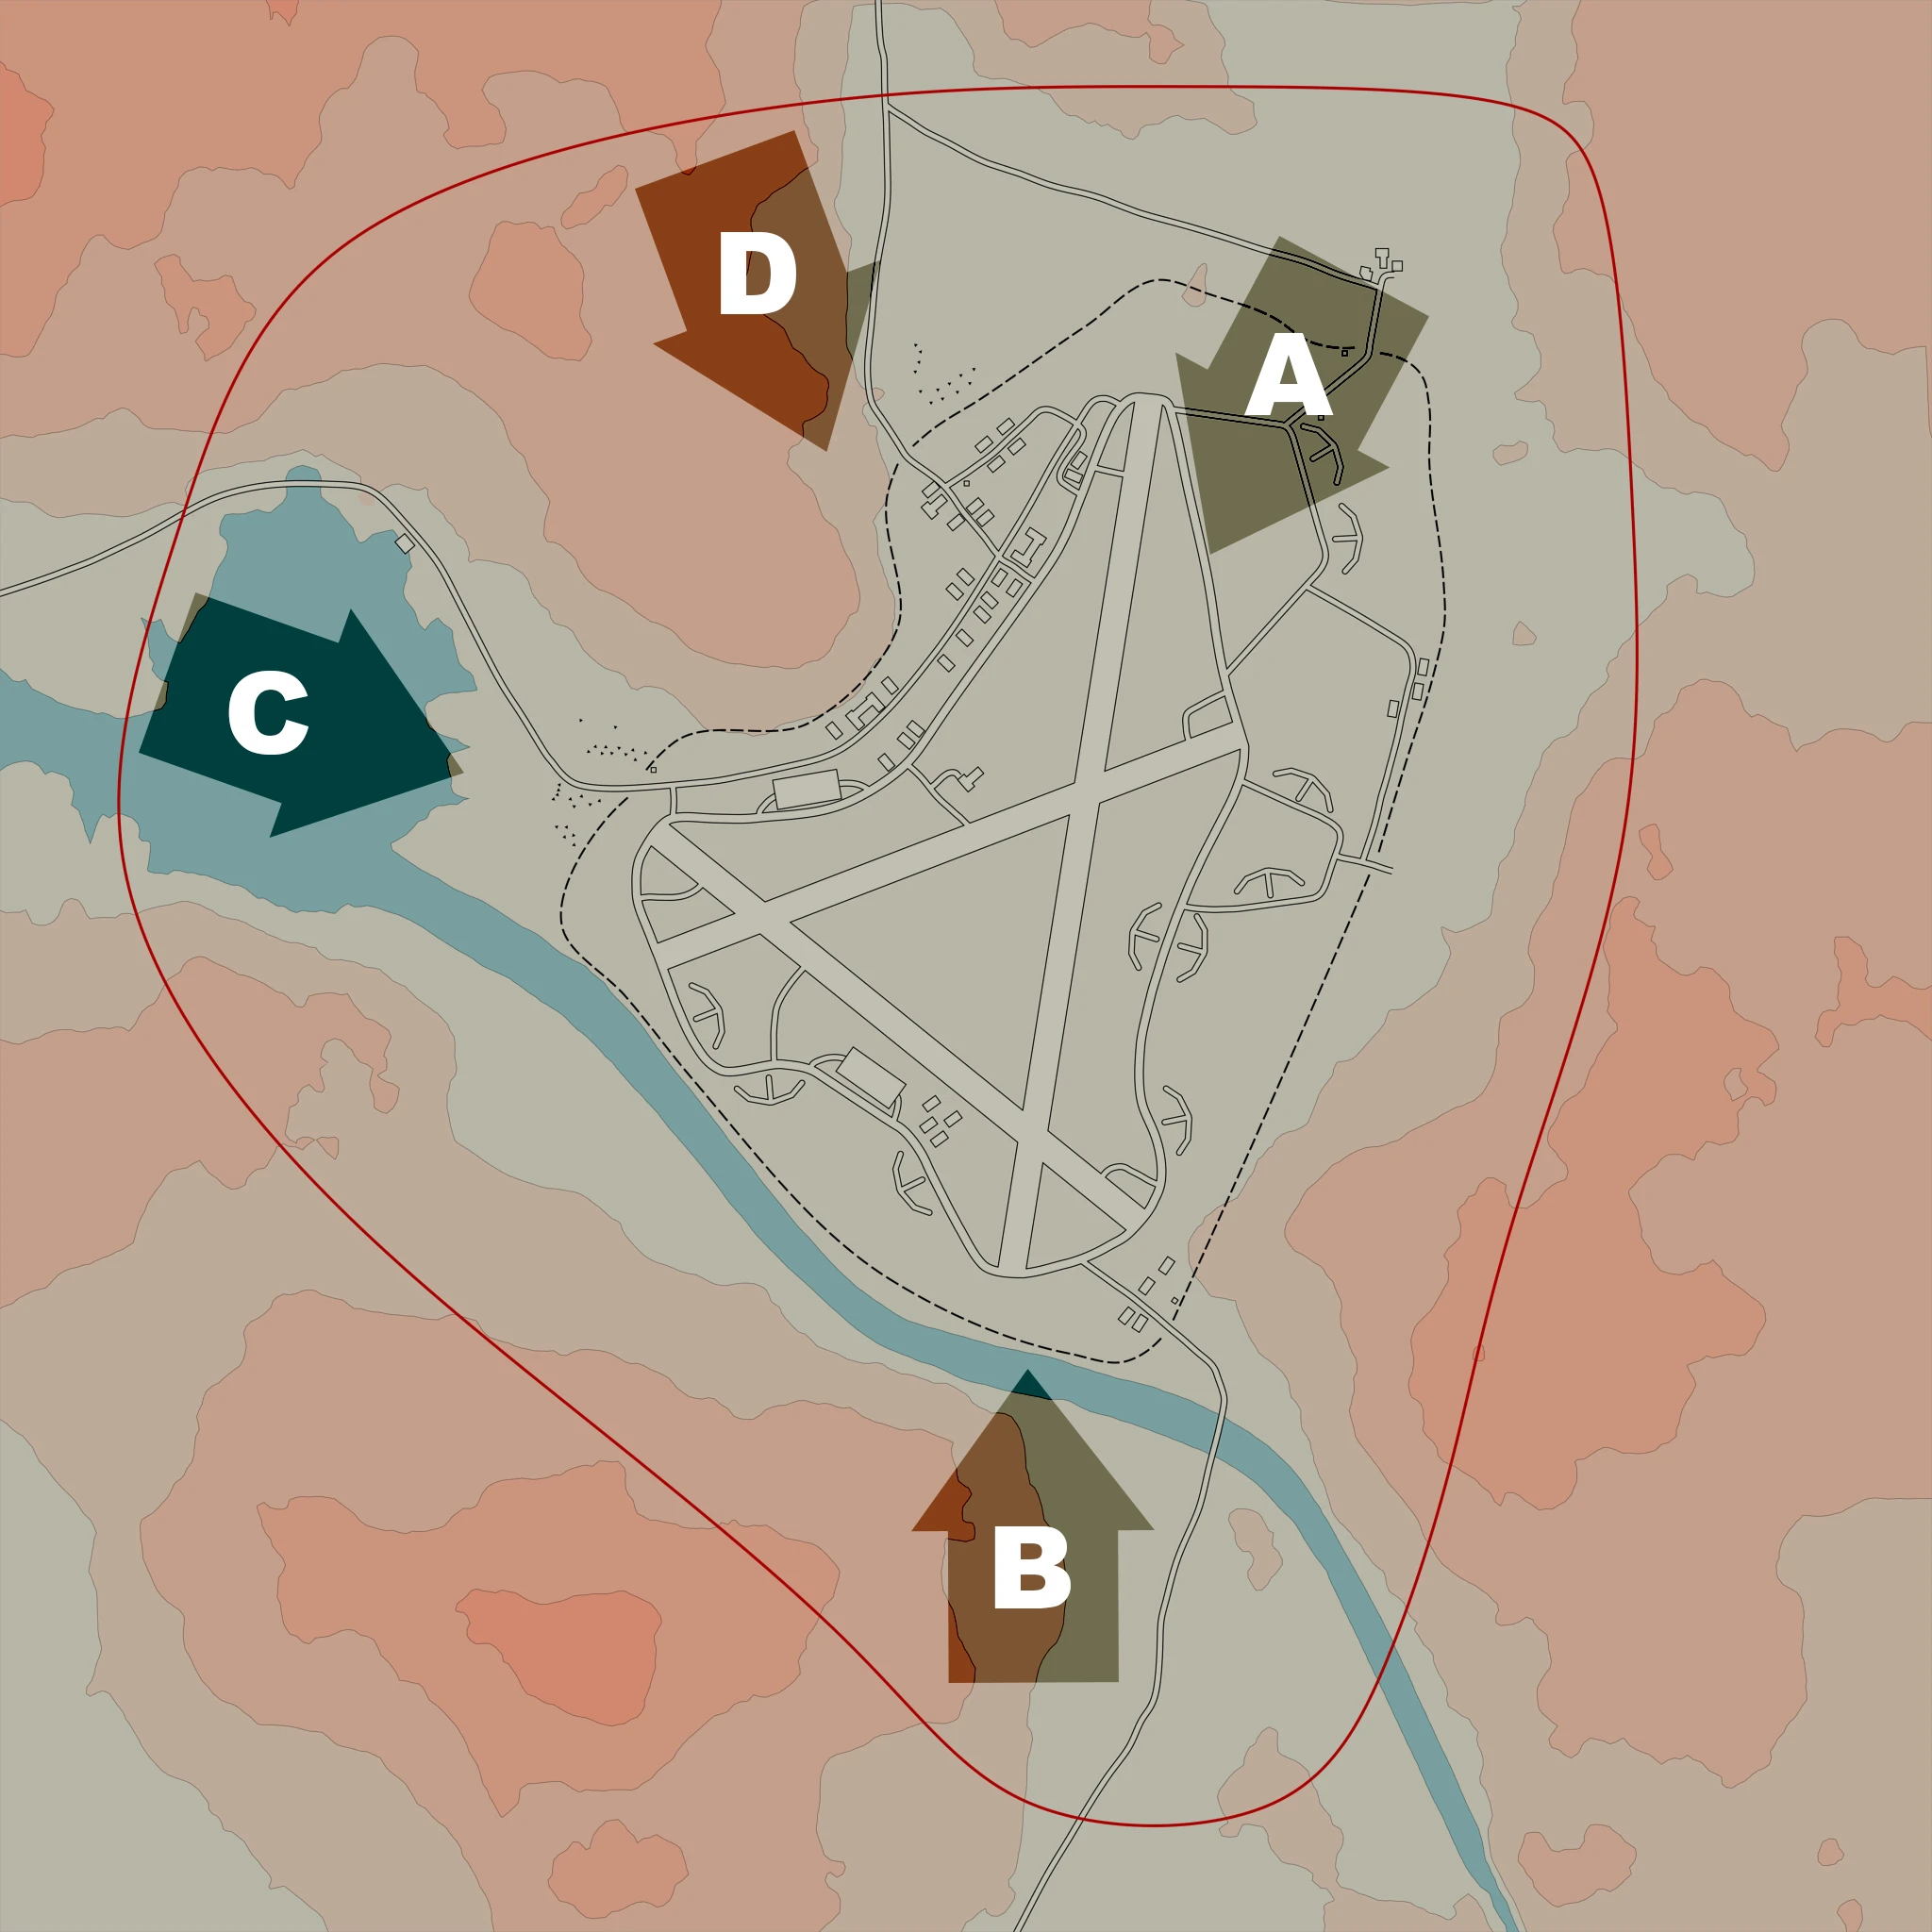
The airfield has three main objectives that you need to capture (O1, O2 and O3), which are located at the center of the map. Assault Teams can attack from four various routes. This depends on what access points they have captured before attacking the airfield. The center of the map has huge open areas and landing strips. Around the airfield there are hangars, bunkers, barracks, hills, a river and fences protecting it. You can damage these fences by driving against it with your vehicle, if you have enough speed. The main objectives are an airplane hangar (O1), a control tower (O2) and a fighter dispersal pen (O3). You need to either capture all three or successfully defend all three objectives to win the battle. Defenders keep the airfield when winning, while attackers take over the airfield if they win. Both B and C lines can unlock the hangar (O1) after capturing B2 or C2. D line can unlock the control tower (O2) and A line can unlock the fighter dispersal pen (O3). Capturing the hangar unlocks the control tower (O2) and capturing the control tower unlocks the fighter dispersal pen (O3). You can also unlock the control tower after capturing the fighter dispersal pen (O3) from the A line. Because of the many open spaces this area is very prone to attacks from planes, Recon, and tanks. Various coverage points have been added to help survive the battle on this map. Barracks scattered over the airfield can provide great cover and also the bunkers with underground tunnels provide great cover or sneak attack options. The airfield has a total of four anti-aircraft guns.
A Line[ | ]


'A' Line
This attack line takes you towards the fighter dispersal pen (O3) as your first main objective to capture.
A1[ | ]
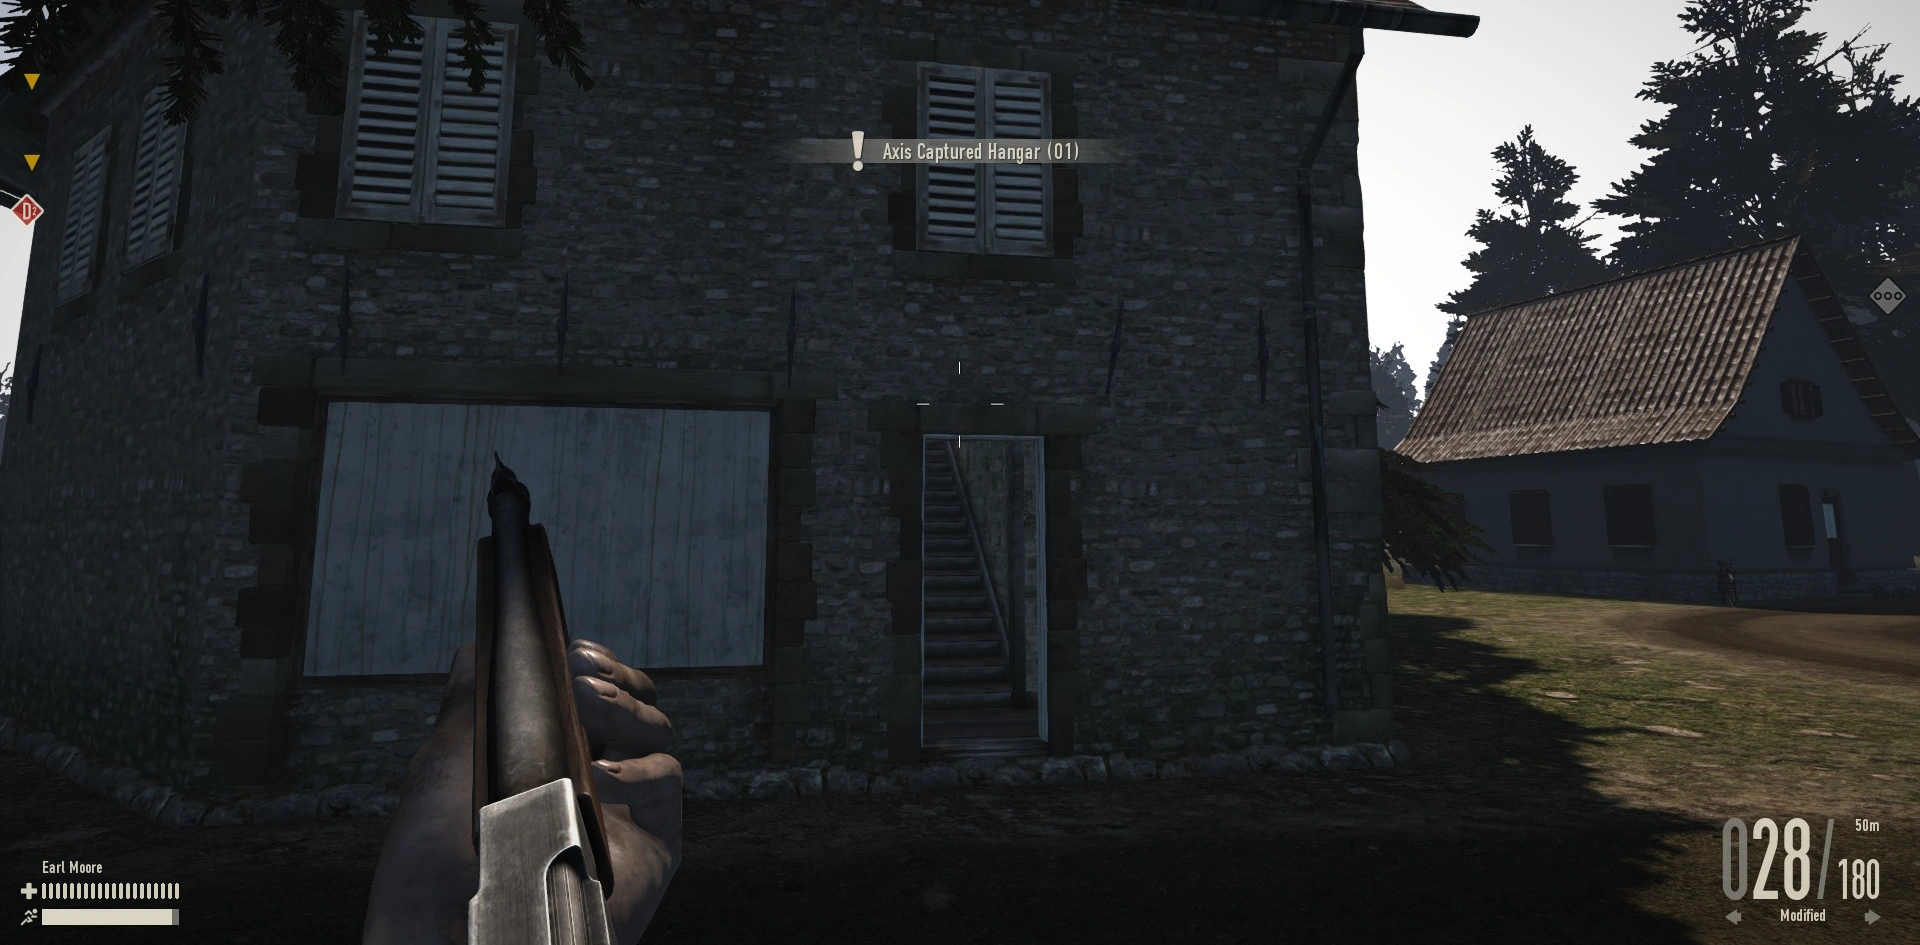
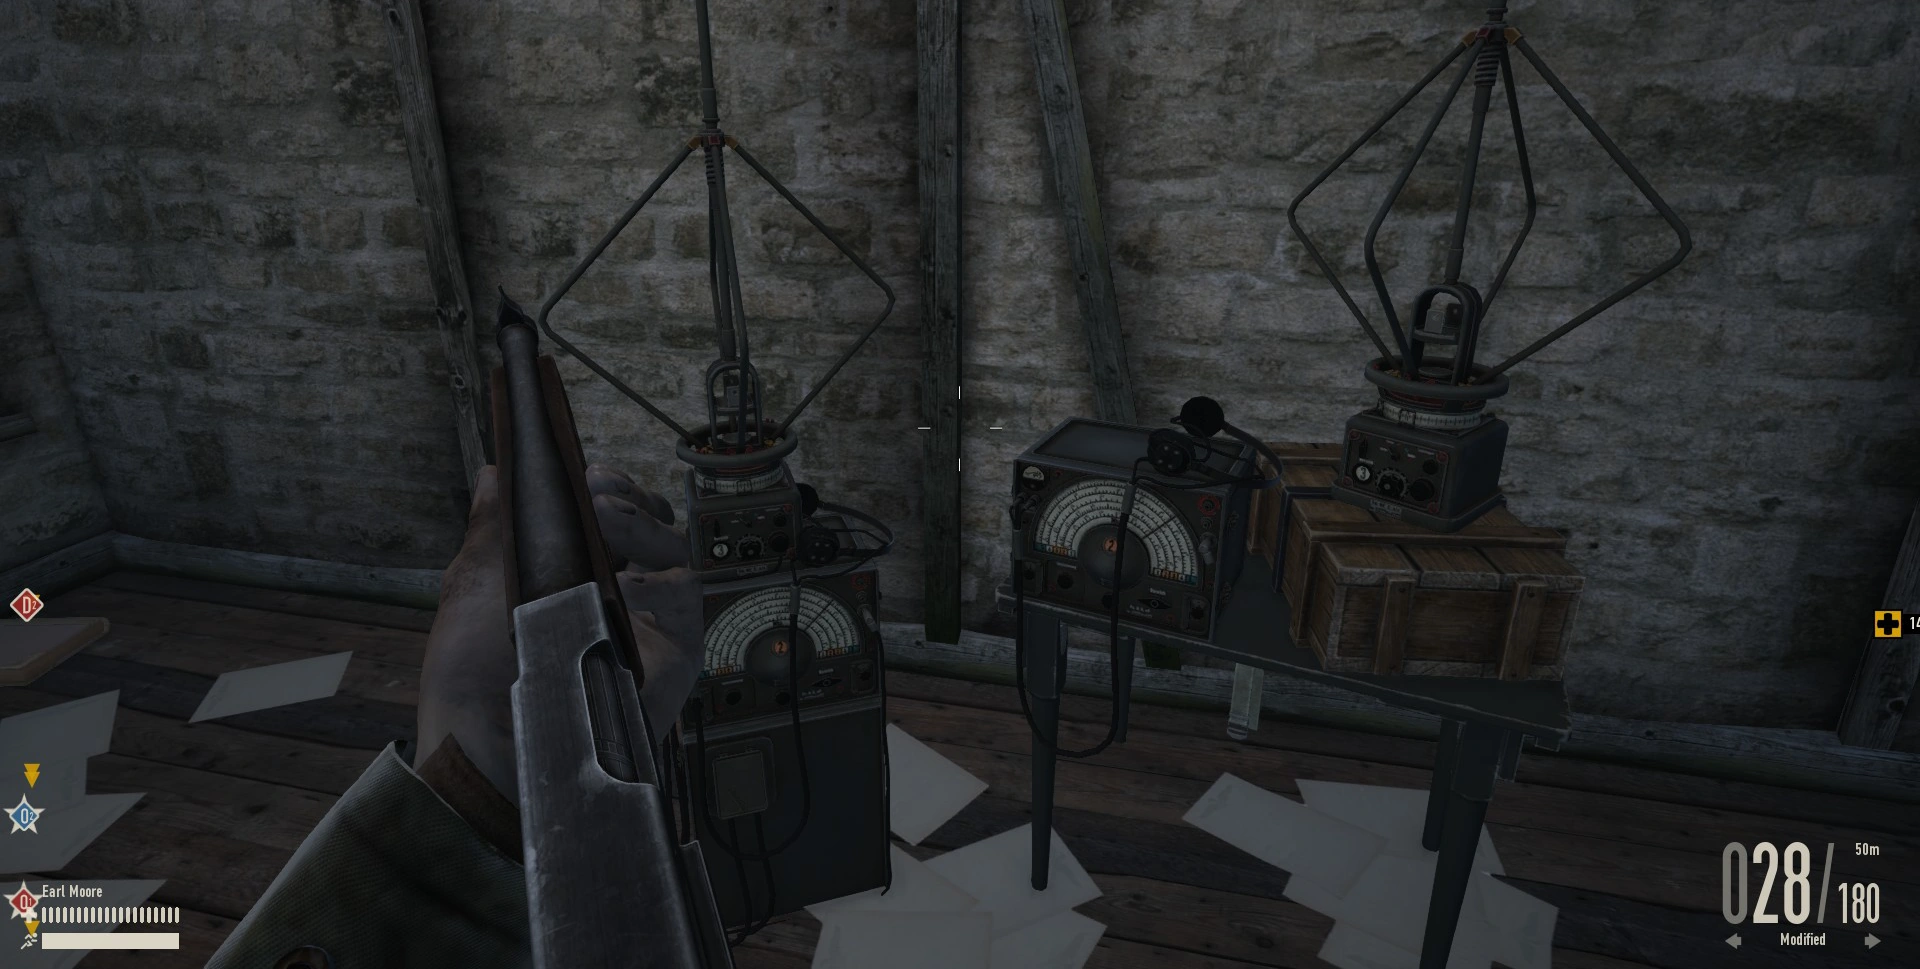
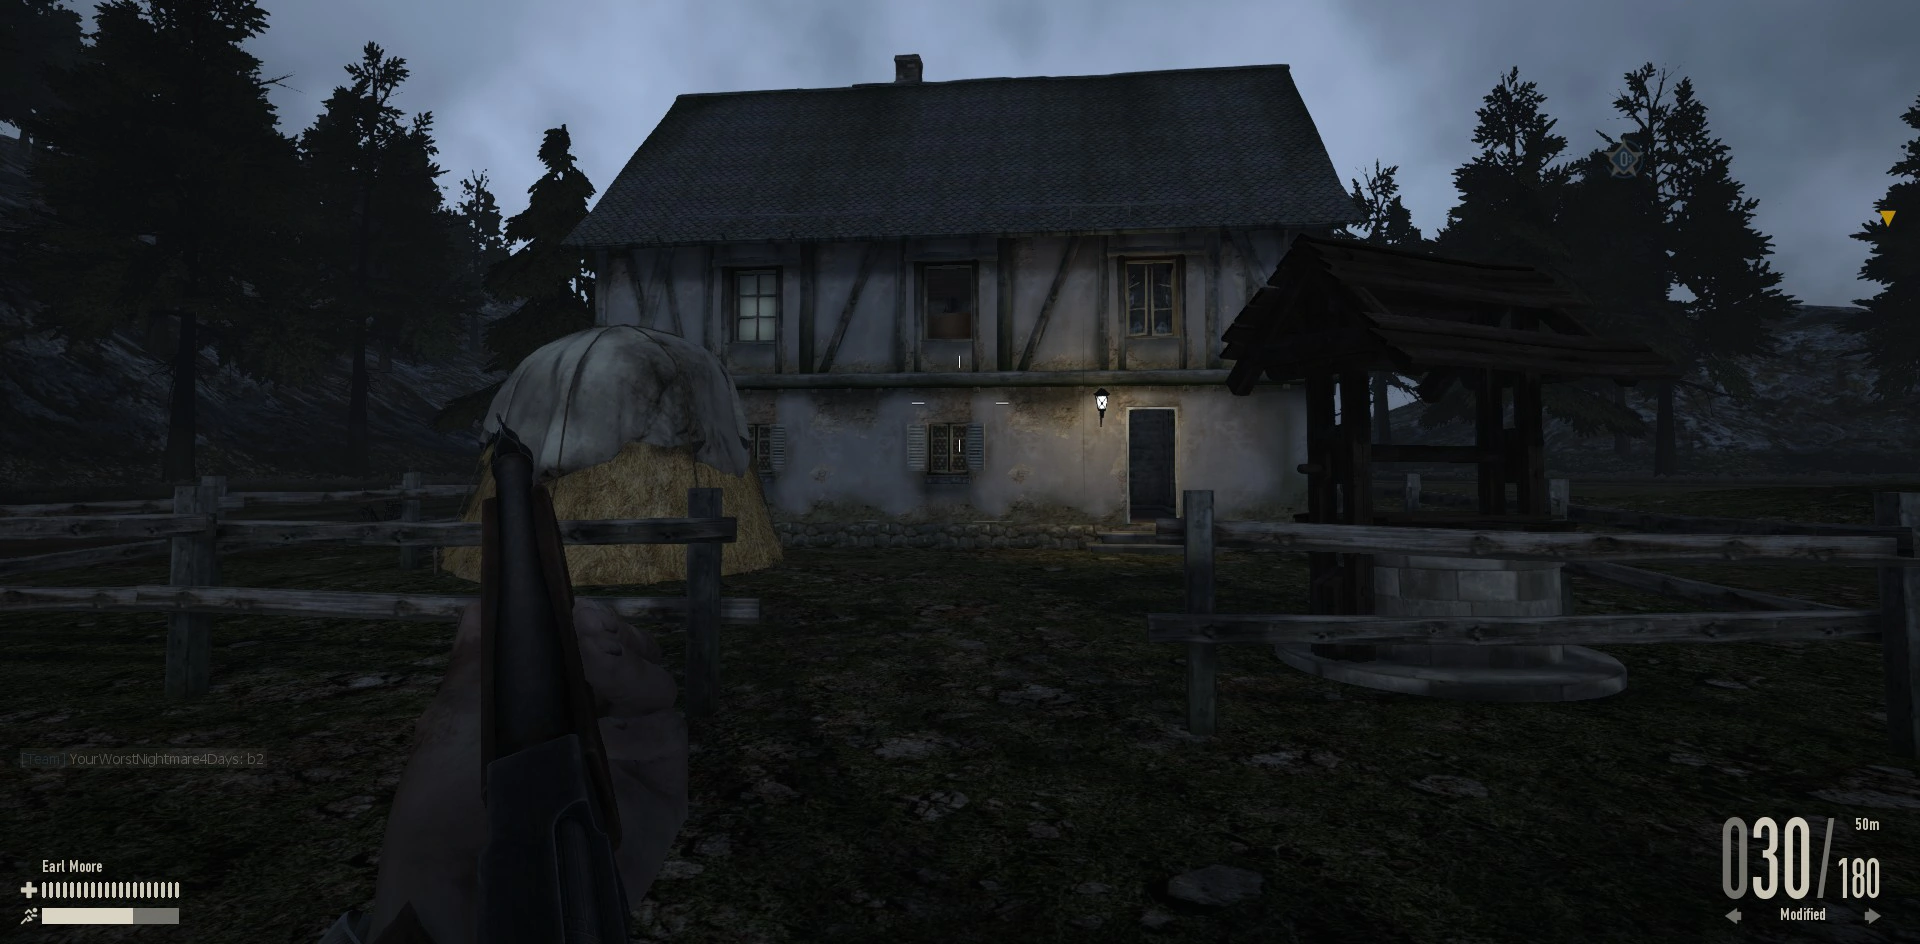
Two houses and a small shack is what you will notice when you spawn here. The radio room is located in the house located on the west. This starter point takes you towards the fuel depot (A2), which you need to capture as quick as possible. Always check your map at the start of the game to see if the opponent team holds D line as they can use that line to flank you quickly after the game starts. From A1 to A2 you can travel by either the road straight forward, the hill side to the east of A1 or from the center of the map.
Highlights

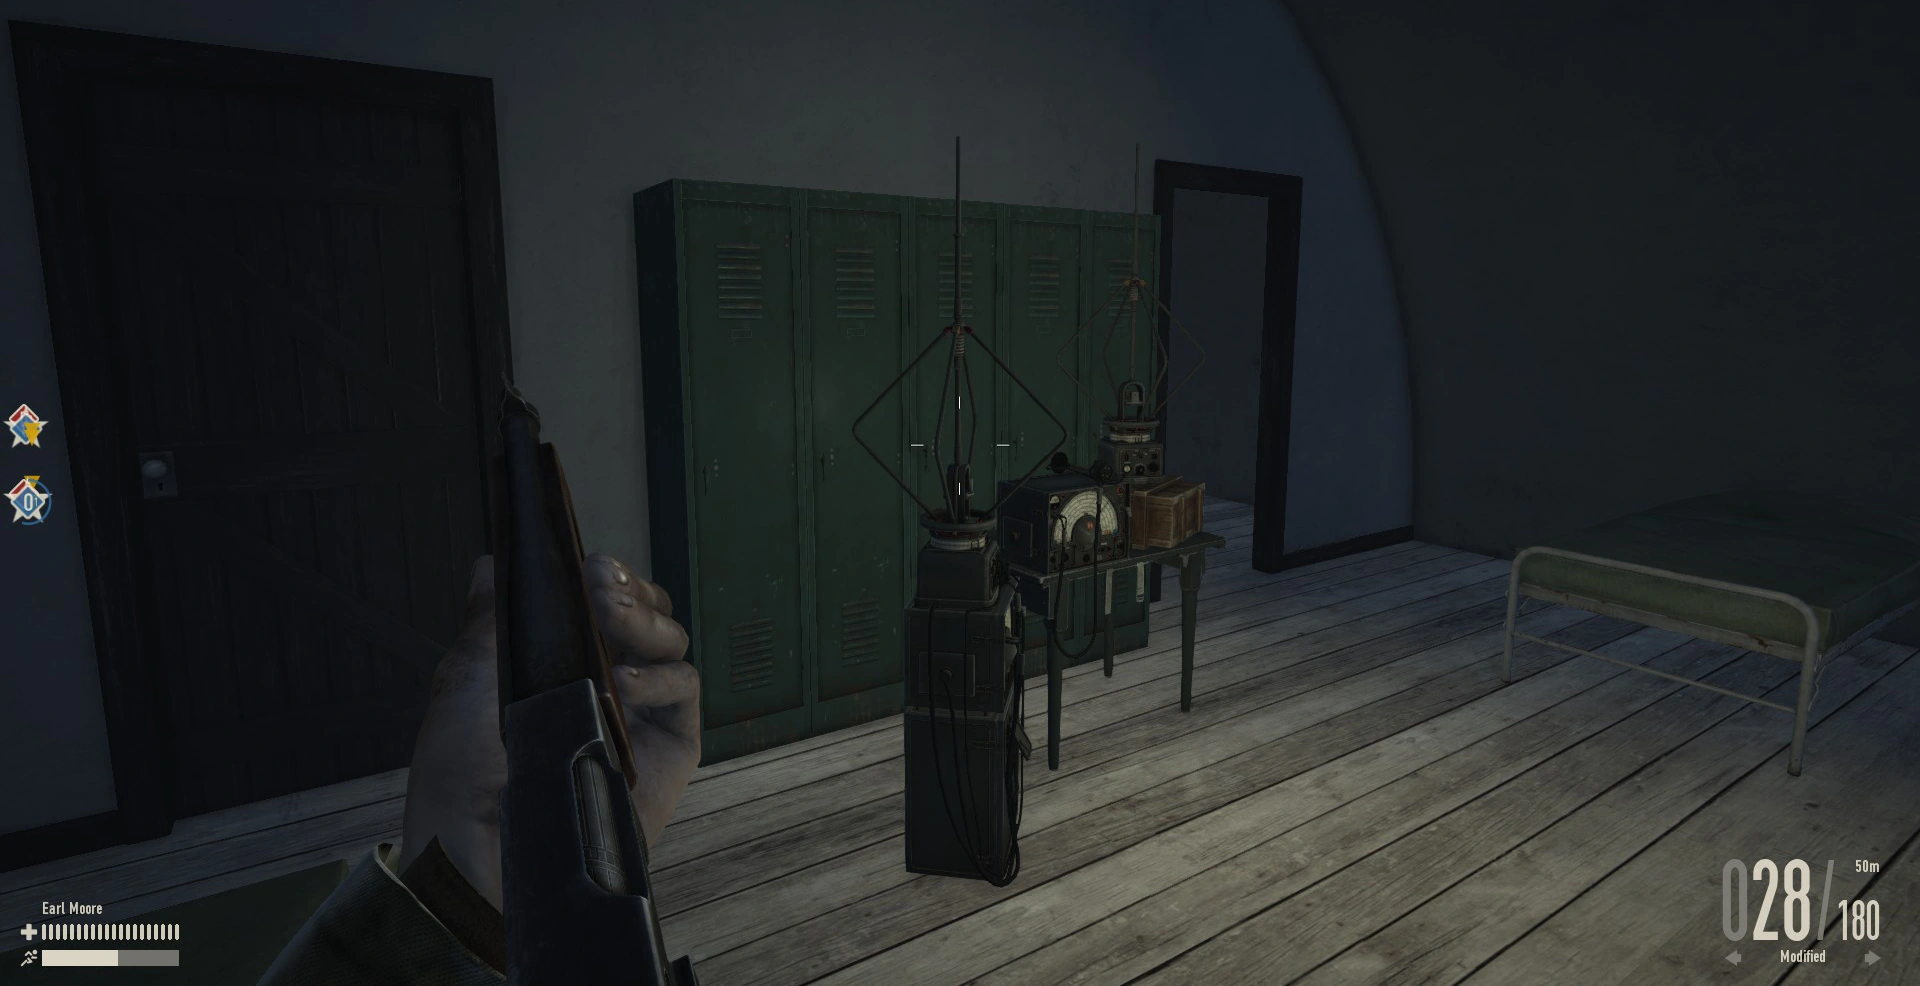
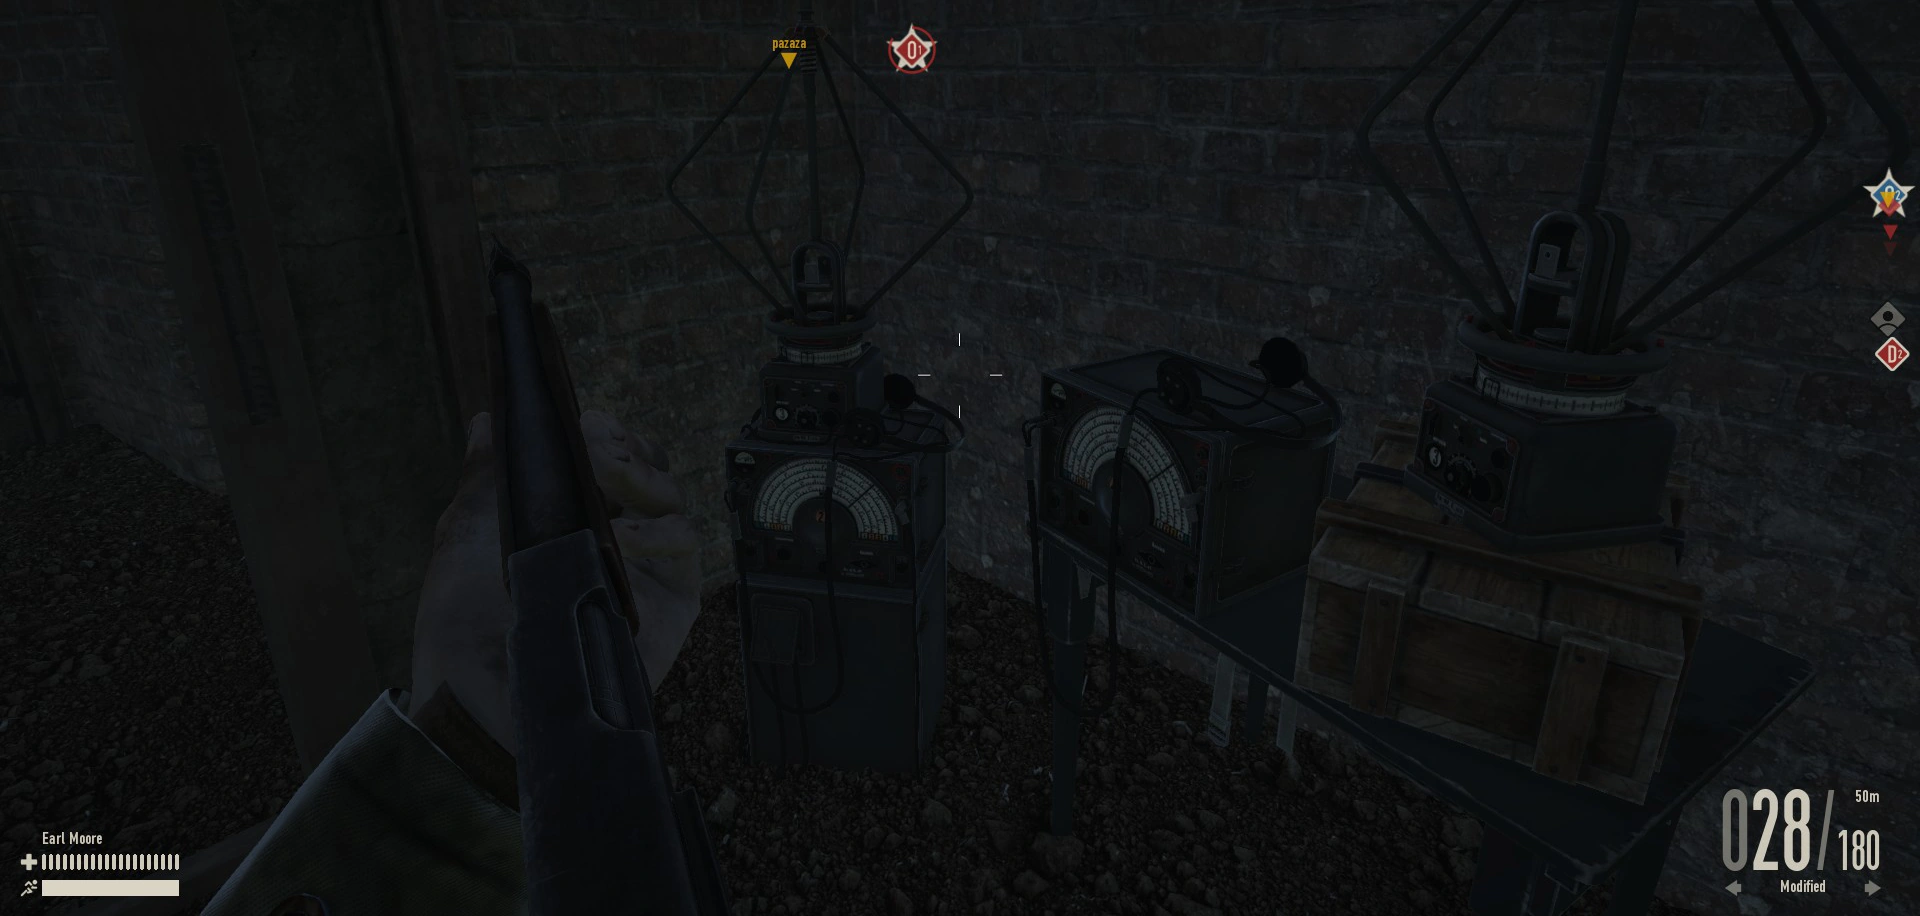
- Radio House

- Radio Room
A2[ | ]
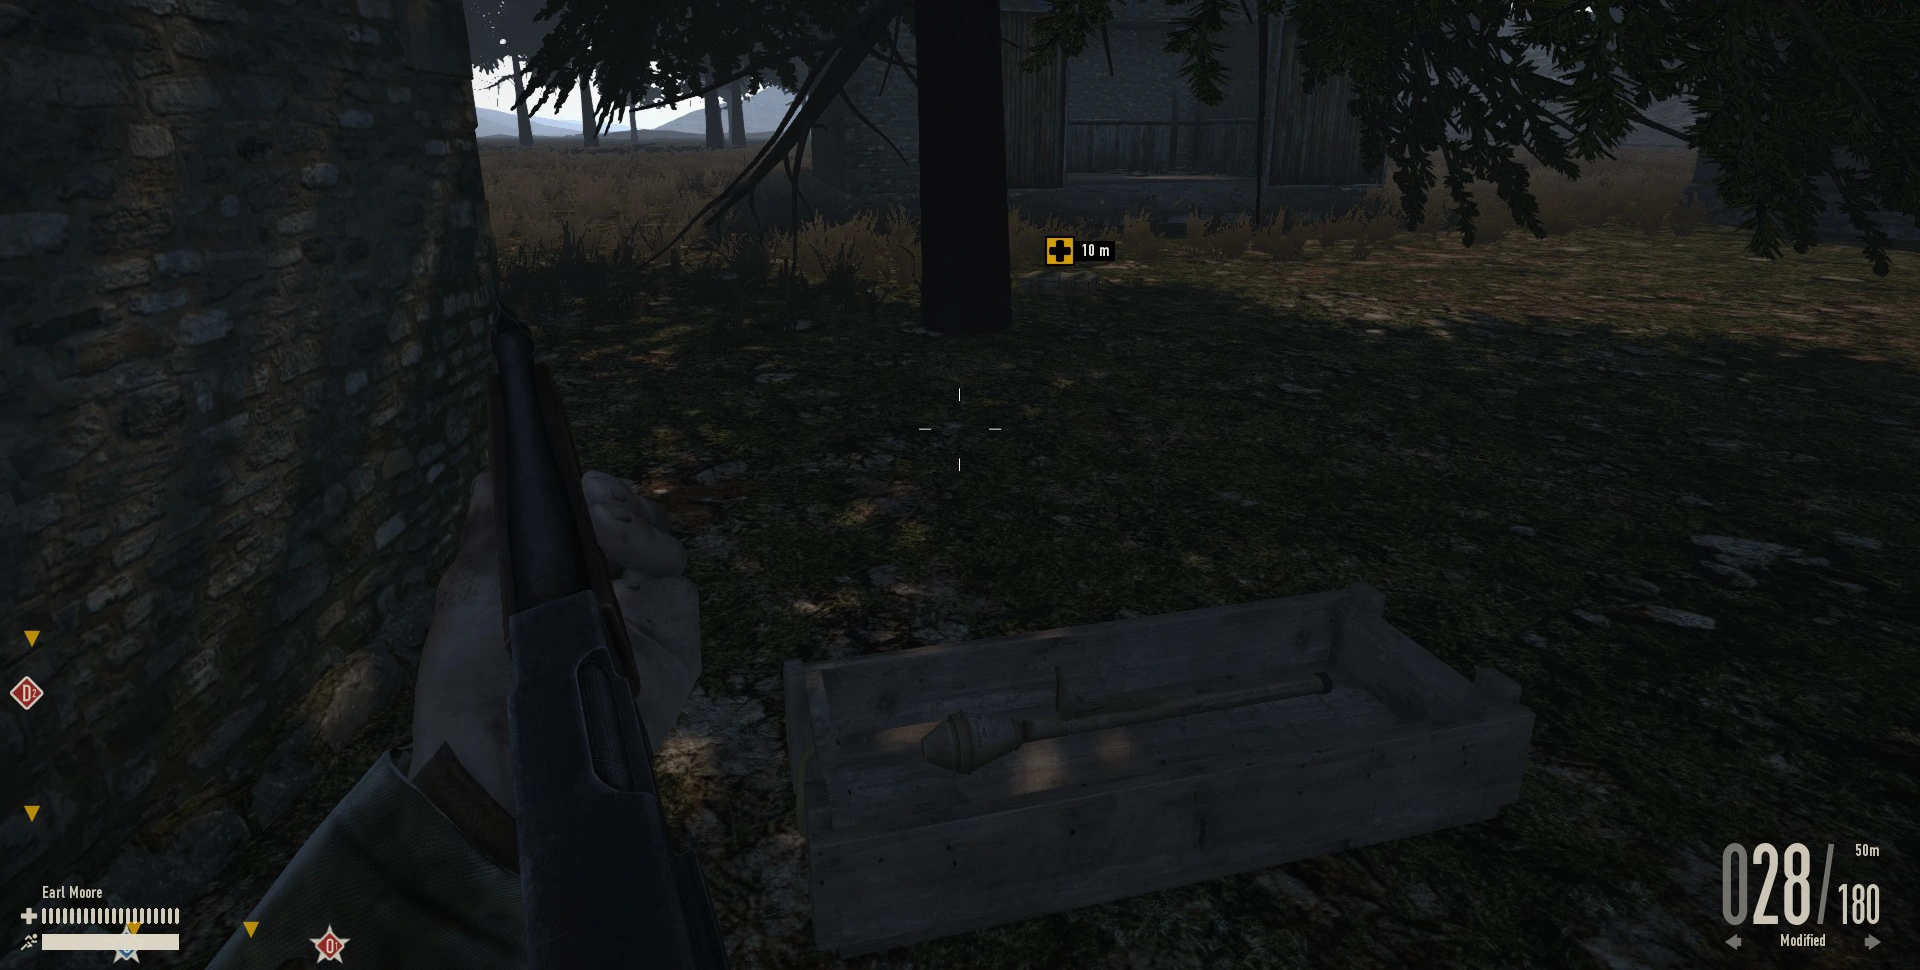
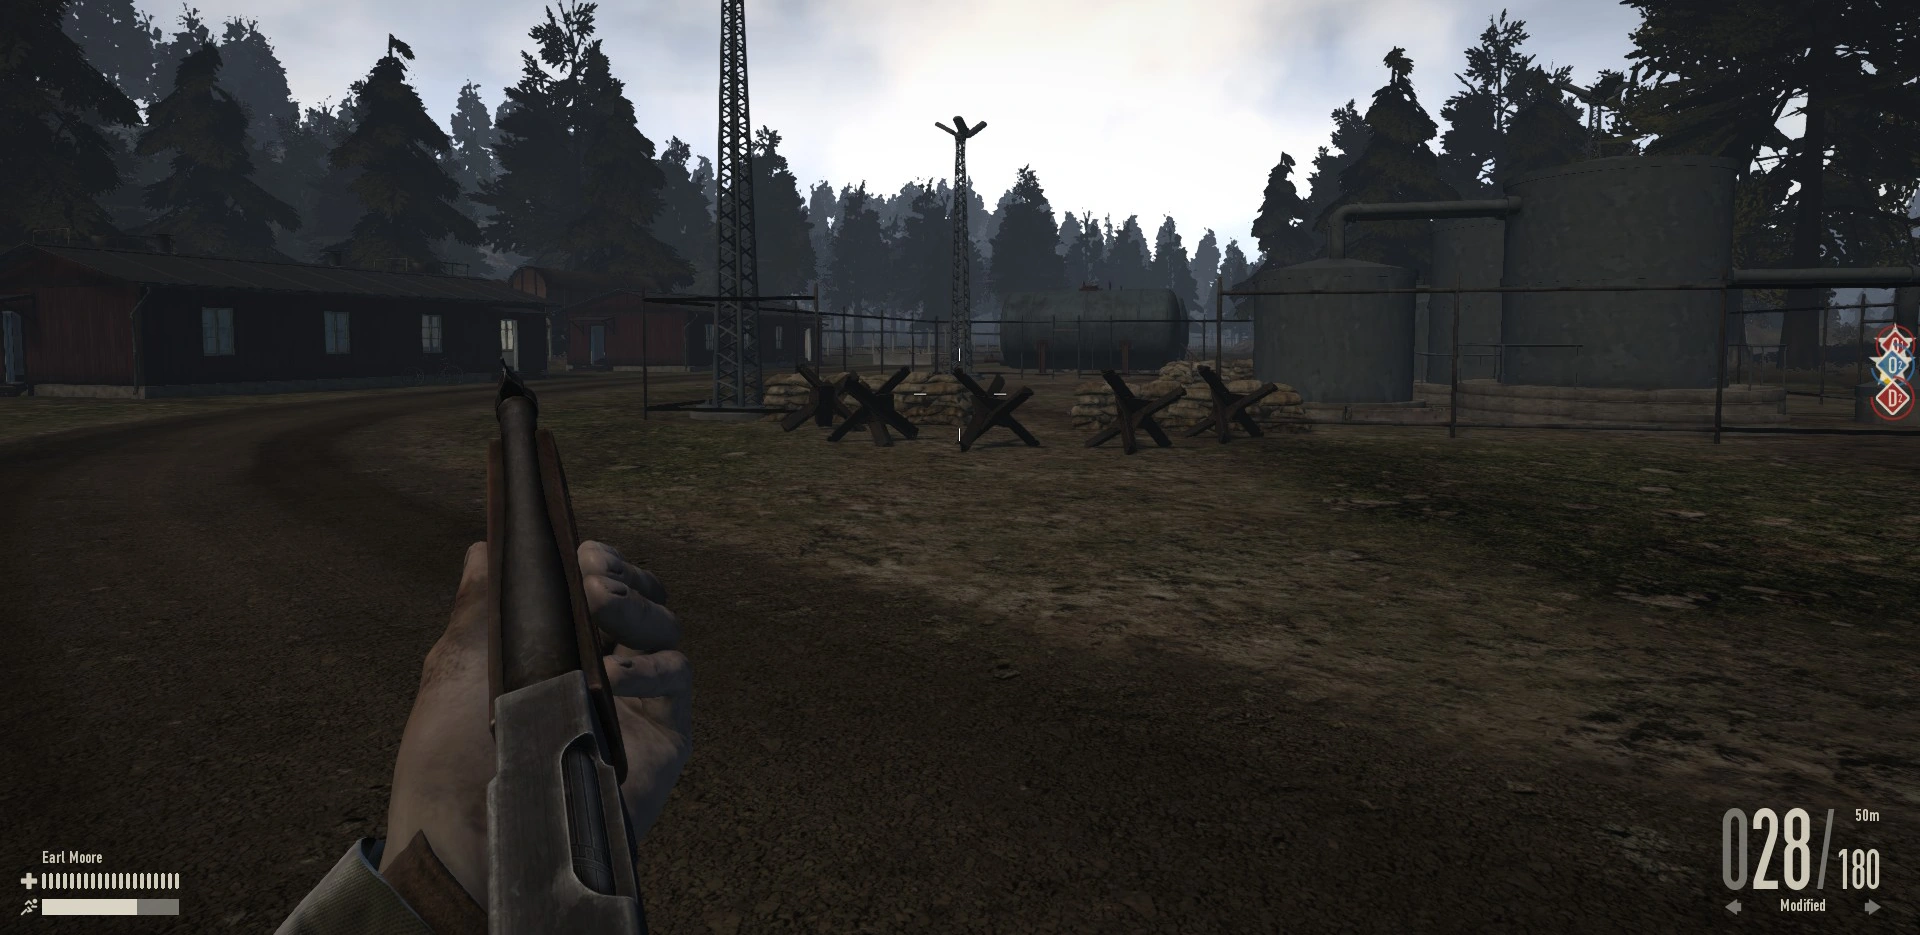
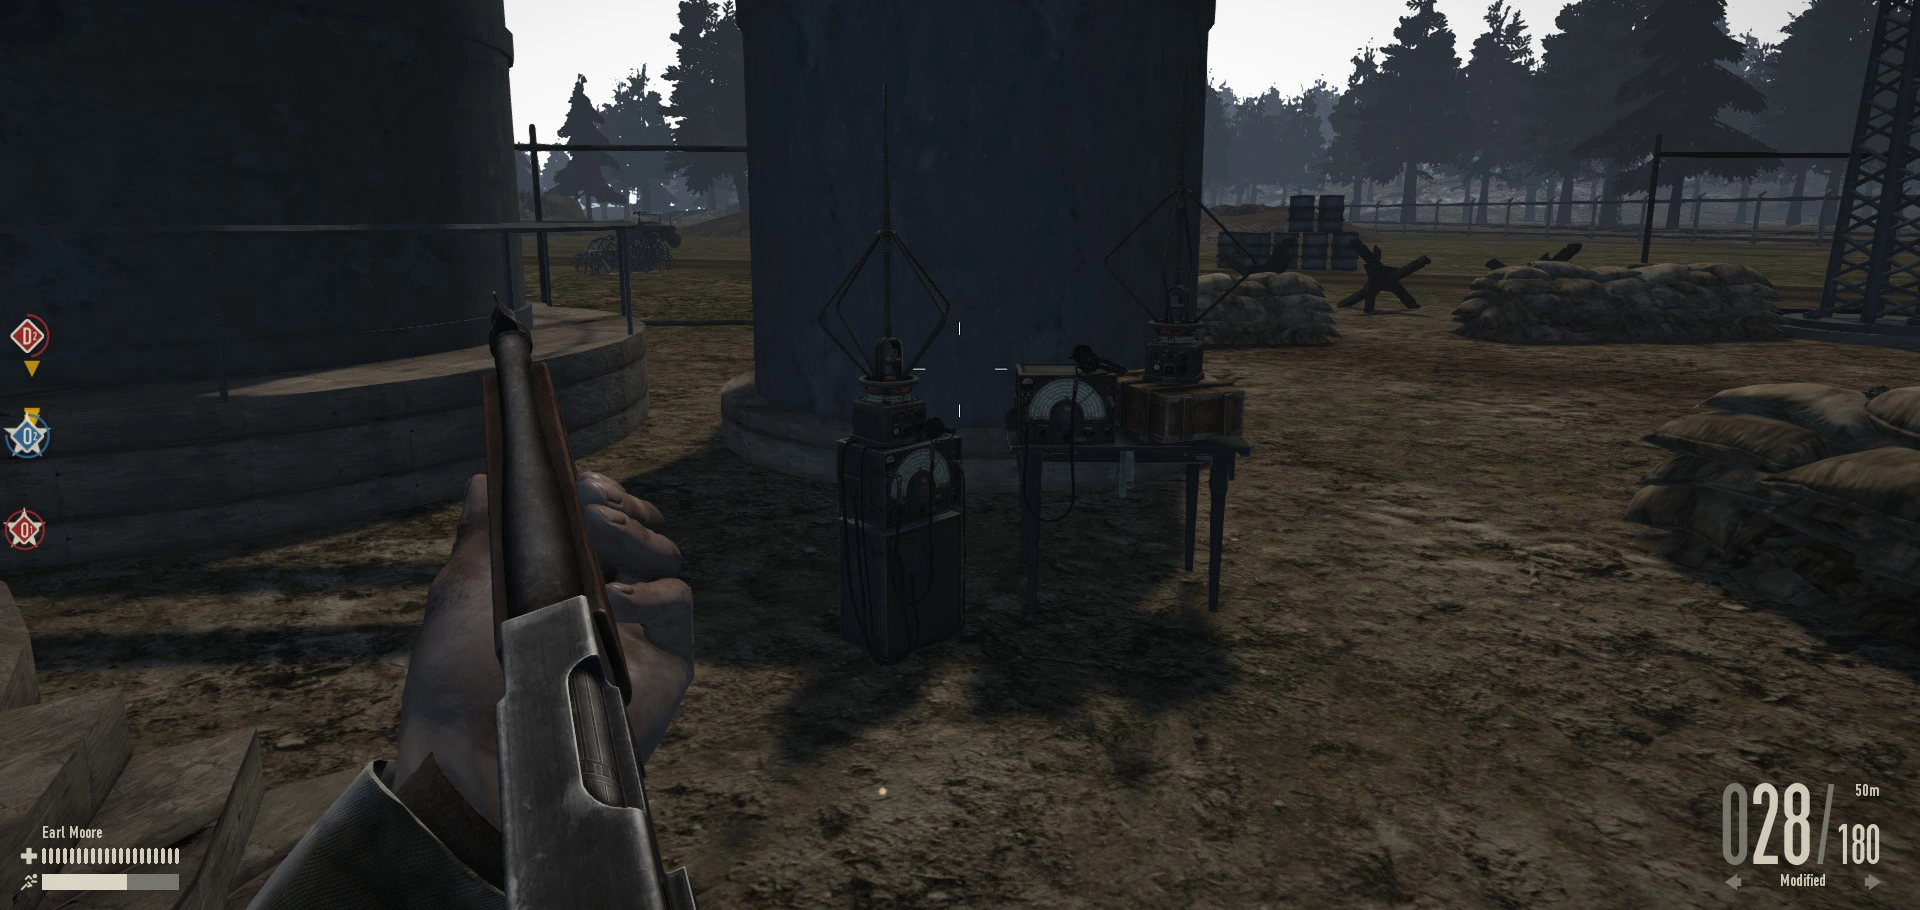
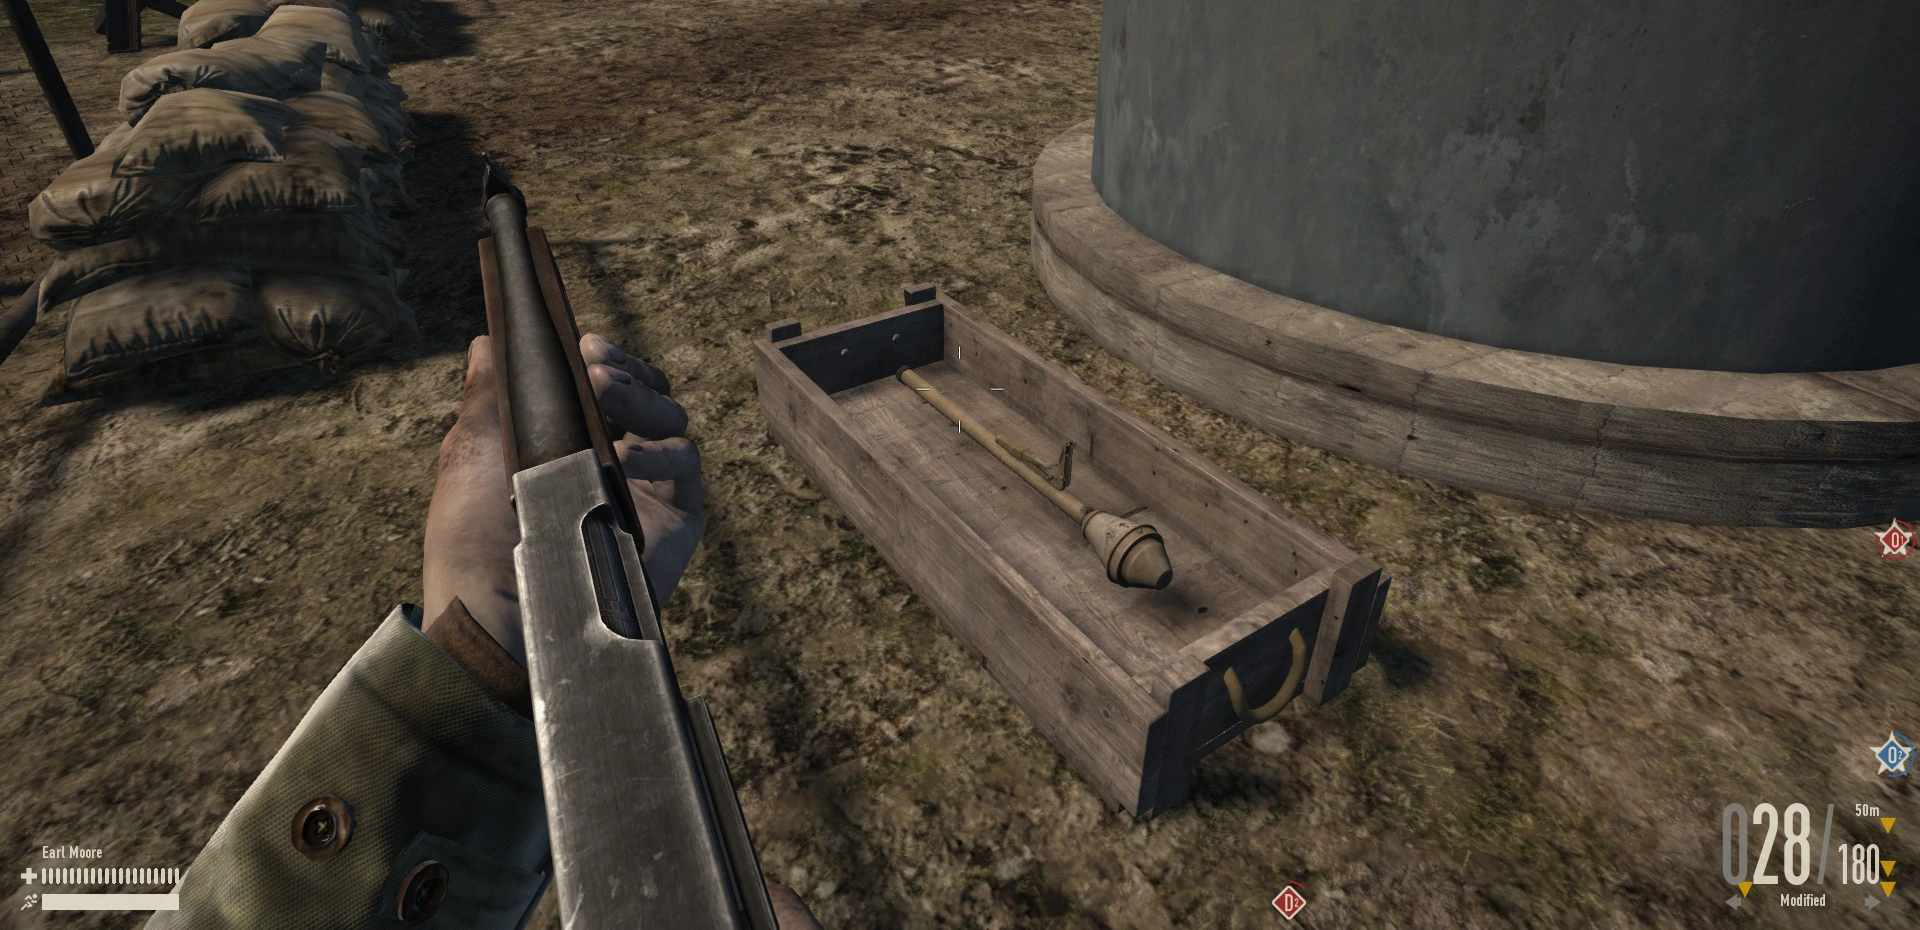
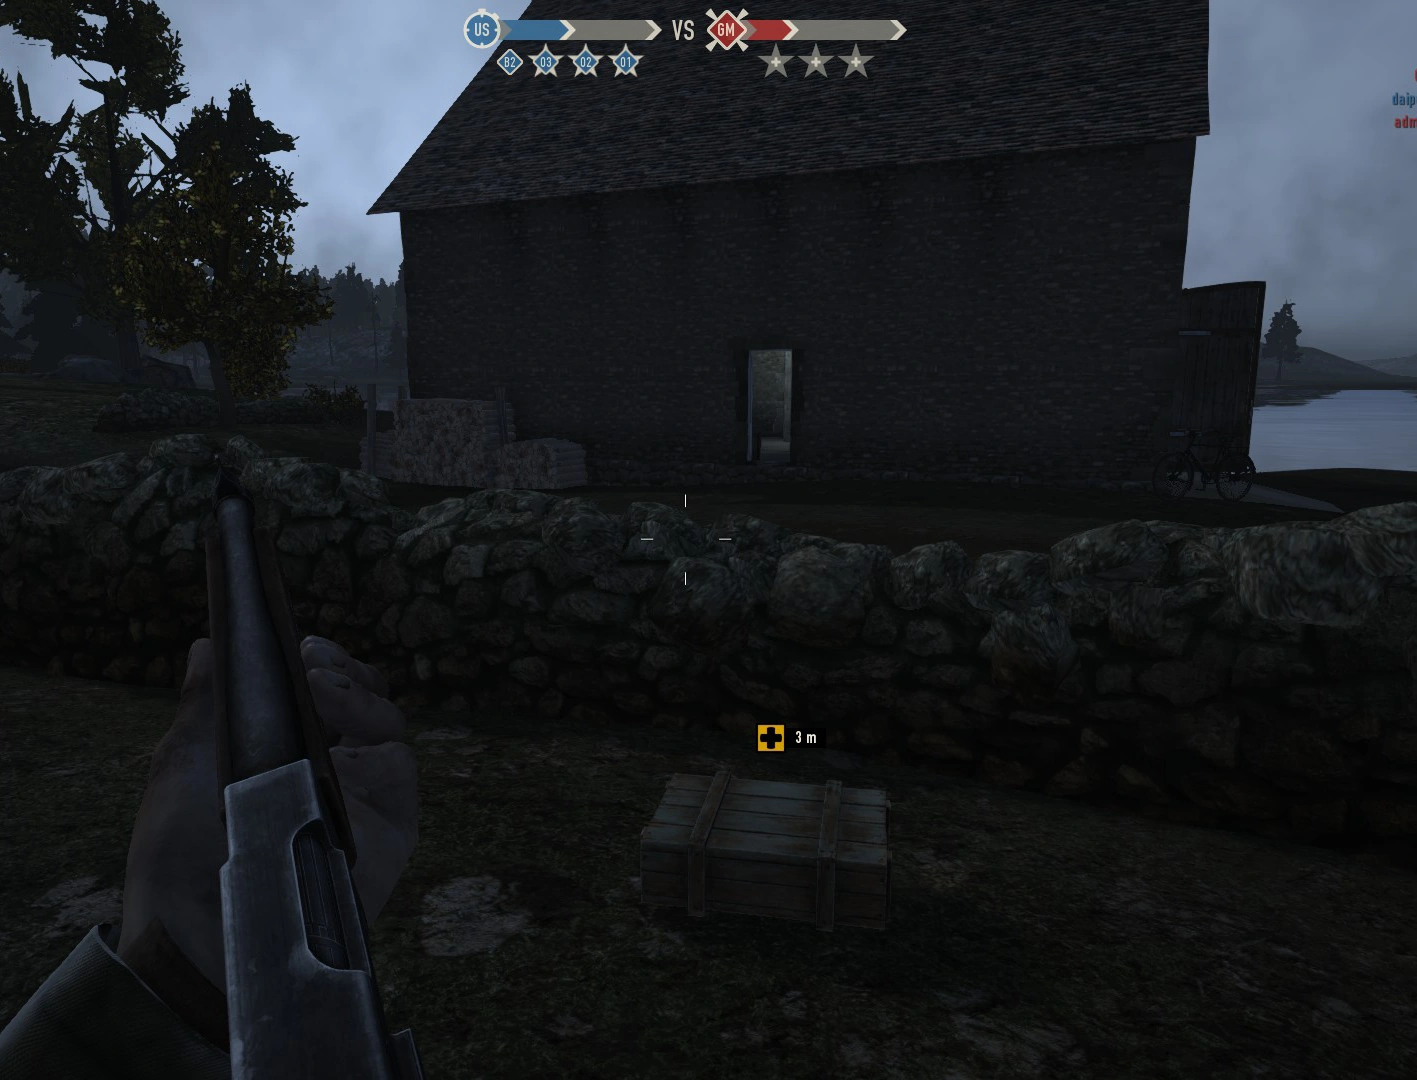
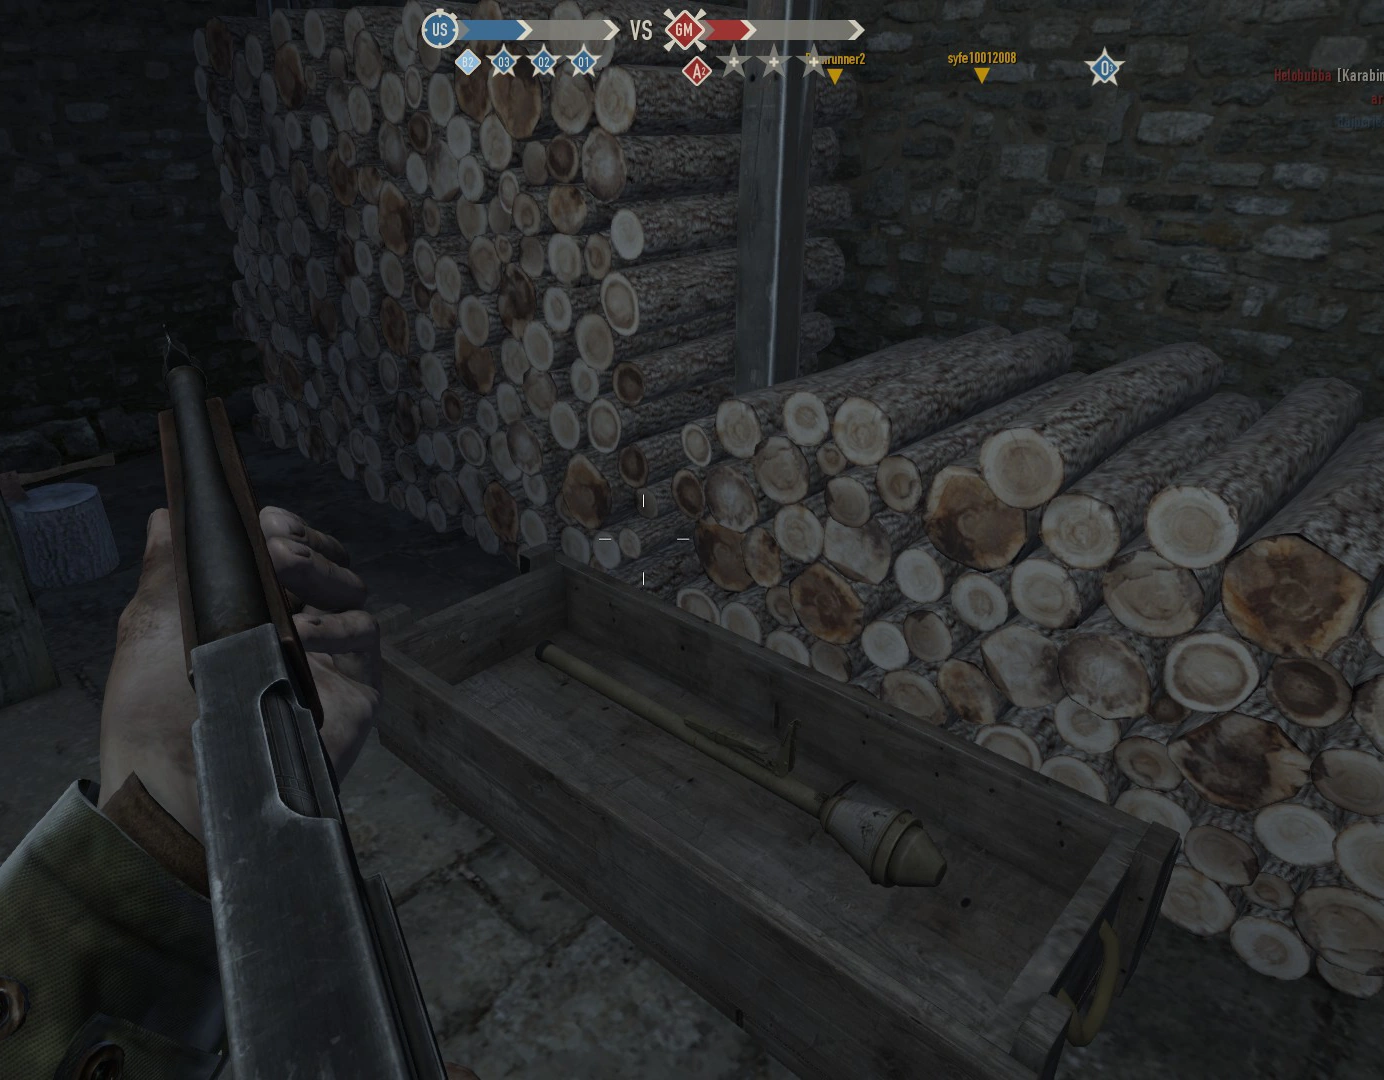
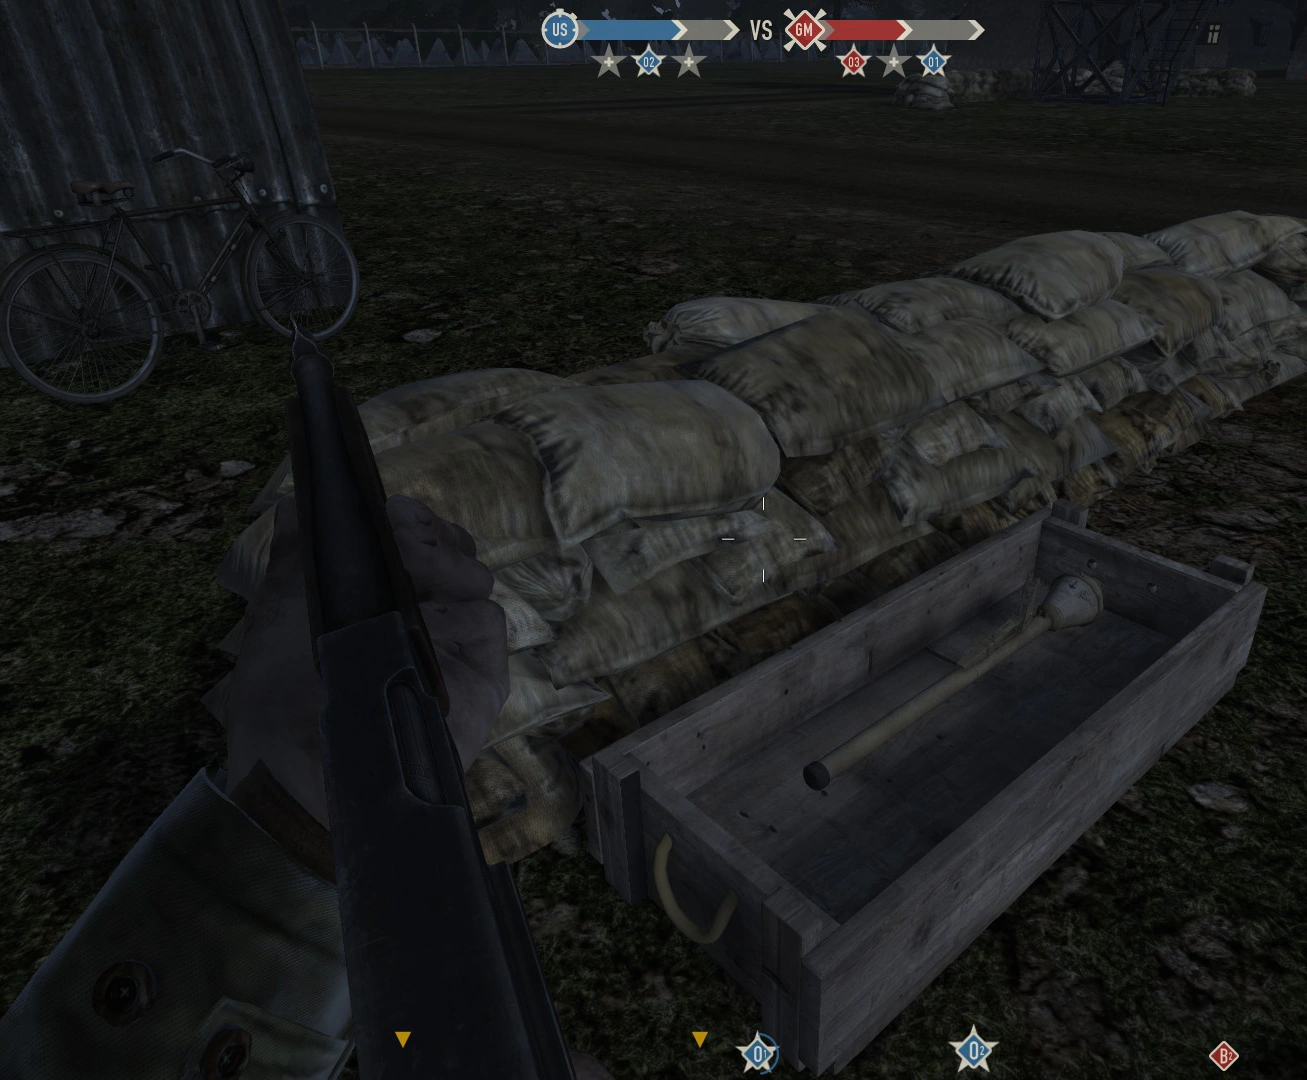
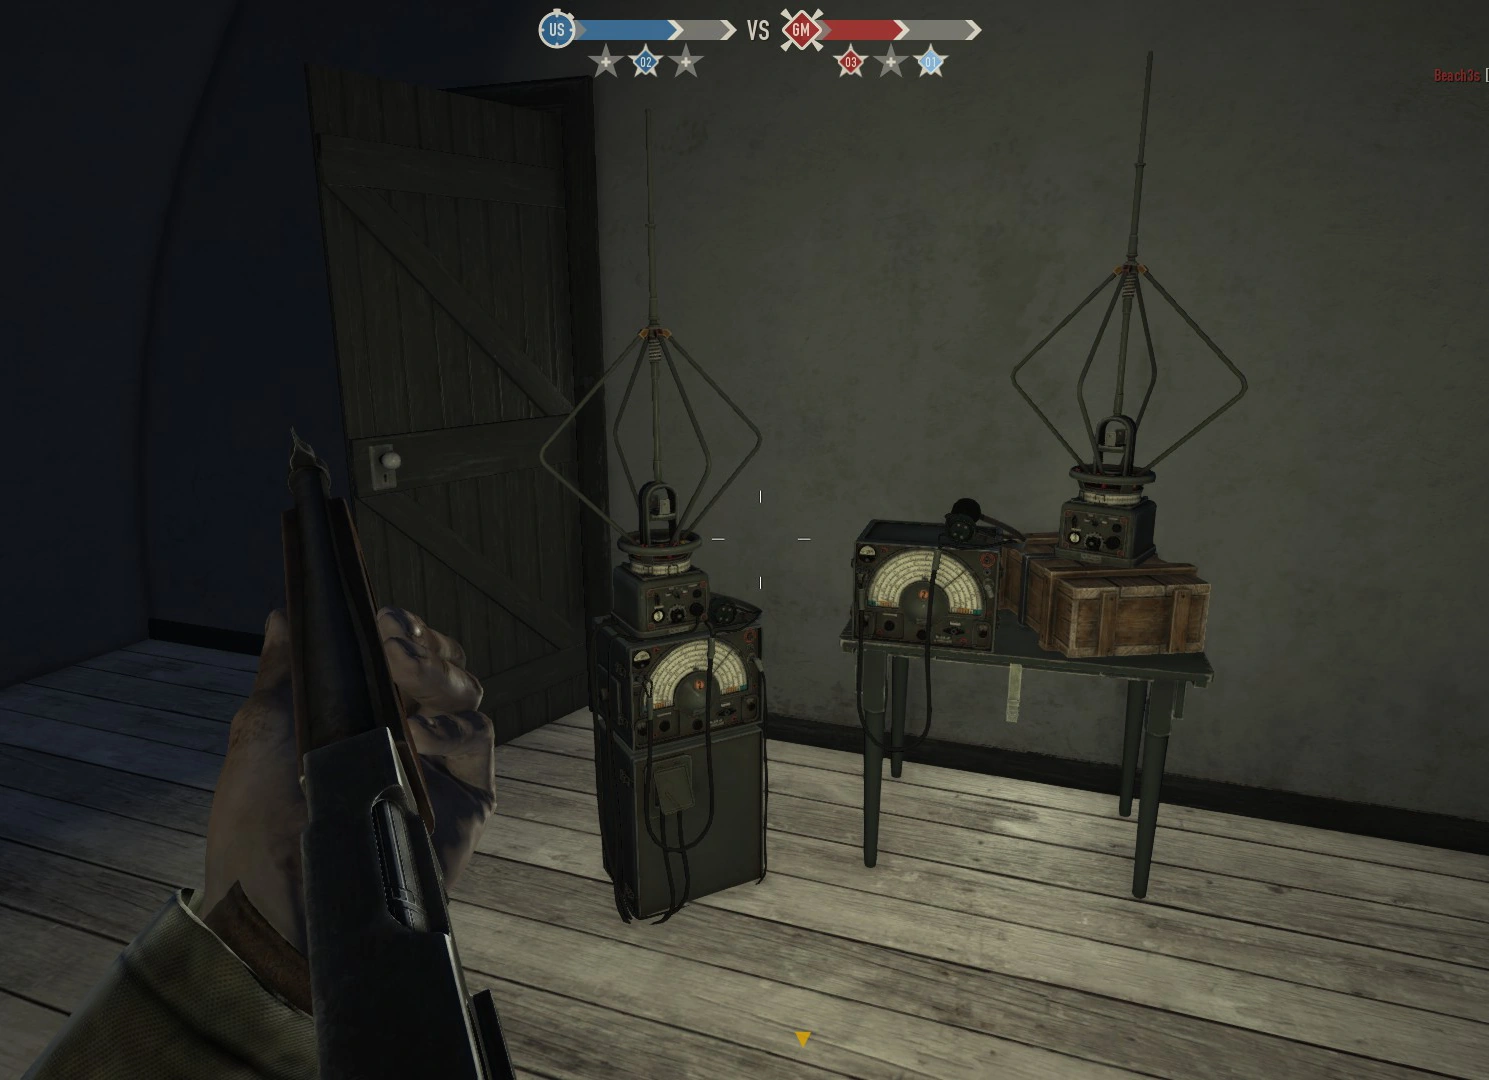
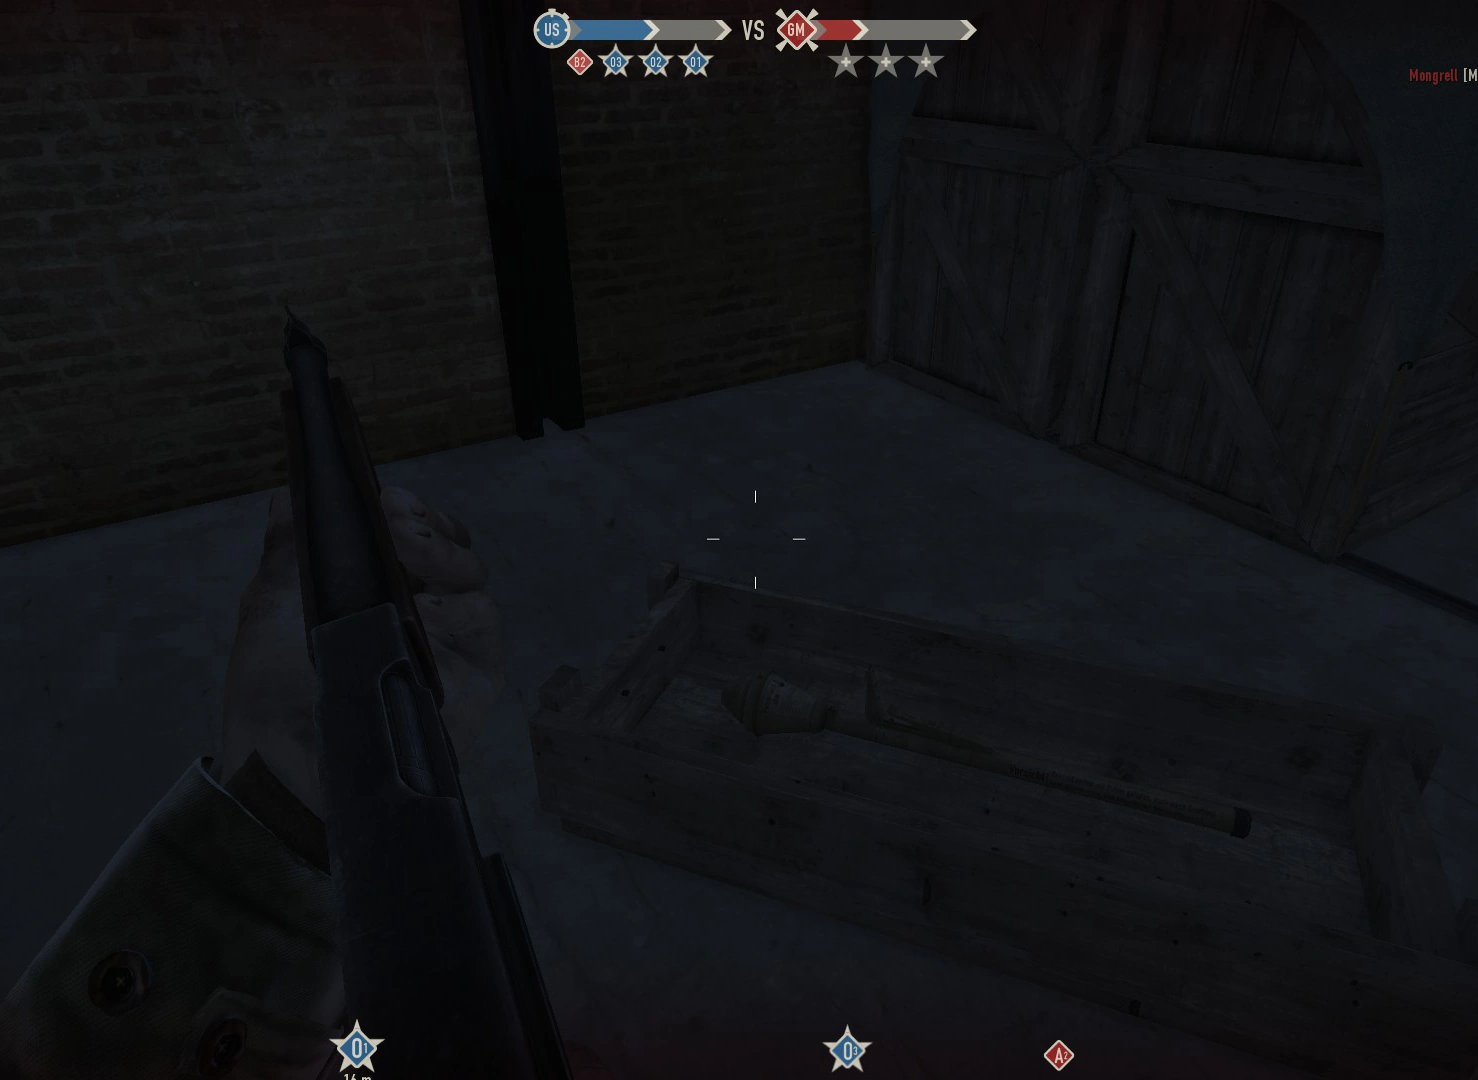
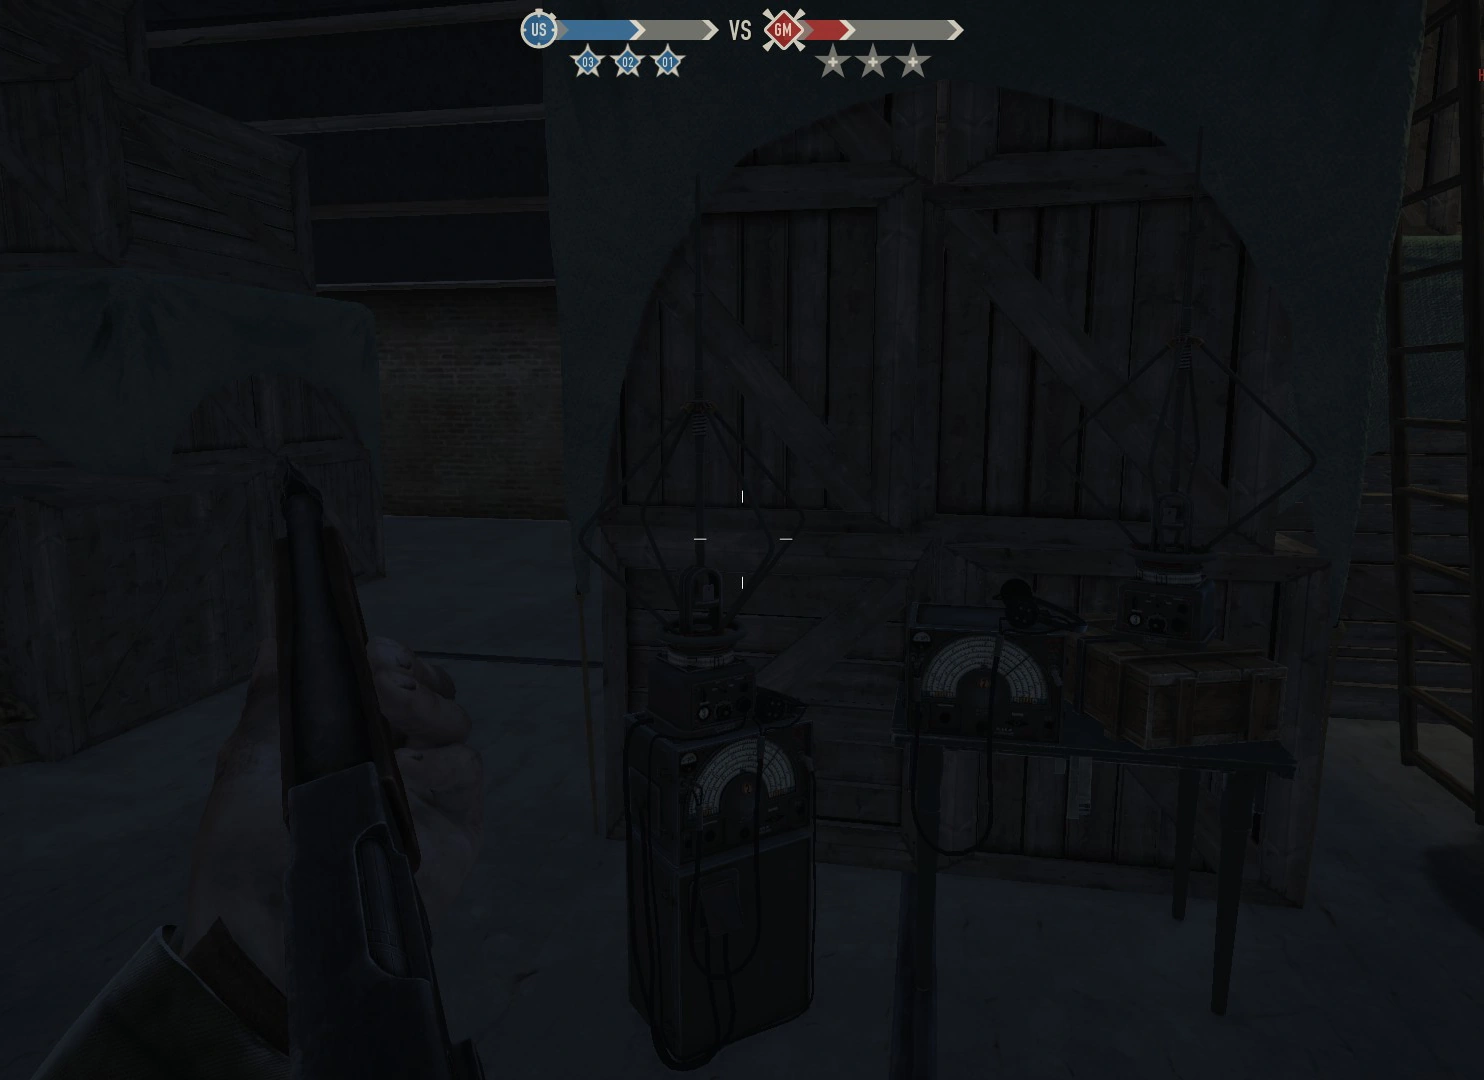
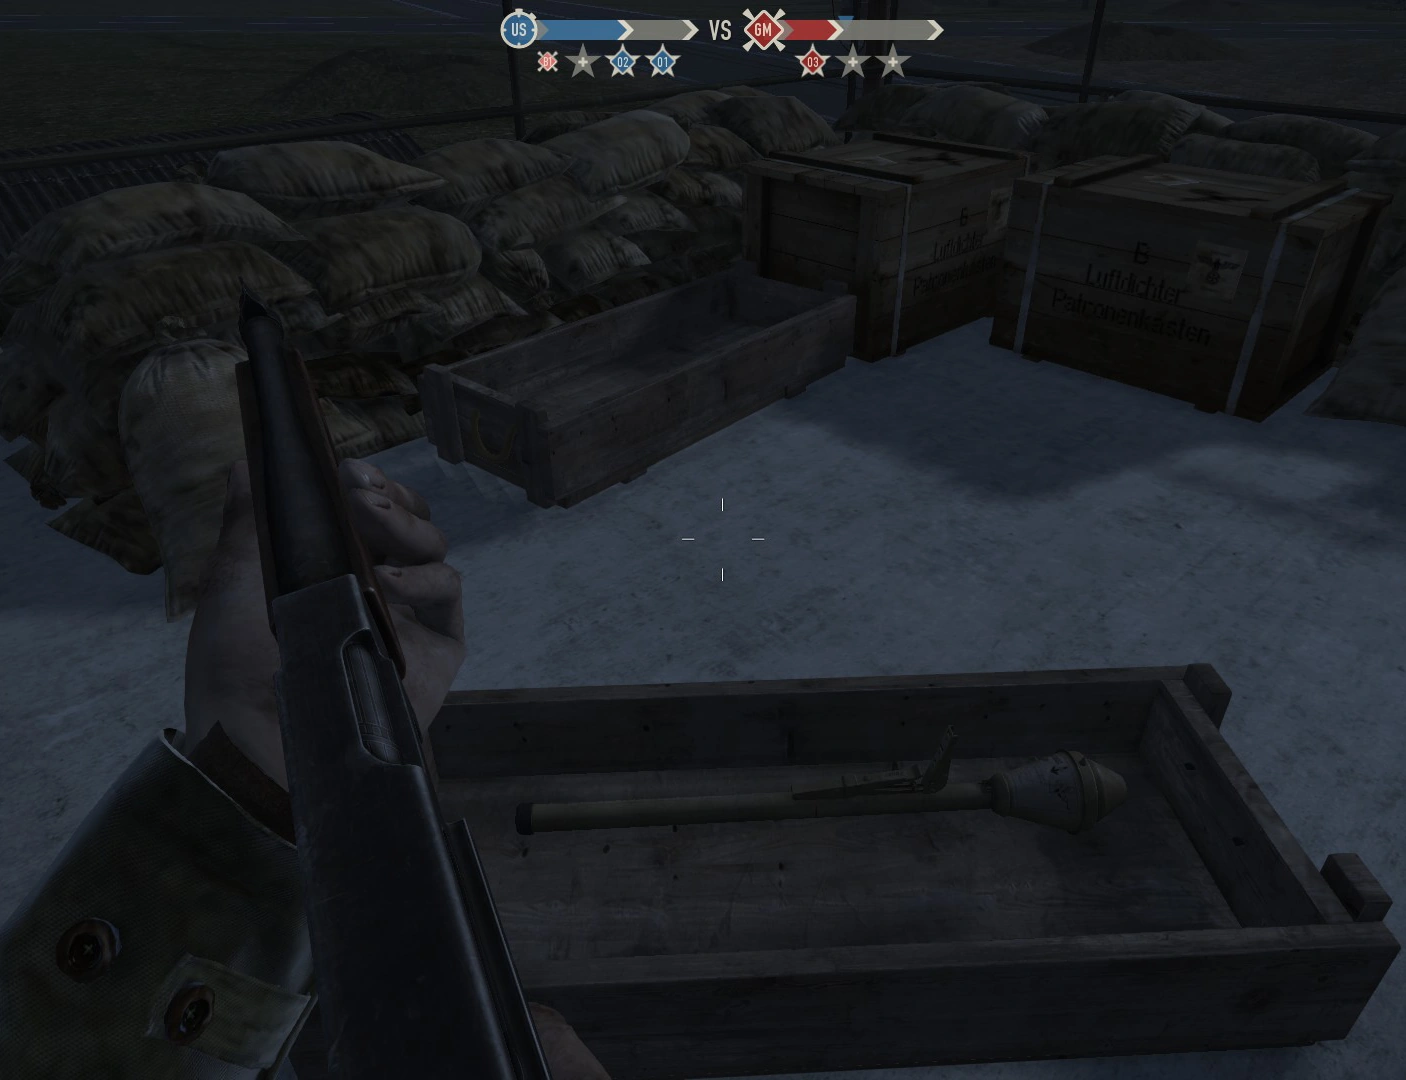
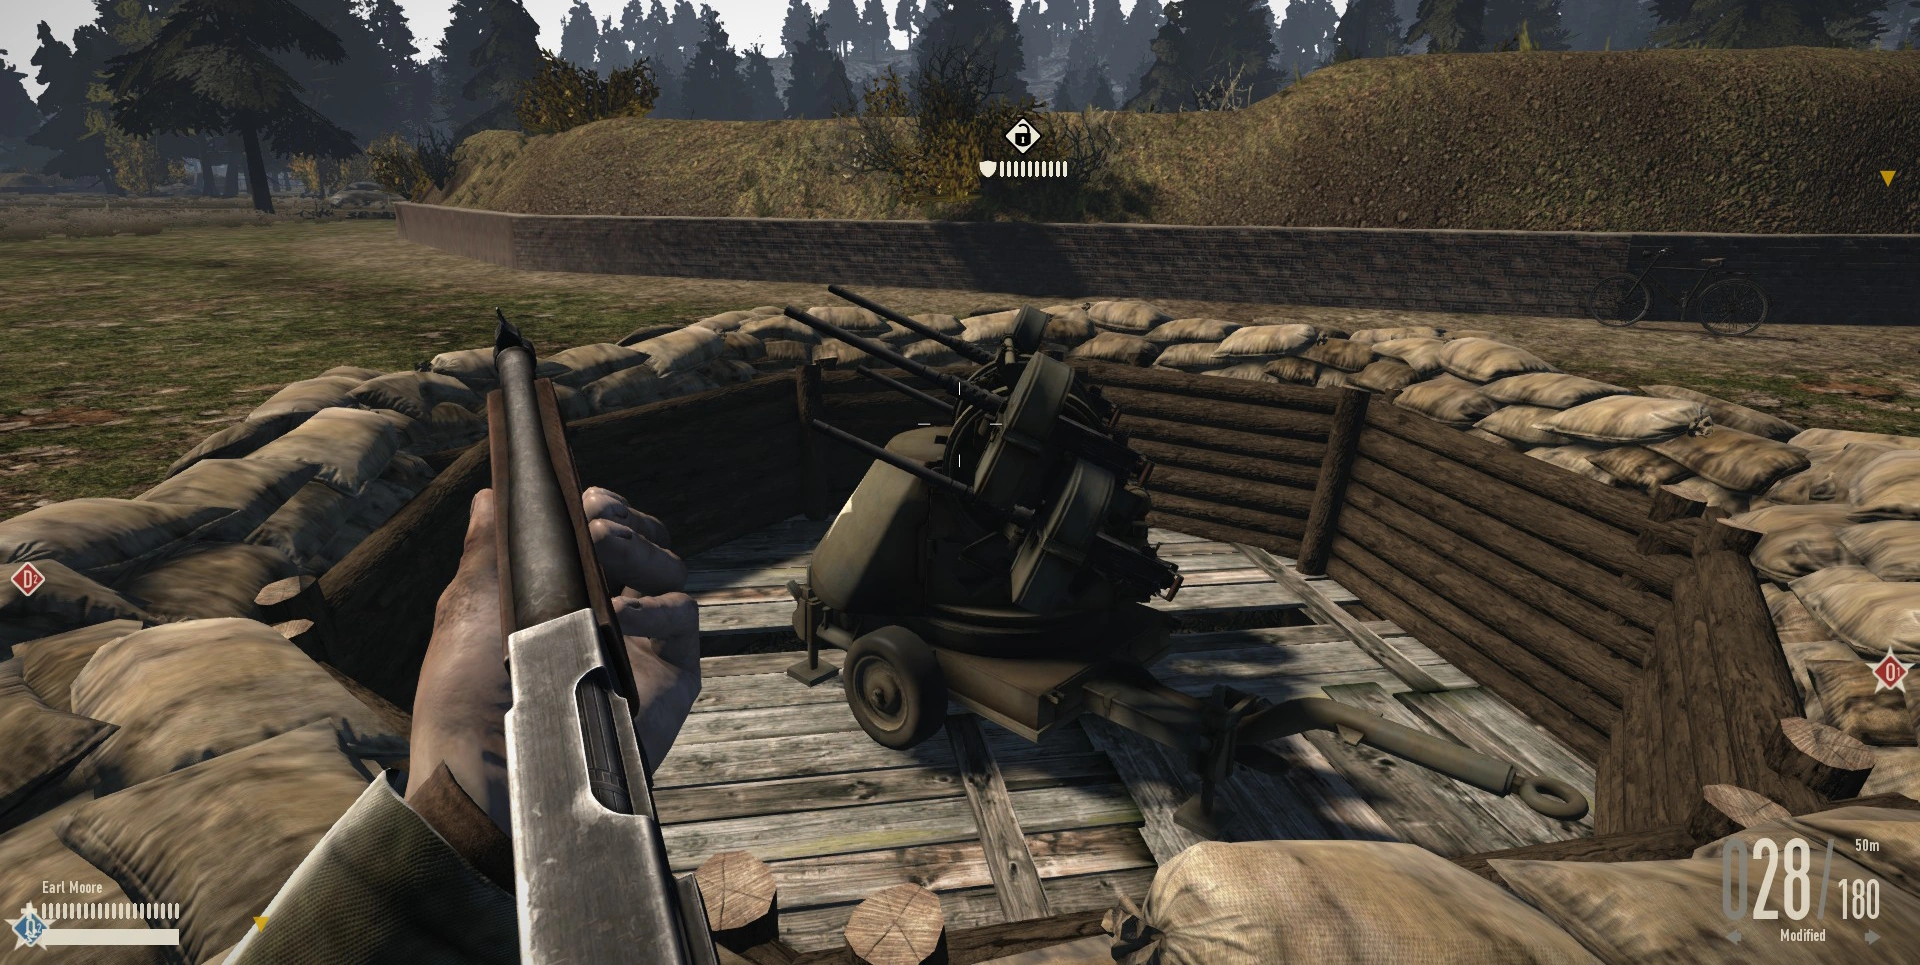
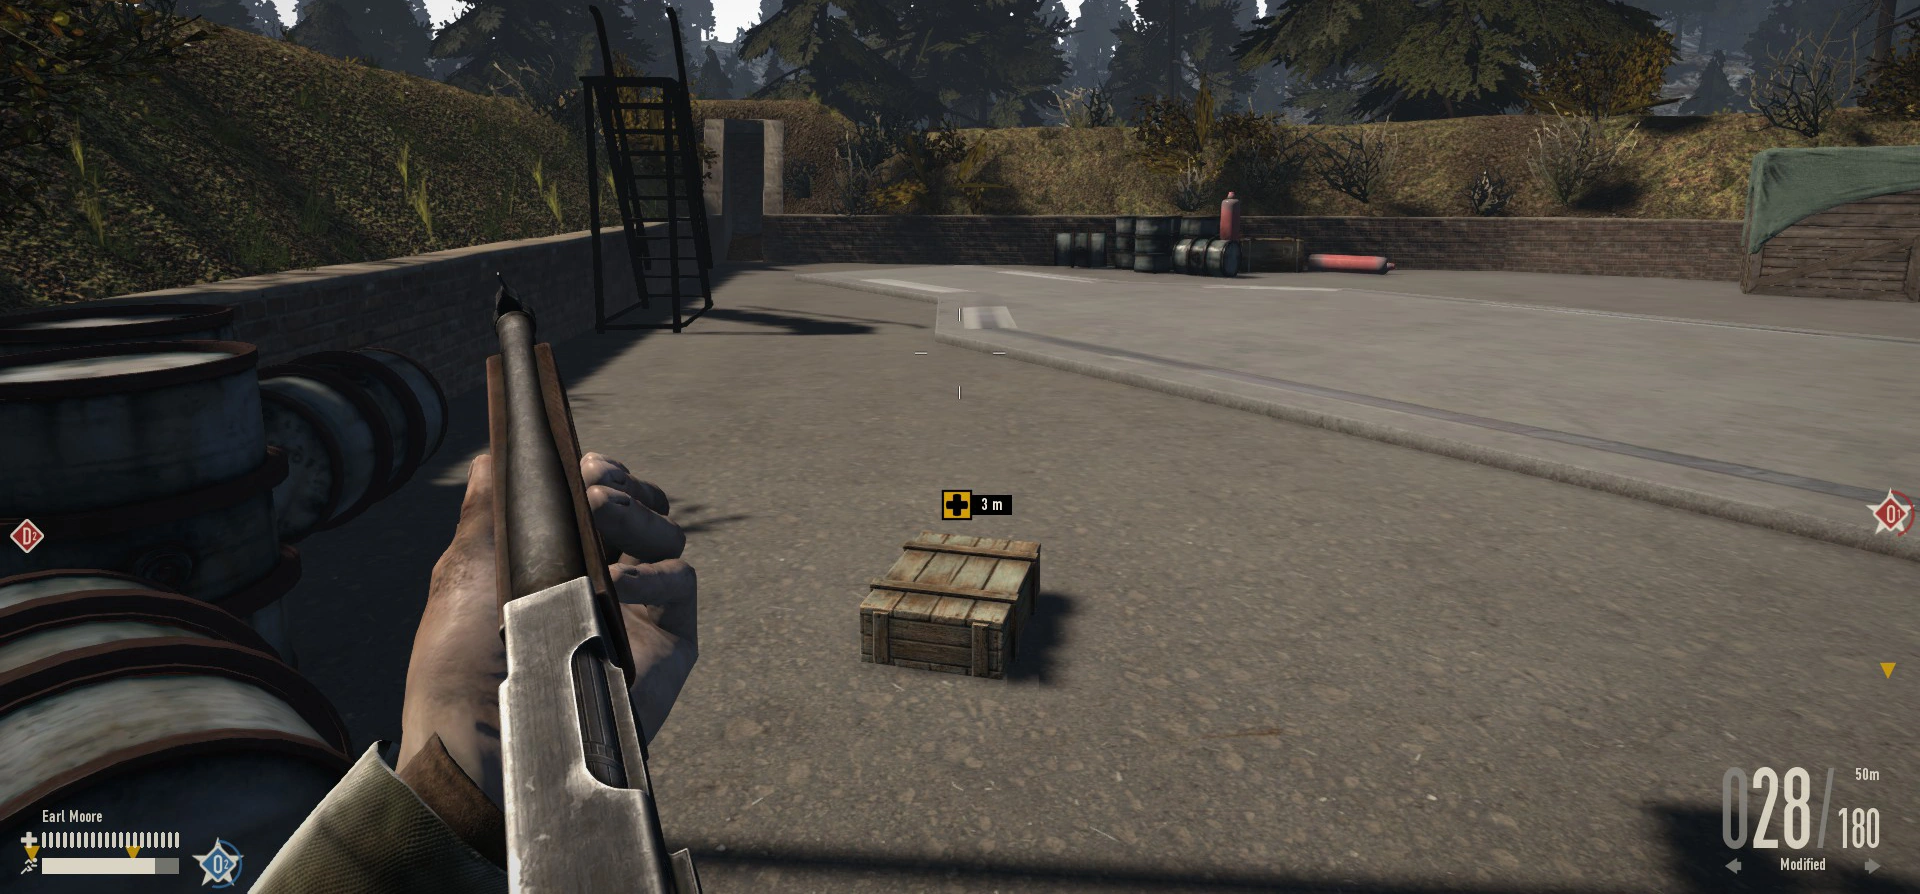
The fuel depot holds some fuel barrels, 3 barracks and a fence protecting the radio table which is located next to the fuel barrels. There is also a Panzerfaust 60 supply crate available located right behind the radio table. Defending players will most likely meet you here already if they choose to spawn at O3, so be ready. This important objective unlocks the fighter dispersal pen (O3) and gives you access to one anti-aircraft gun which is located to the west of it. It should be noted that tanks and players cannot shoot through the fence, but the abundance of entrances does not make the fuel depot easily defendable. The barracks offer a great way of defending the area after capturing it. From A2 to O3 you should travel with care and use the bunkers to your advantage as they offer great coverage.
Highlights
- Bicycles
- Barracks for cover
- Anti-aircraft gun to the west
- Panzerfaust 60 supply crate
- Unlocks O3 when captured

- Fuel Depot
- Radio
The new A2 and the capture area as of Garman update.
B Line[ | ]


'B' Line
This attack line takes you towards the airfield hangar (O1) as your first main objective to capture.
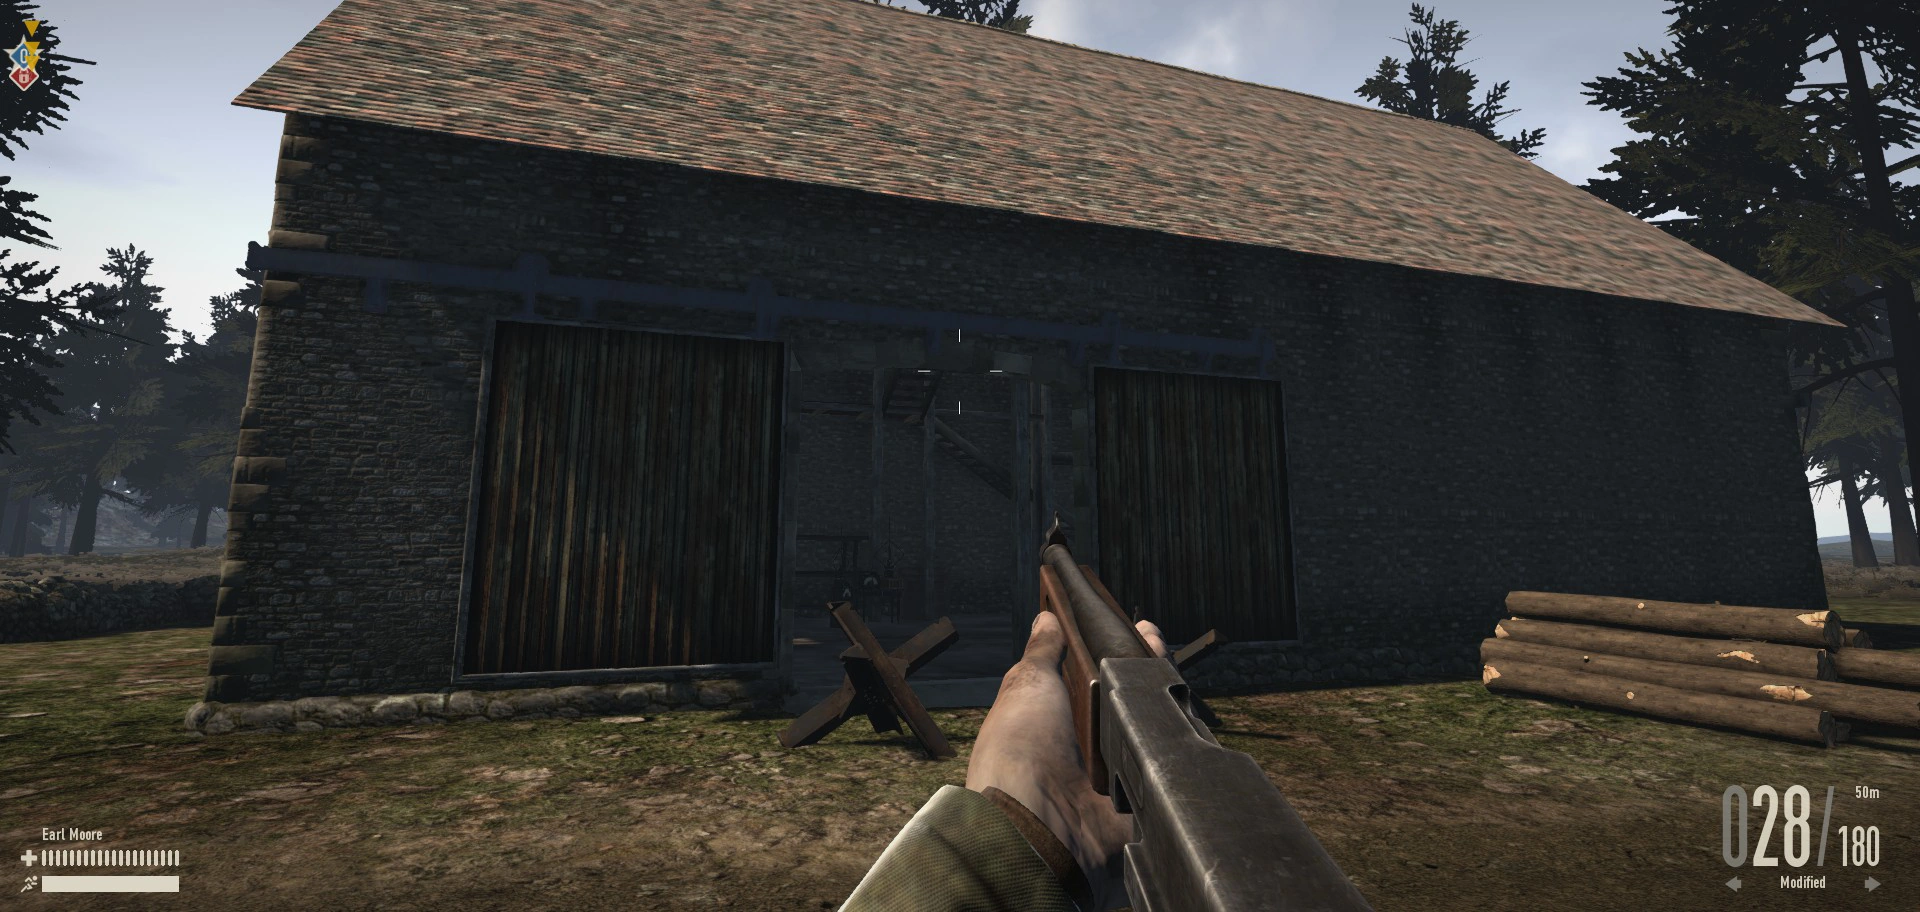
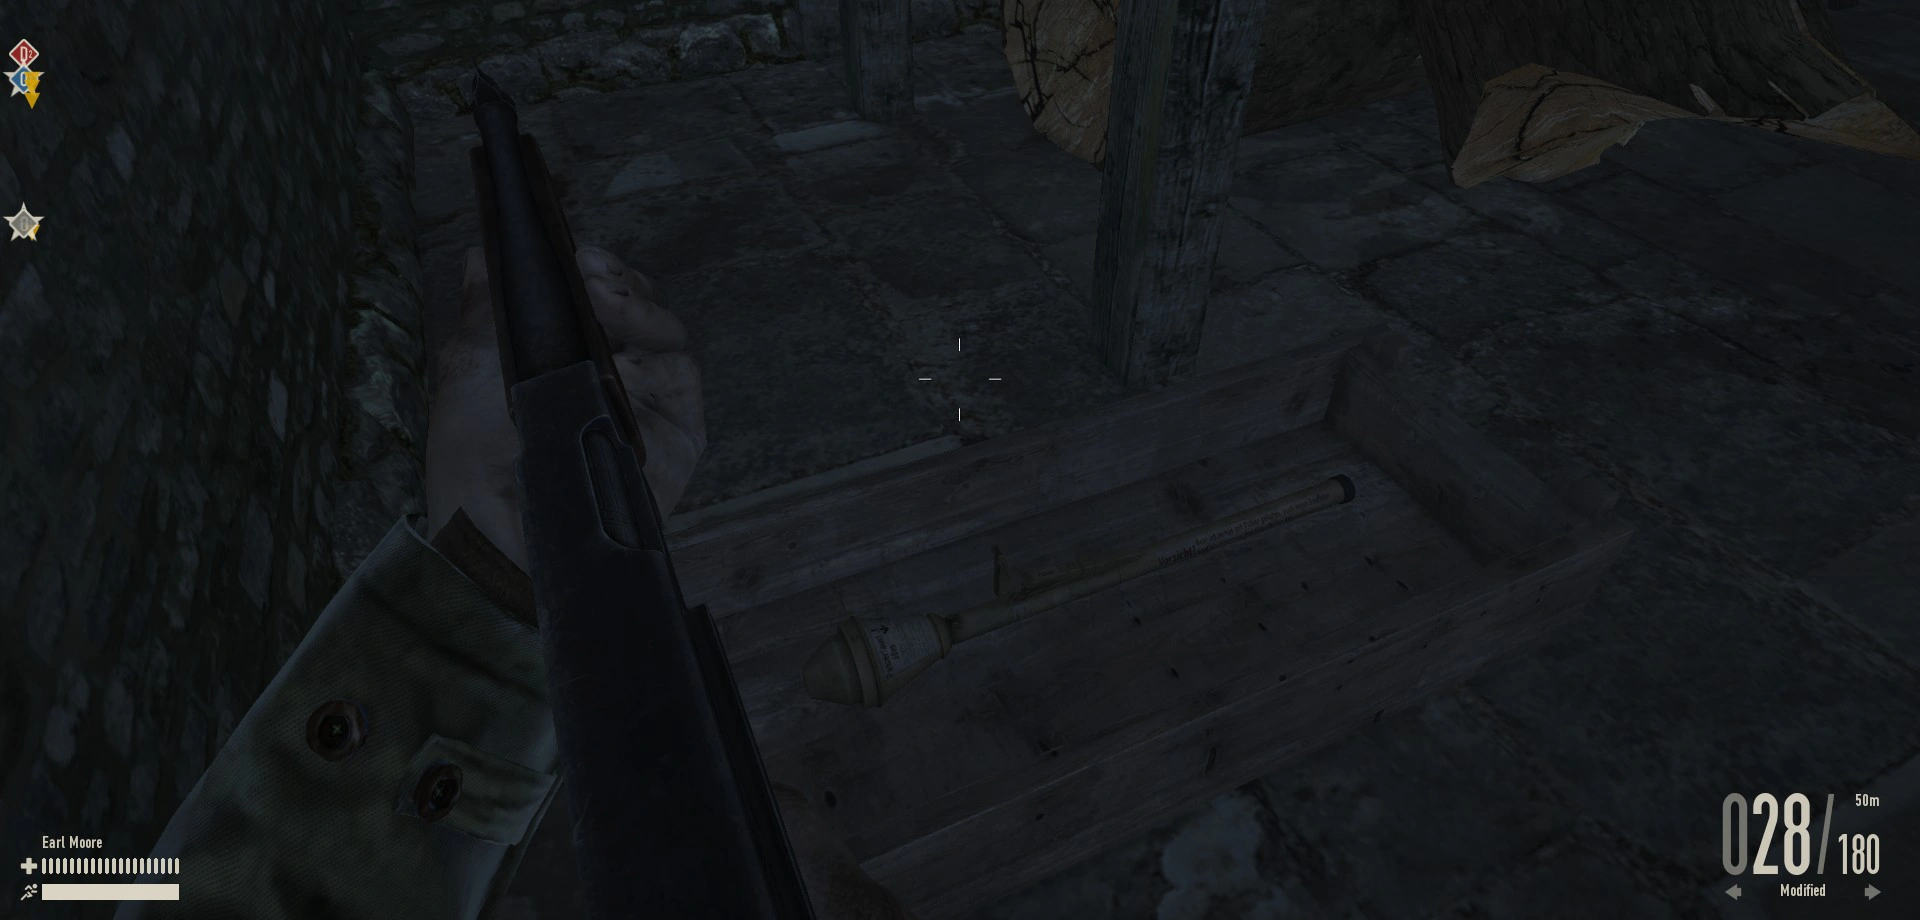
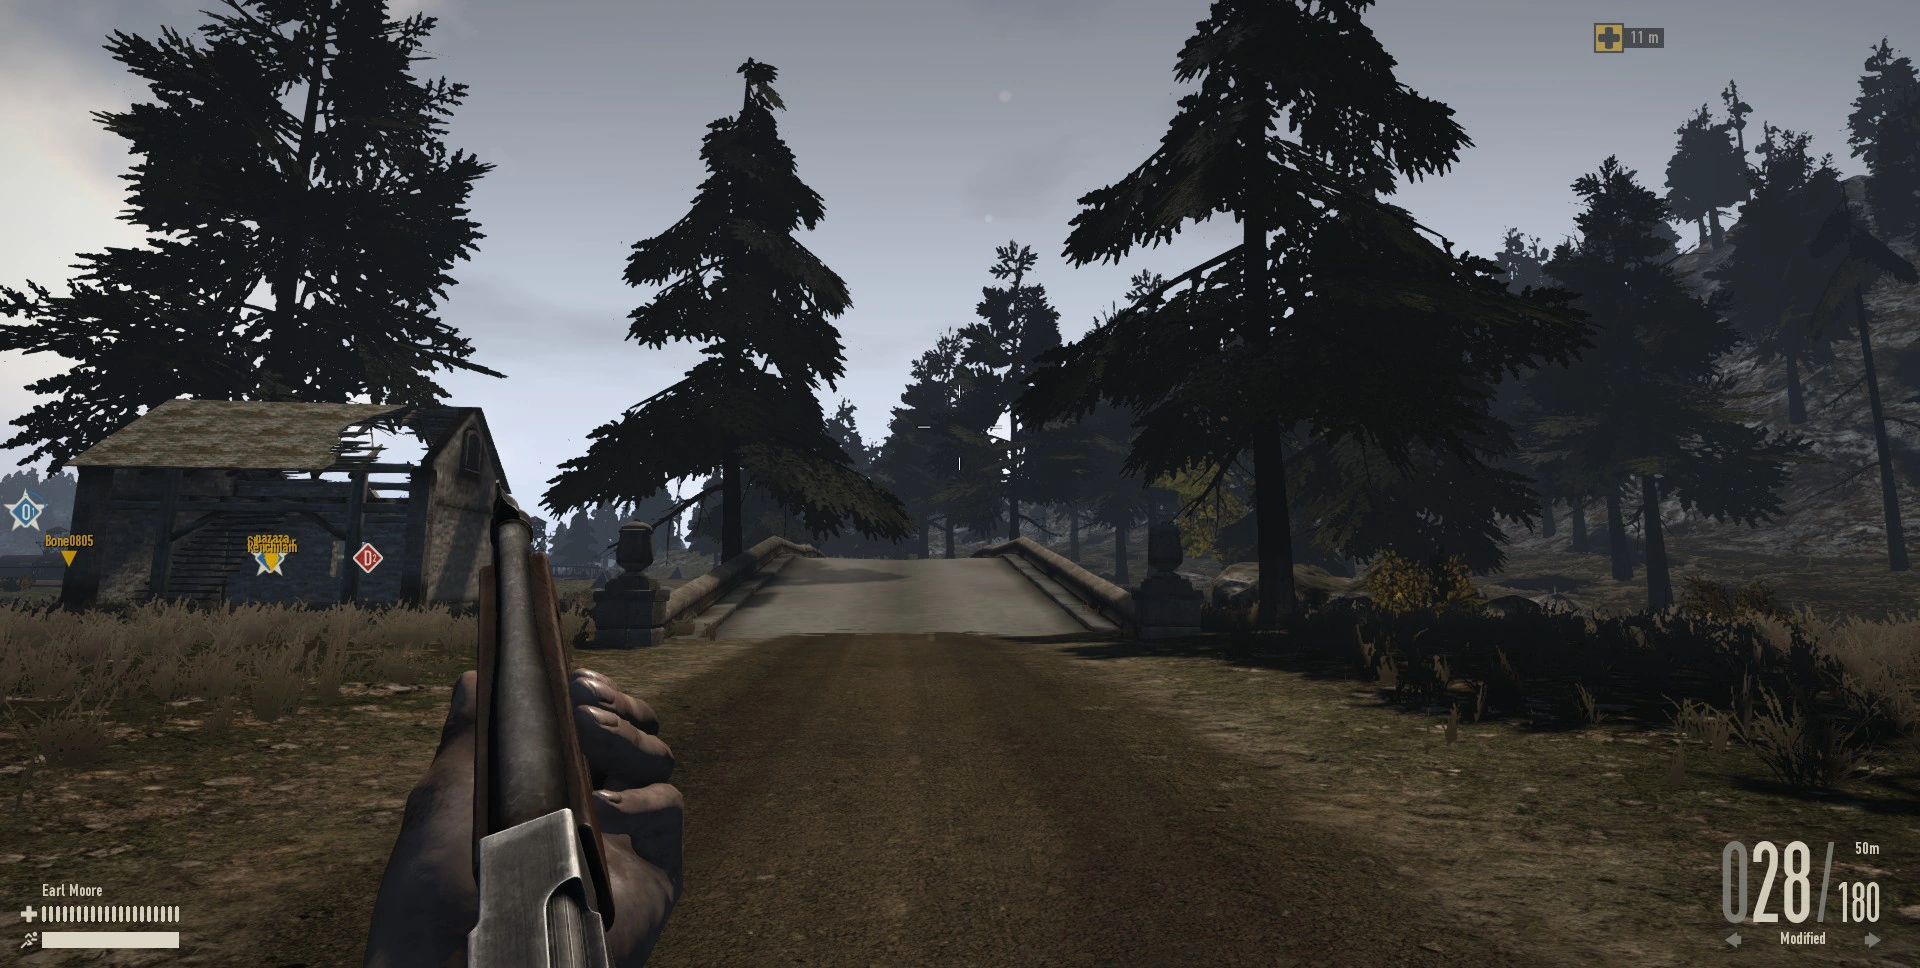
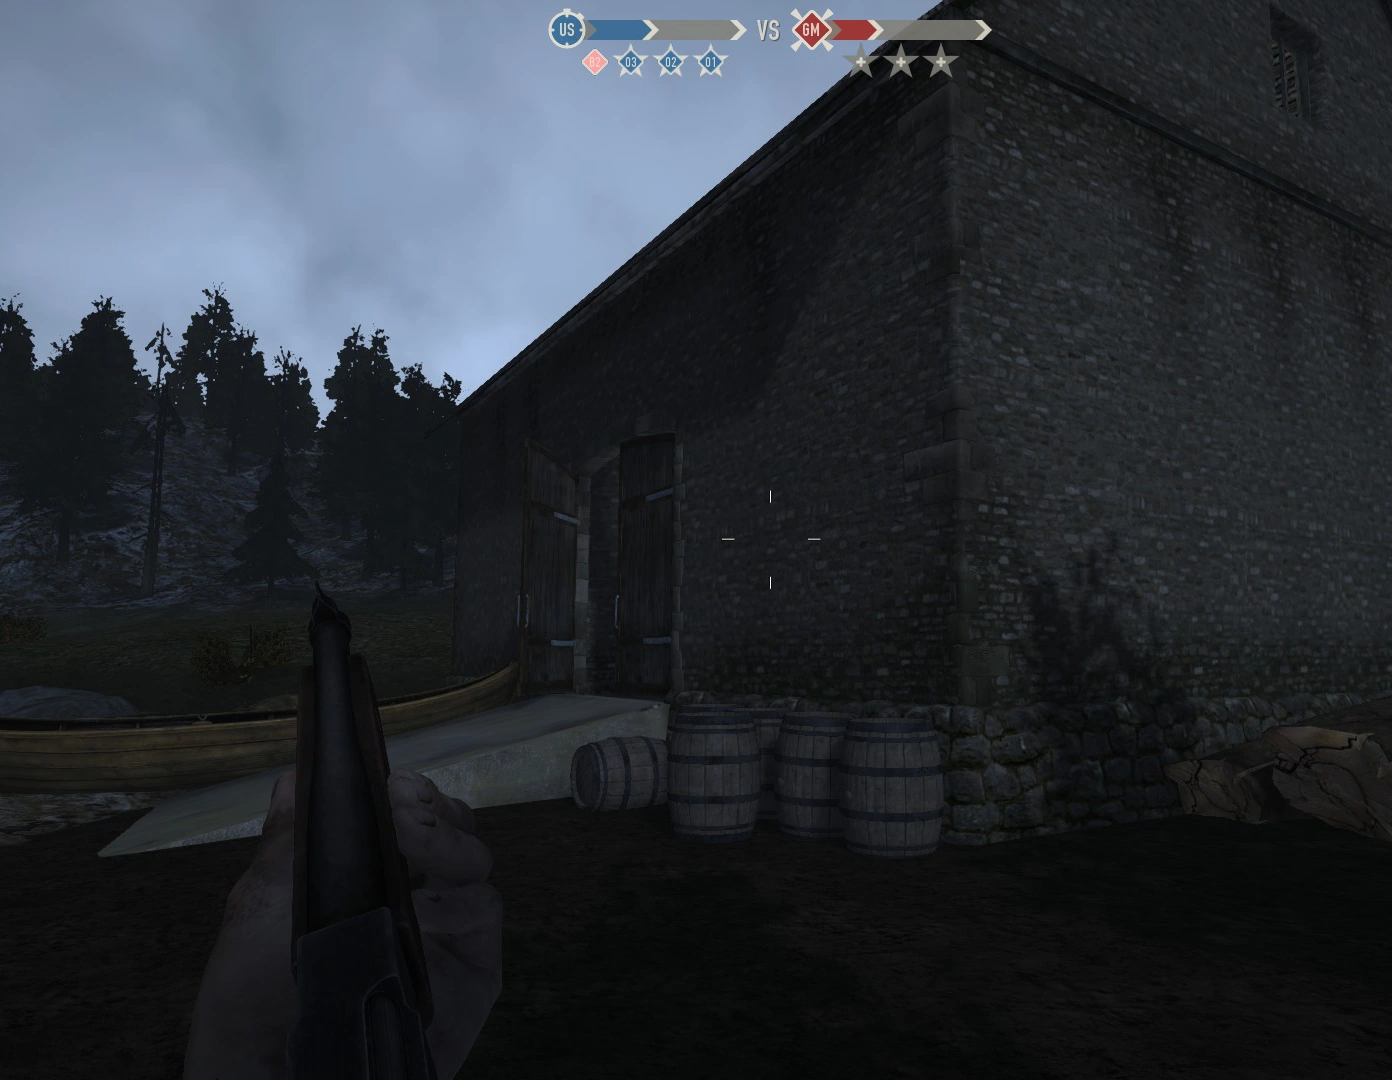
B1[ | ]
You start at an abandoned barn next to a forest which holds one supply crate and one Panzerfaust 60 supply crate. The barn itself has a ground level and an upper level with two open windows to shoot from. From here you can the main road or the forest towards the small bridge that will lead you to B2. There is also a hidden pathway for crossing the river the the west of here or you can swim to the other side, which often ends badly as you swim rather slowly. When defenders pushed you back to B1 it can be very difficult to capture B2 without the help of paratroopers.
Highlights
- Bicycles
- Supply crate
- Panzerfaust 60 supply crate
- One stone bridge and one hidden crossing towards B2
- Barn
- Bridge to B2
B2[ | ]
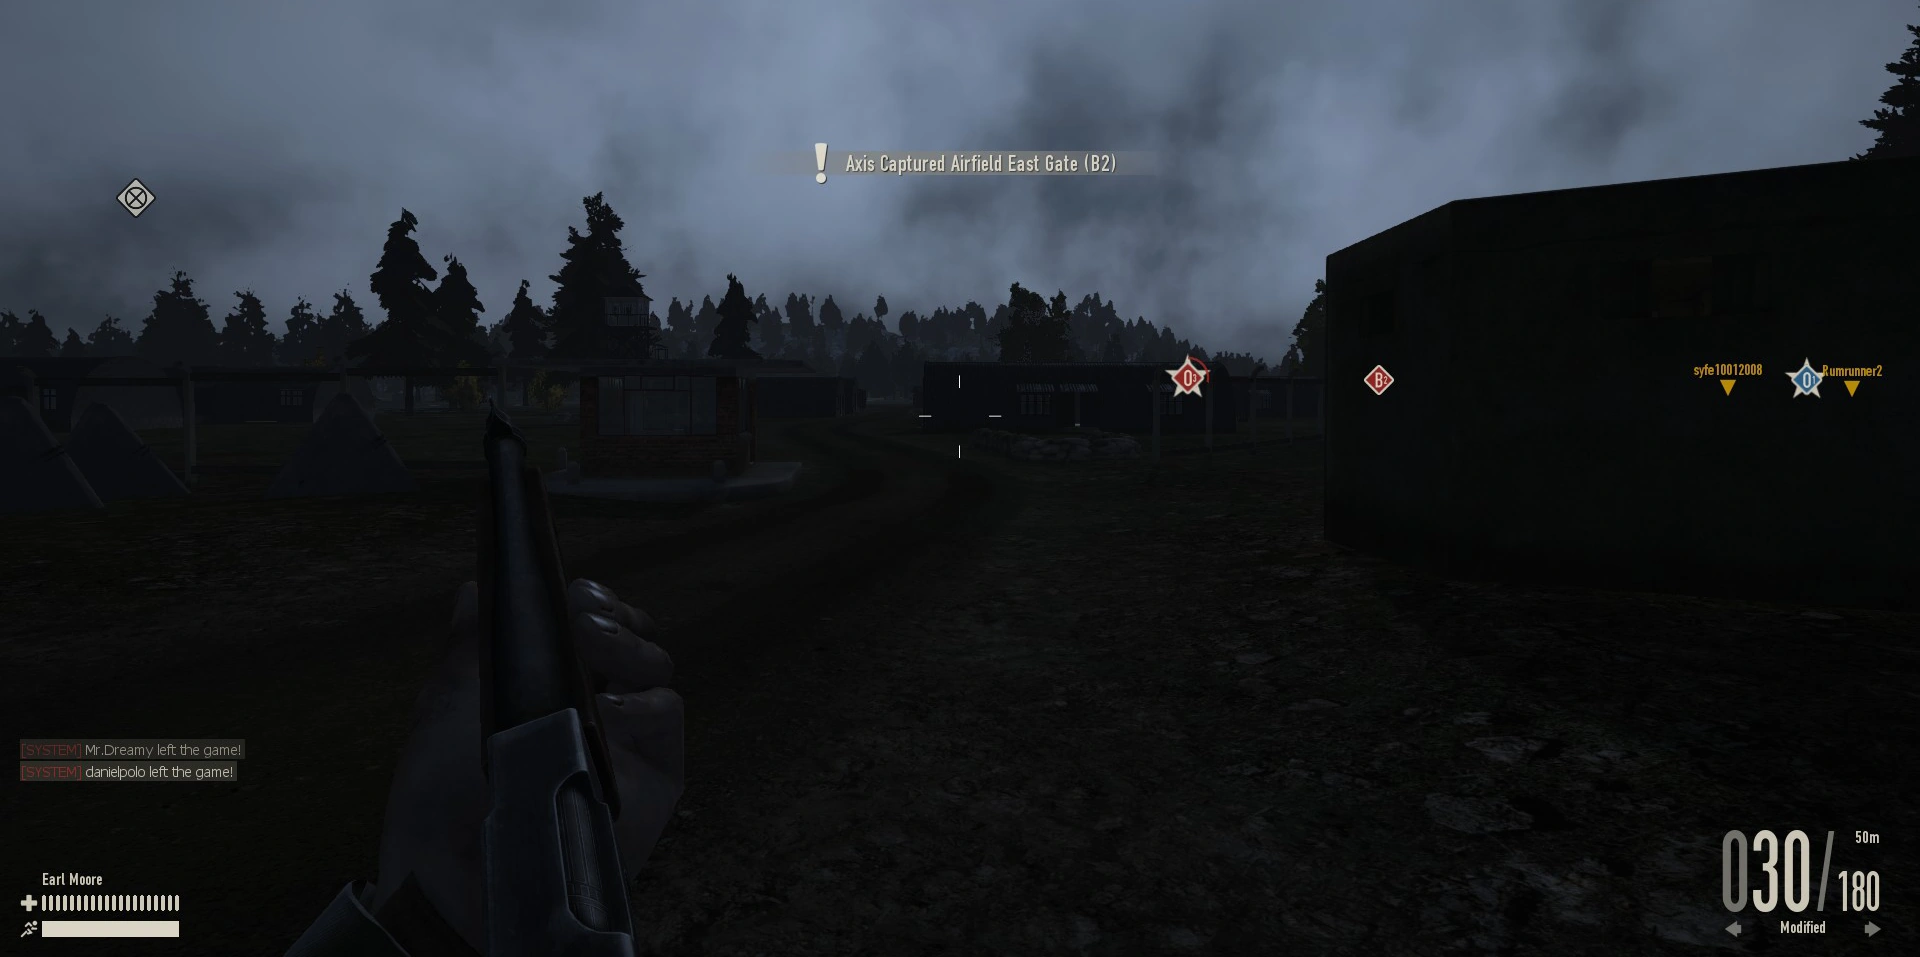
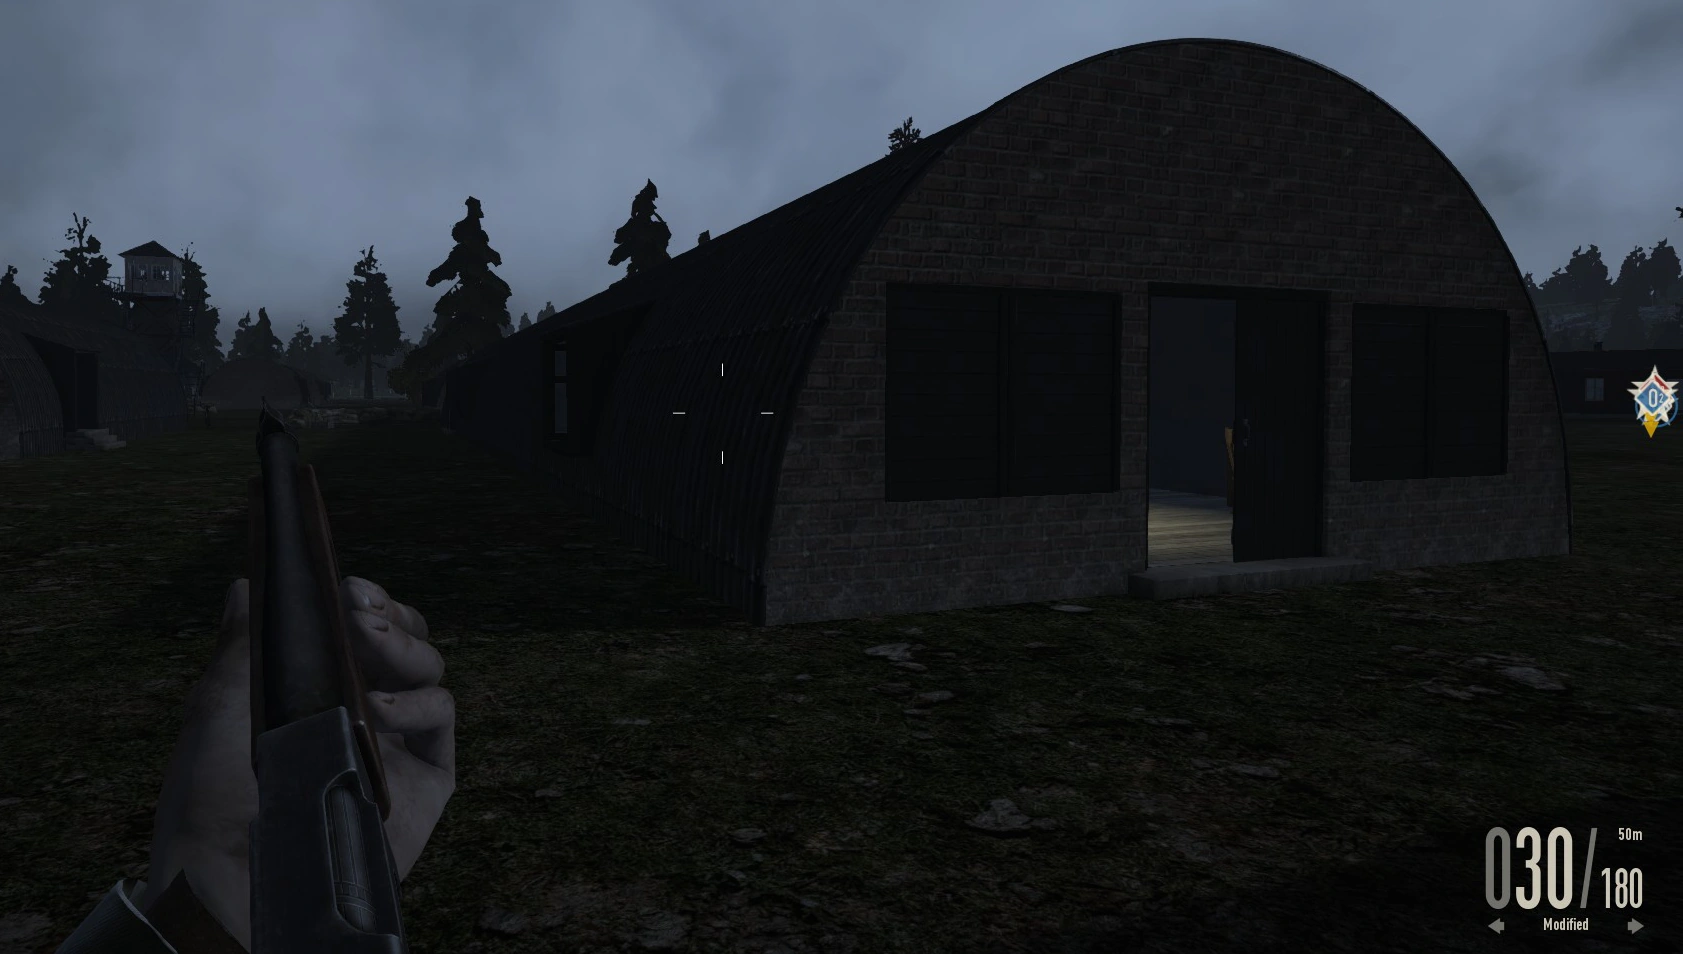
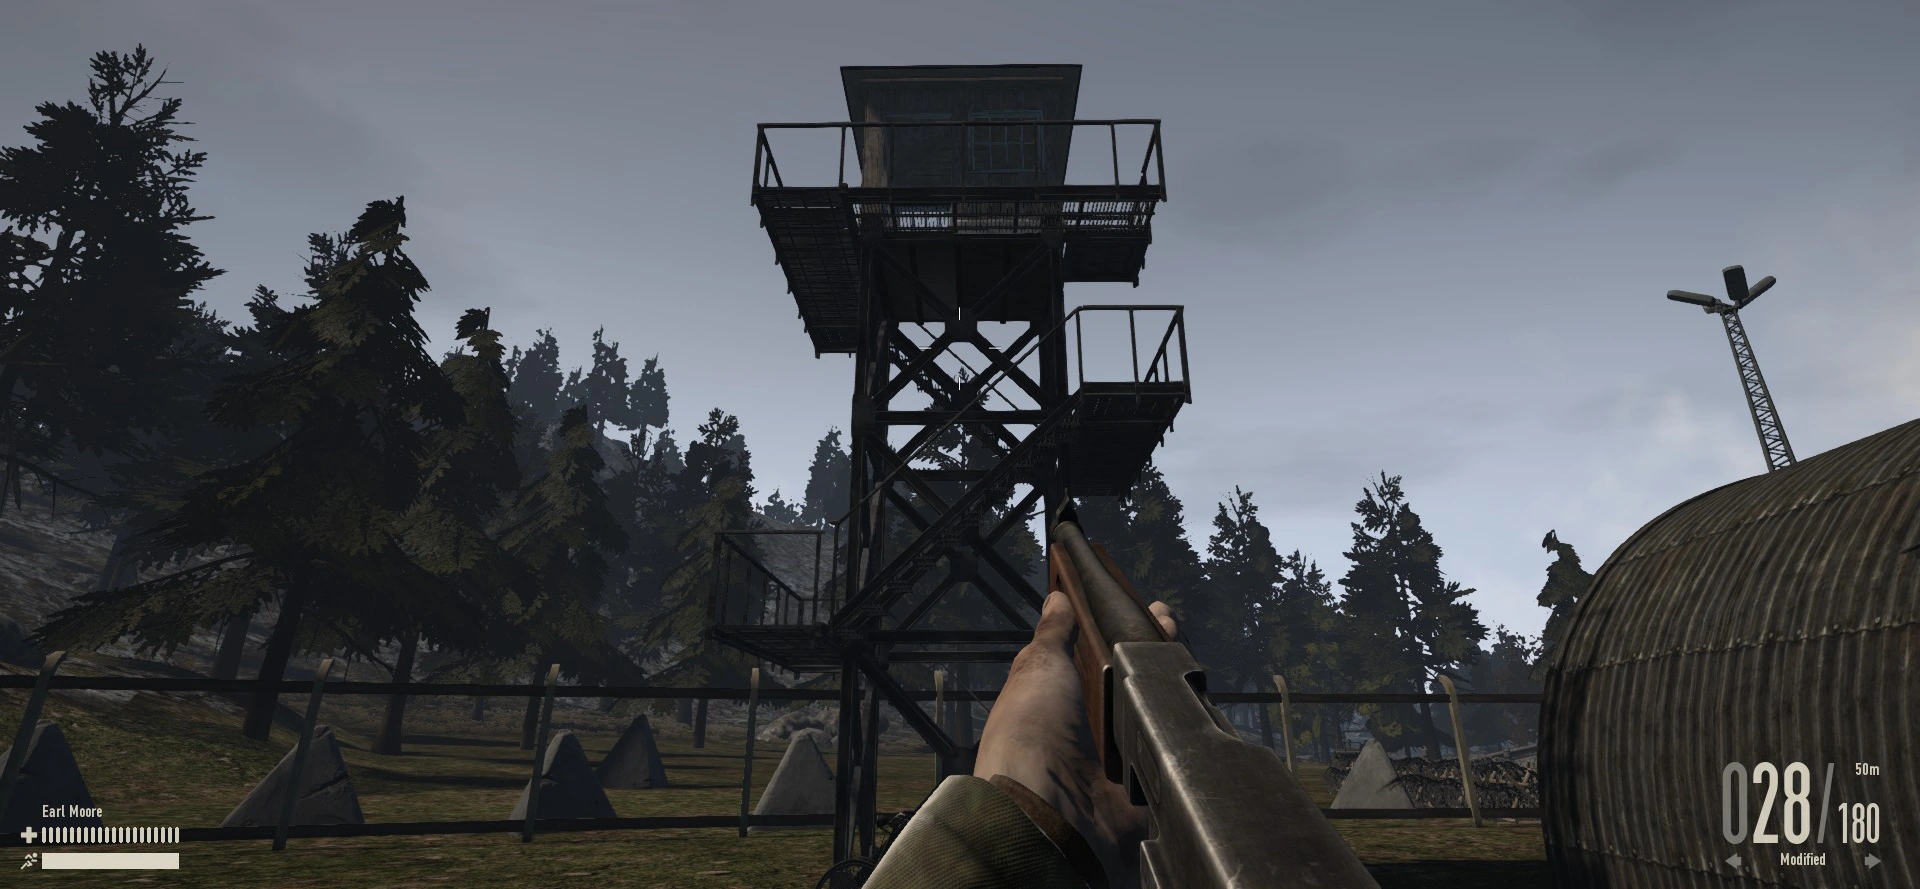
One of the many barracks here holds the radio room. It has two guard towers near it, one with a Panzerfaust 60 supply crate. The barracks offer great coverage for infantry. Tanks always need to be cautious here as there might be an anti-tank infantry hiding in the barracks while passing or anti-tank mines placed on the ground. Capturing this objective unlocks one of the main objectives, the hangar (O1). From here you can either travel towards O1 directly or you can flank from the south side where the bunkers are located. Also beware of defenders approaching from the north, as they hold O3 and can choose to spawn from there.
Highlights
- Bicycles
- Guard towers
- Panzerfaust 60 supply crate
- Barracks for coverage
- Unlocks O1 when captured
- Entrance
- Radio Room
- Road to O1
C Line[ | ]


'C' Line
This attack line takes you towards the airfield hangar (O1) as your first main objective to capture.
C1[ | ]
Another abandoned barn at C1 holds another attack route for the assault team towards the hangar (O1). This barn has a different structure than the B1 barn and is split in two areas with a small doorway connecting them. In both rooms there is a ladder which can take you to an upper area where you have open windows to shoot from. There is a supply crate and a Panzerfaust 60 supply crate. On the north side of the barn is a huge hill which offers a lot of coverage and is often used by tanks and Recon to shoot from. Again, check your map and beware of defenders able to attack you from the hill side if they have control of D line. Moving from C1 to C2 can be done by either the direct approach or flanking from the north or south. You can choose to flank from near the hangar located southwest of the control tower (O2) or from the river area south of C2.
Highlights
- Bicycles
- Big hill to the north for great cover
- Supply crate
- Panzerfaust 60 supply crate
- Barn
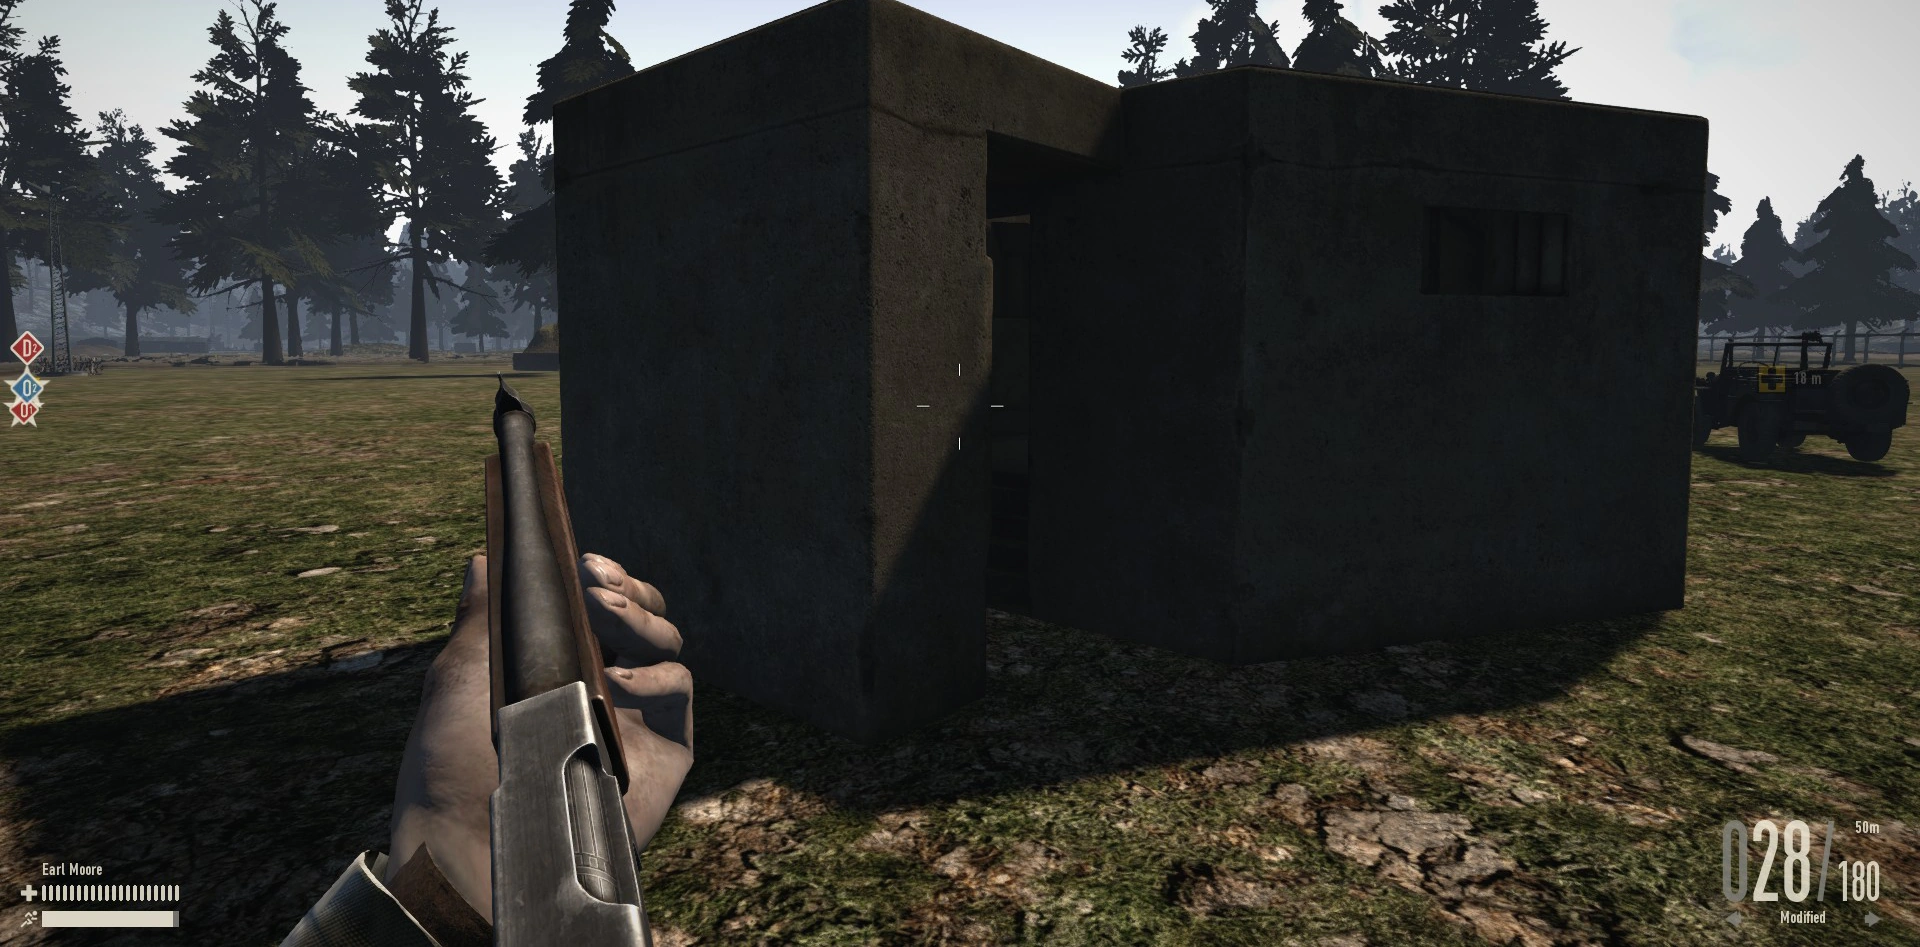
C2[ | ]
Located inside a small bunker next to a barrier is the radio which enables you to capture this point. The area is surrounded by a fence and infantry need to come from either the entrance or from the northern area where there is an opening in the fence. Tanks and vehicles can also knock down the fence which offers extra passageways for the infantry. But remember this goes for both ways, enabling for defending and attacking infantry to go through the opening. The small bunker itself has open areas to look through and shoot through, but its best to just cover while capturing this point as many tanks or Recon will do their best to shoot through the holes. Capturing this point will unlock one of the main objectives, the hangar (O1). Moving from C2 to O1 is best done with a fast moving vehicle or by using the cover from the bunkers and underground tunnels located near the river banks on the inside of the fence.
Highlights
- Bicycles
- Panzerfaust 60 supply crate
- A lot of cover near the radio room
- Unlocks O1 when captured
- Radio Bunker
- Radio
- Road to O1
D Line[ | ]

'D' Line
This attack line takes you towards the control tower (O2) as your first main objective to capture.
D1[ | ]
A small house at the edge of the airfield offers another attack route for the assault team. Beware when starting that it is possible that the defending team controls A line and can flank you from the east at the start. To the west, you will notice a huge hill which offers you great coverage and a safer route towards D2 or C1 for the defenders. Remember to move as quick you can towards D2 as the defending team will most likely have some defenders spawn at O2 to quickly defend and or capture D2.
Highlights
- Bicycles
- Panzerfaust 60 supply crate
- Huge hill to the west
- Prone to flanks when not controlling A line
- Radio House
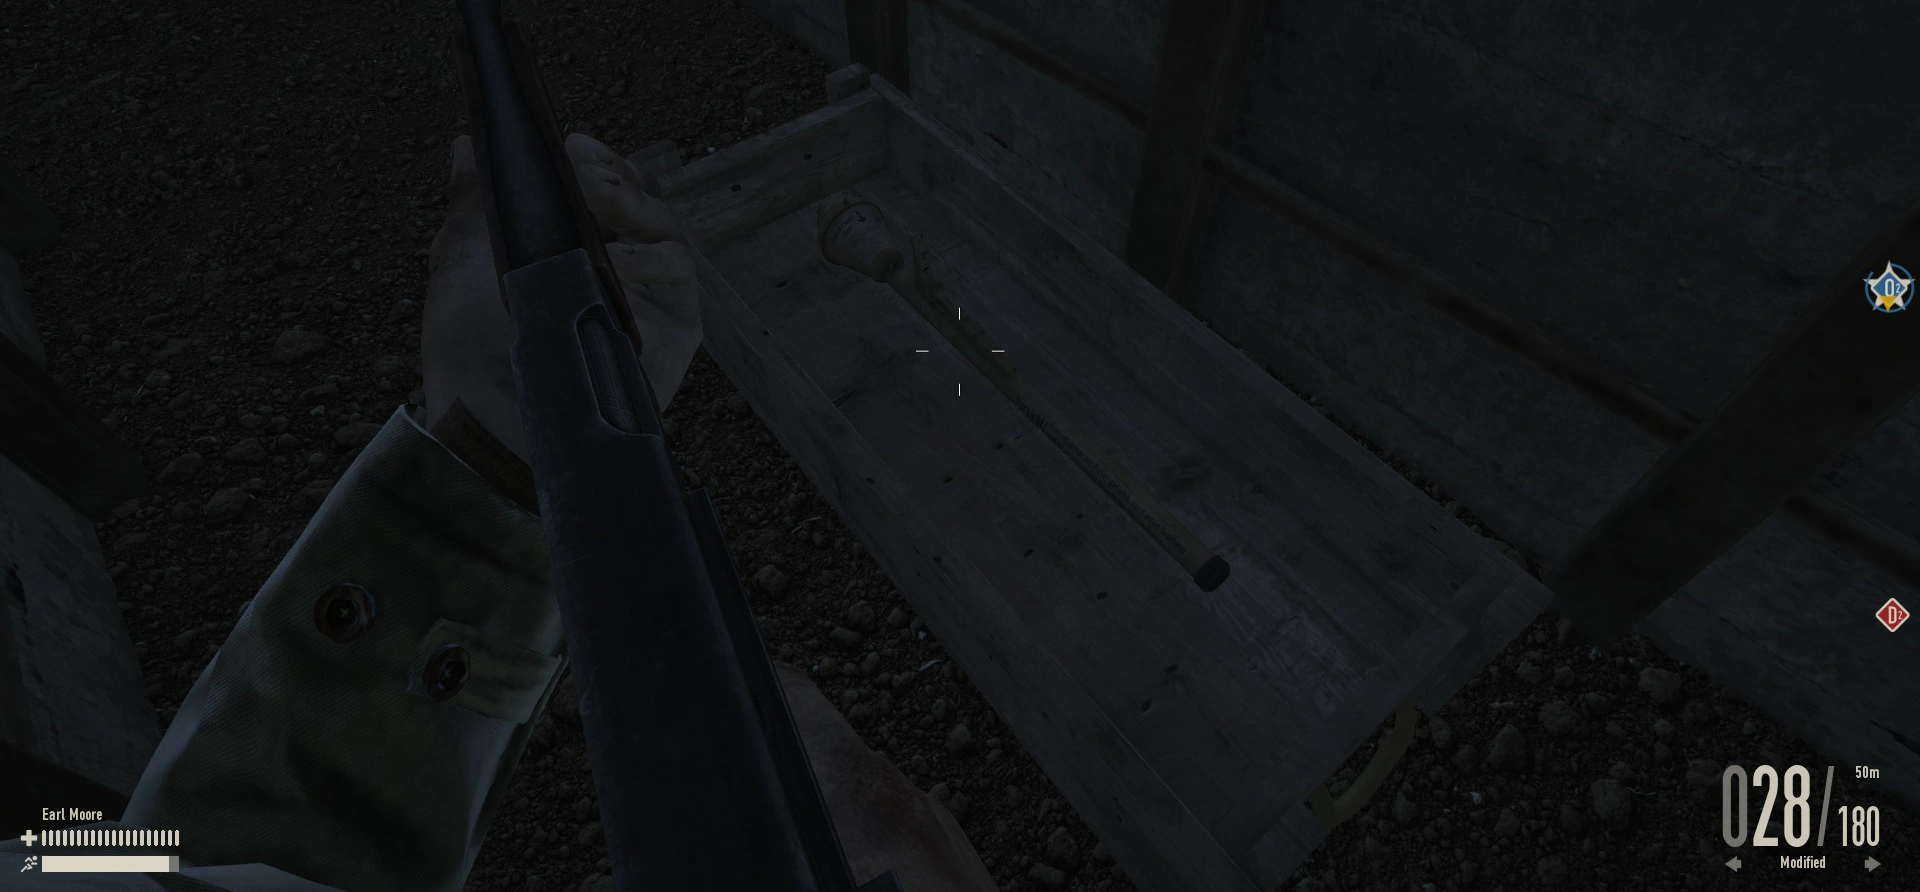
- Fallen Comrade
- Road to D2
D2[ | ]
Located inside one of the many barracks is the radio room. The area offers many sneaky places for infantry to hide and is a dangerous place for tankers or vehicles to travel through. It has a fence surrounding it with one entrance towards the north where the road to D1 is located. It has a Panzerfaust 60 supply crate and one anti-aircraft gun. Capturing this objective unlocks the control tower (O2). Moving towards the control tower can be very difficult as you can be attacked from the hill to the west, O2 and even defenders trying to flank you from O3. Use the barracks and given coverage to your advantage and move fast if in a vehicle.
Highlights
- Bicycles
- Panzerfaust 60 supply crate
- Many barracks offer great cover
- Anti-aircraft gun
- Unlocks O2 when captured
- Barrack
- Radio
The Objective[ | ]

O1, O2 & O3
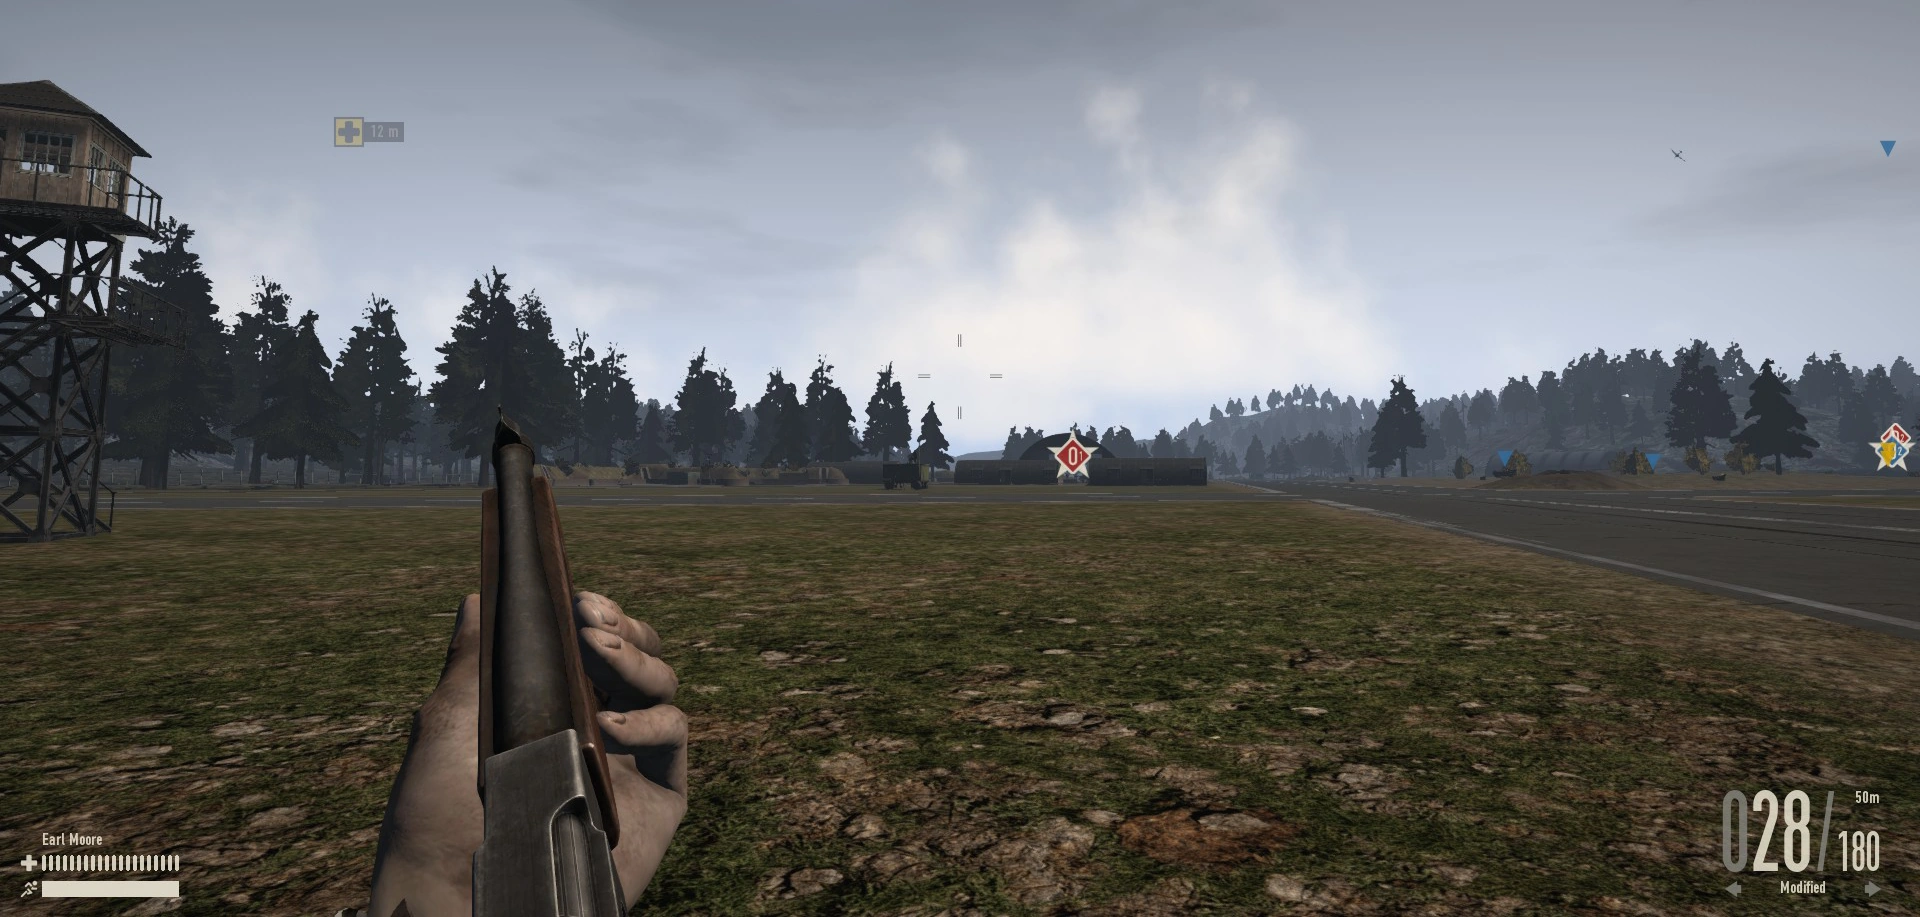
The objective points, O1 O2 and O3, are located in the middle of the airfield, and each point has it's own runway where defending fighter planes may take off.
You need to successfully defend or capture all three main objectives to win the battle and conquer or keep the airfield.
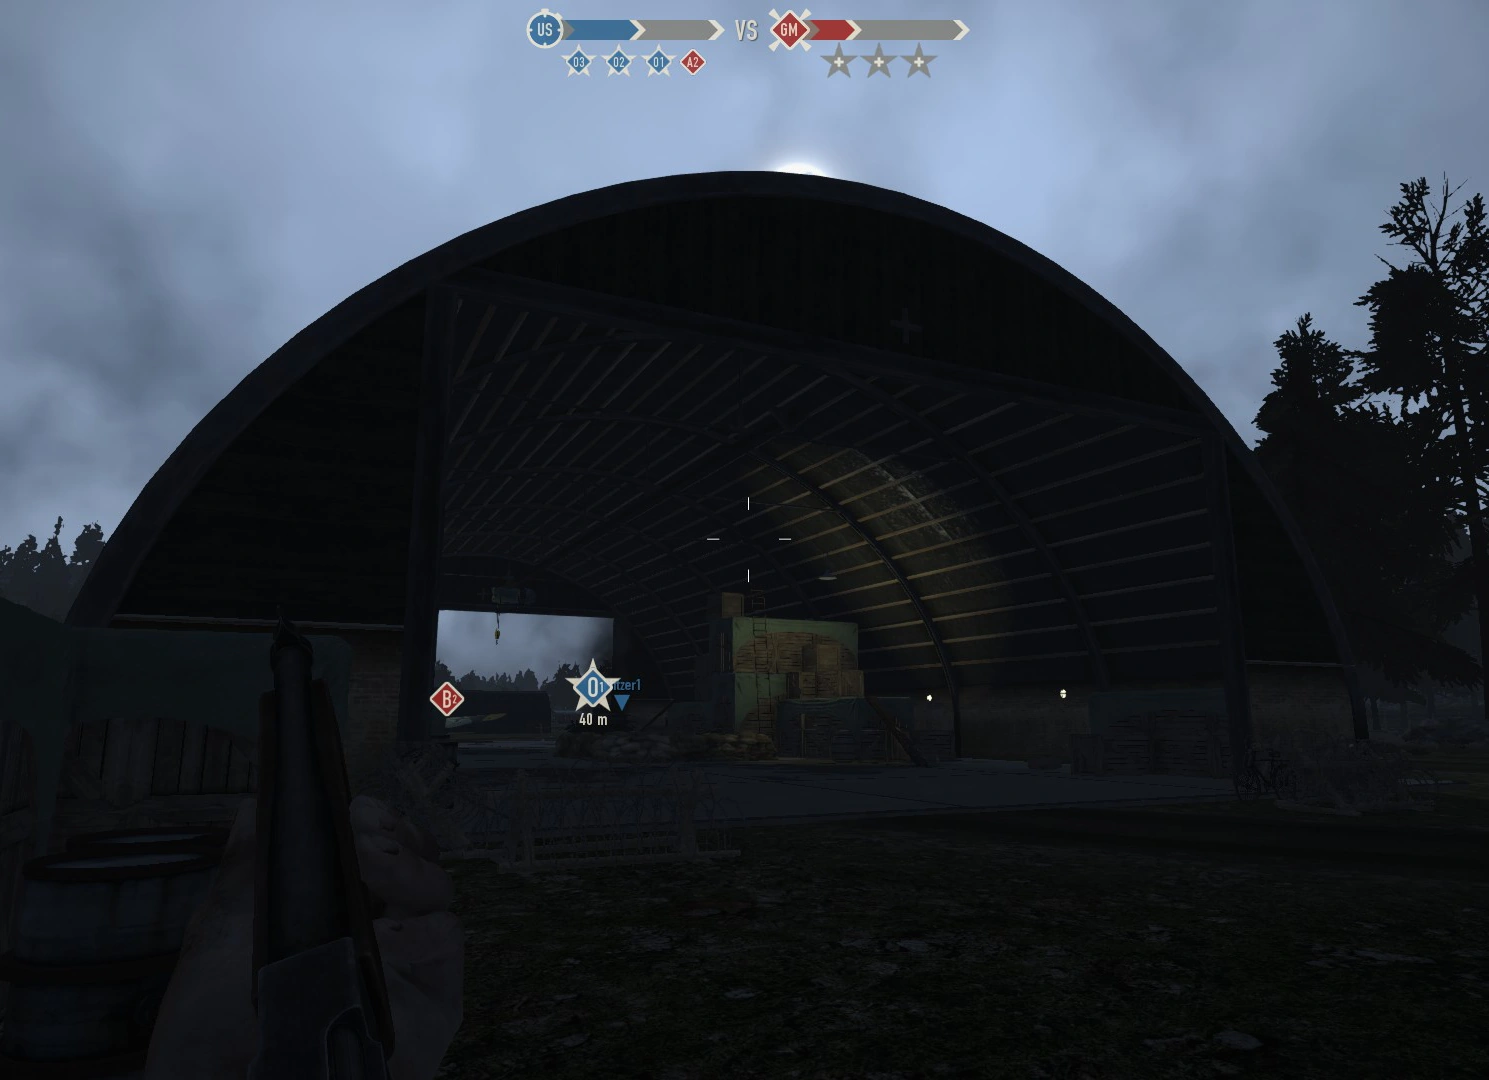
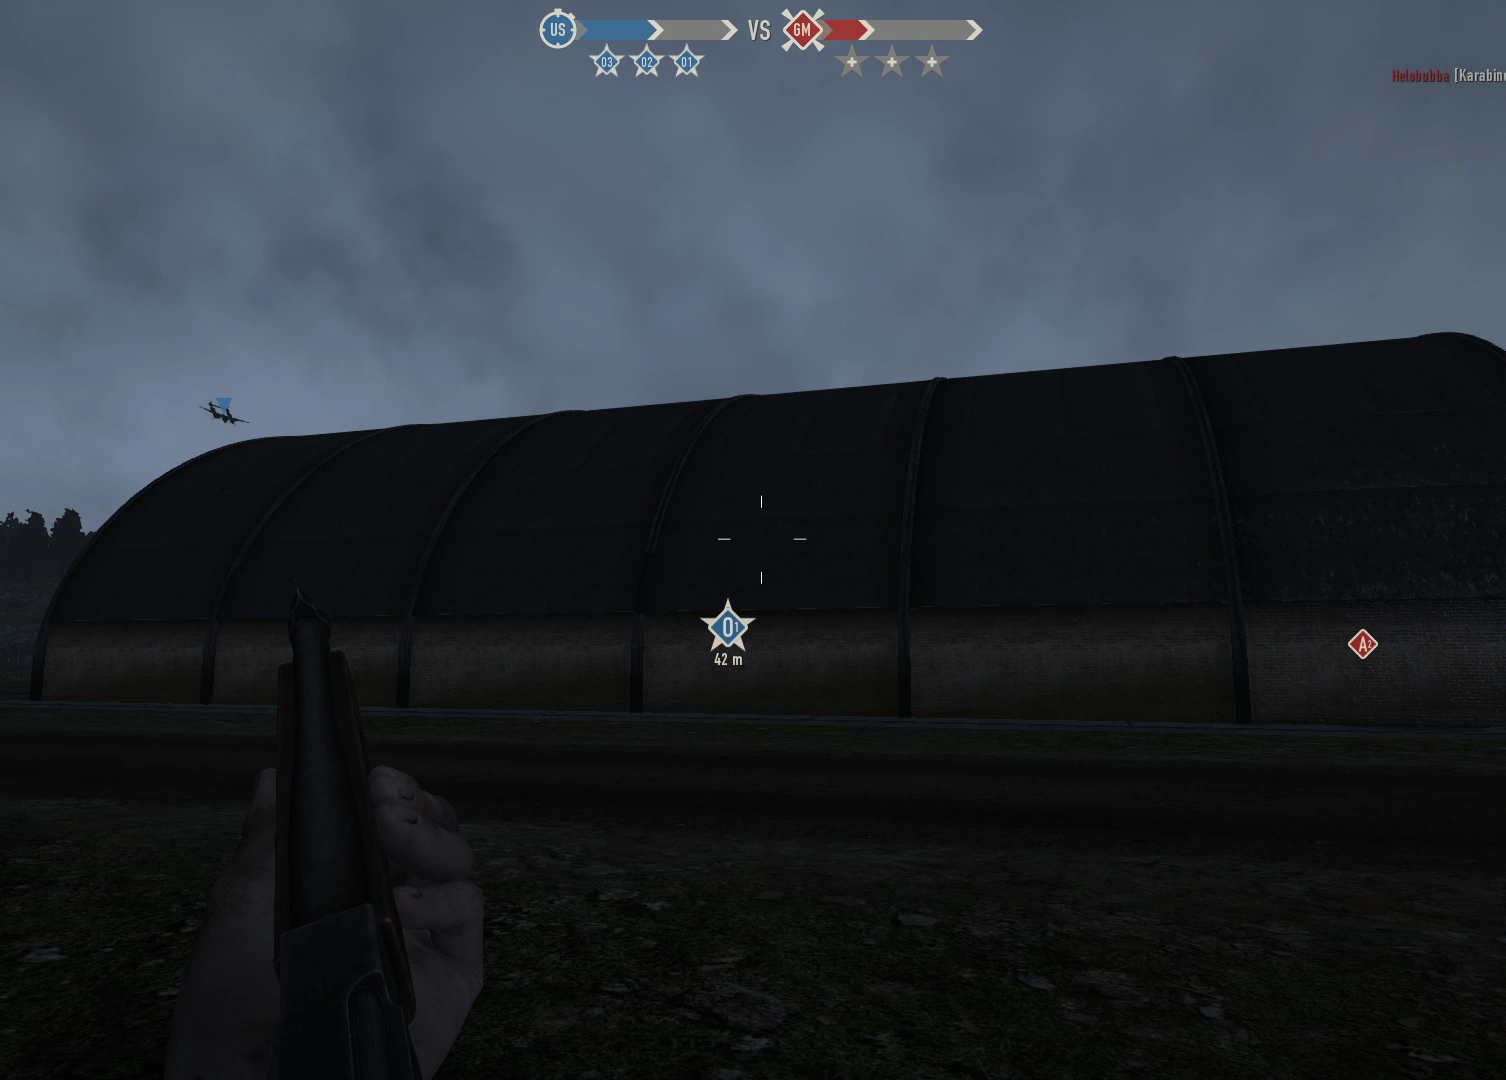
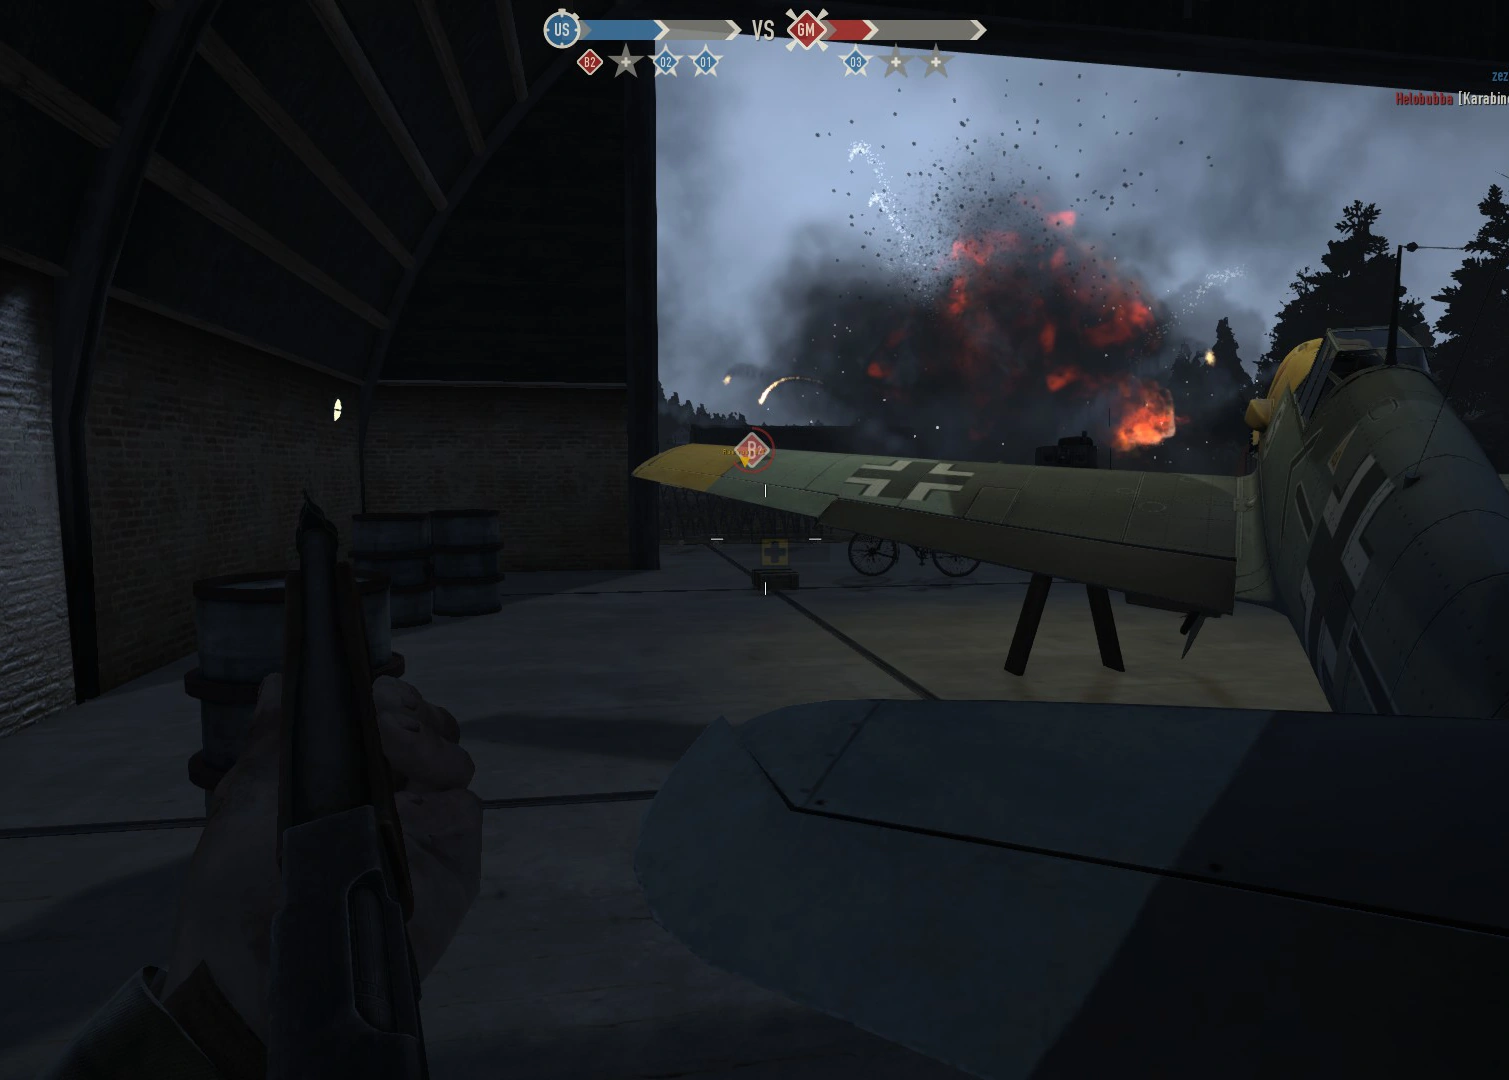
01[ | ]
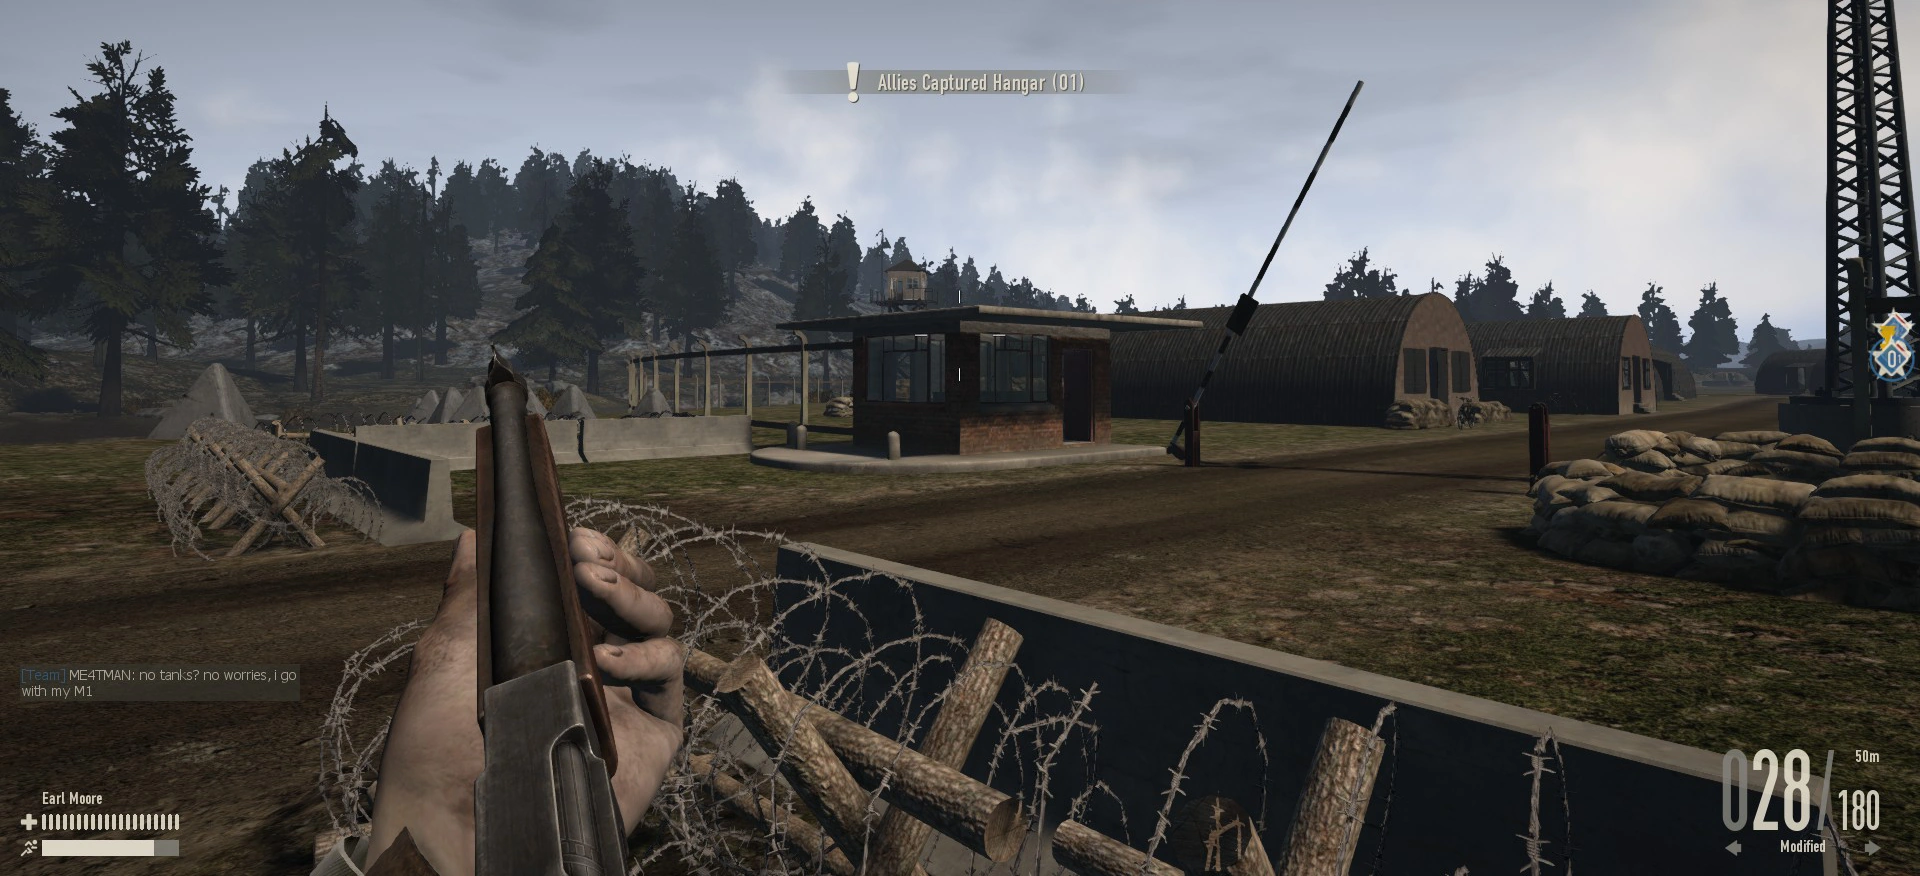
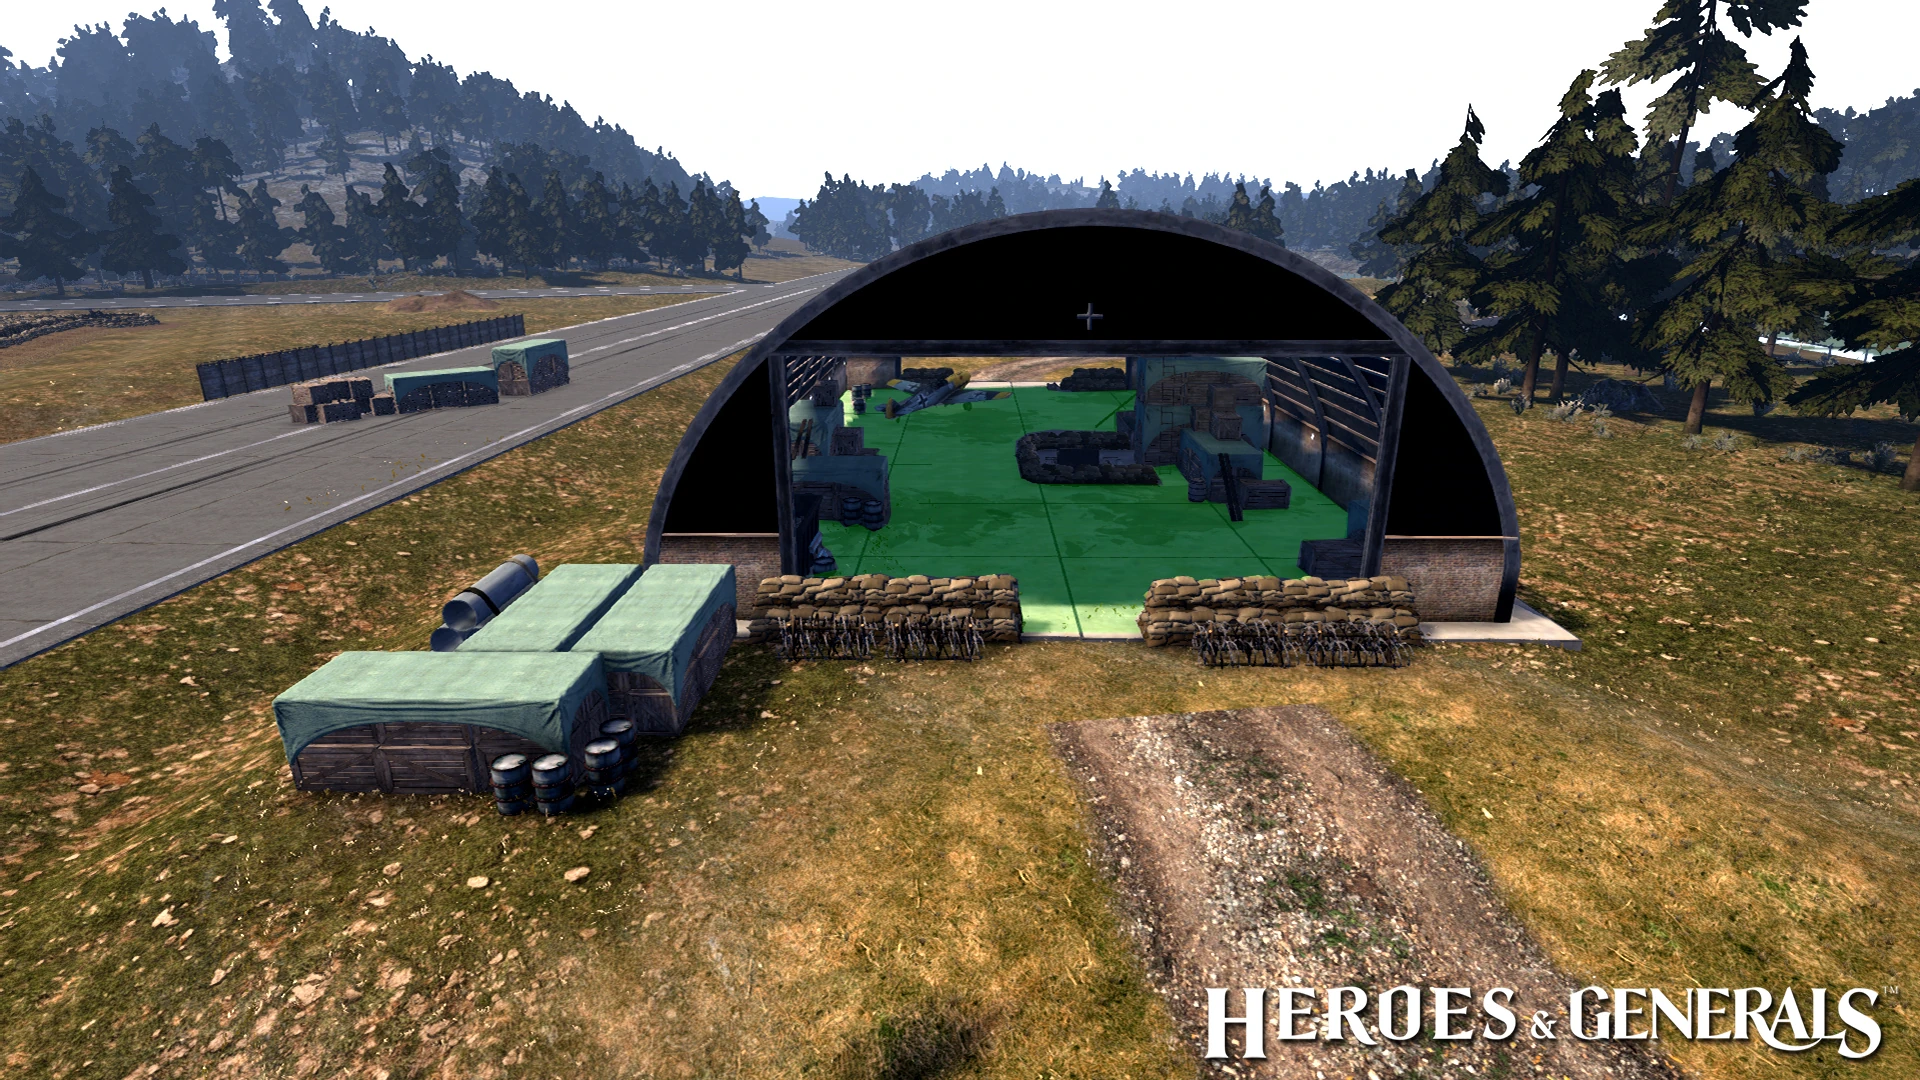
- O1 is a Hangar building which can be taken after capturing either C2 or B2.
- Inside the hanger there are many places you can hide in, such as: a bin, under a plane, or behind crates.
- There is a supply crate located at one end of the hanger, and a Panzerfaust 60 supply crate on the other.
- O1 is the only point able to be captured by tanks.
- O1 emergency spawn is either in the woods near it, or towards O2 and O3.
Highlights
- Bicycles
- Panzerfaust 60 supply crate
- Anti-aircraft gun
- Supply crate
- Unlocks O2 when captured
- Hangar
- Side View
- Radio
The new O1 and the capture area as of Garman update.
02[ | ]
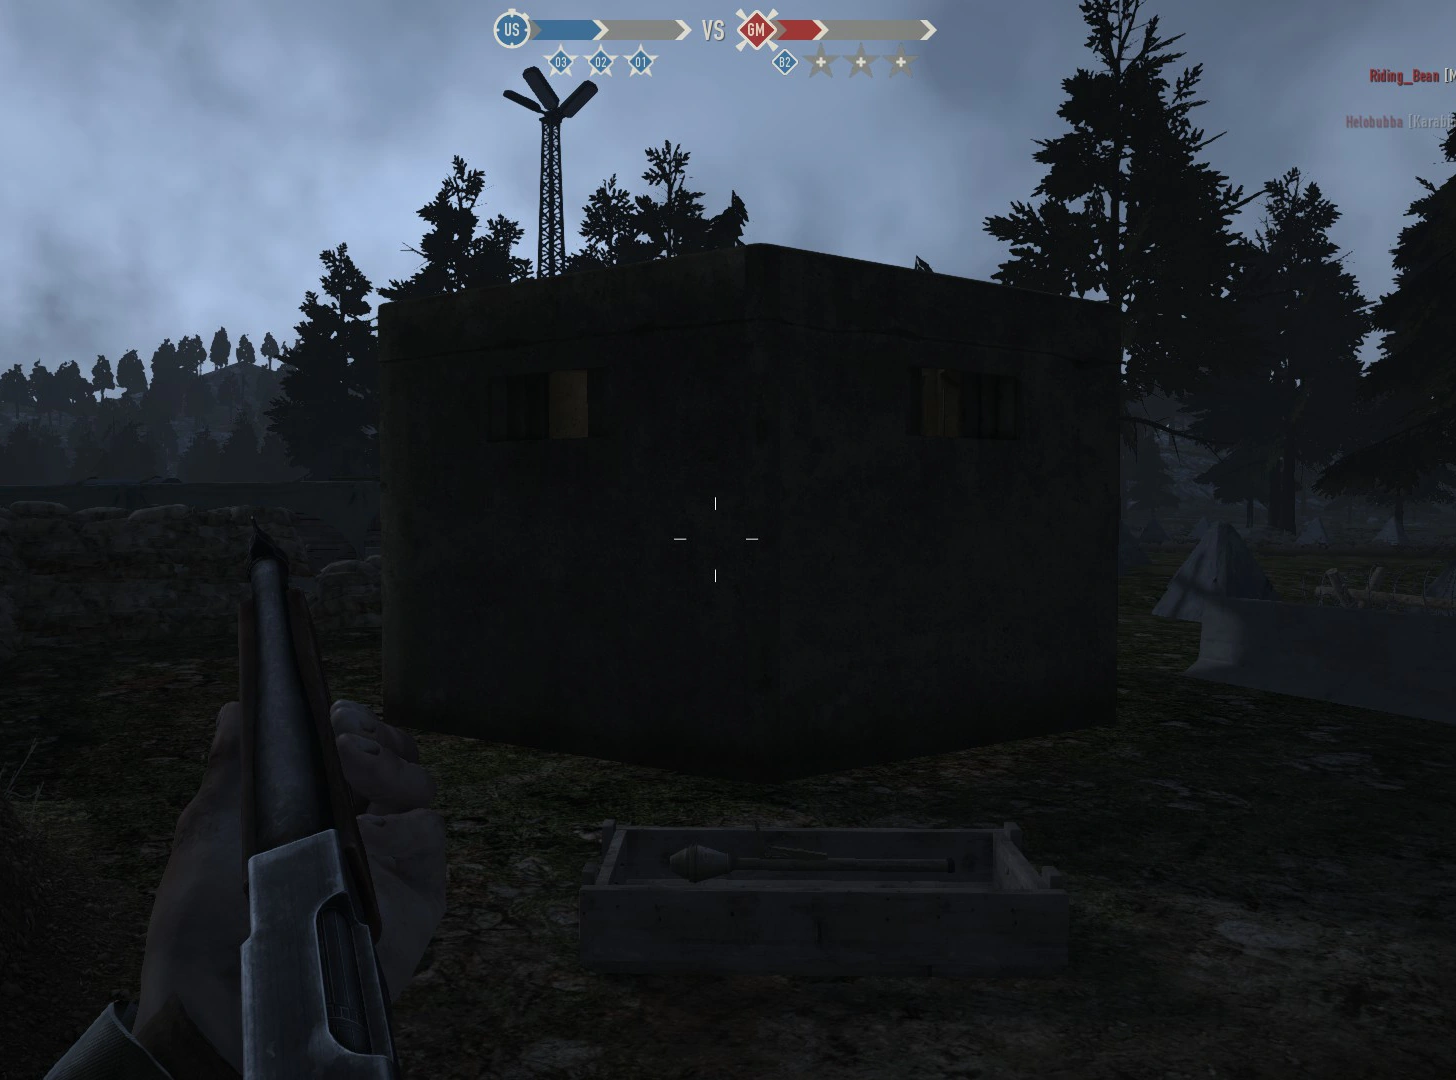
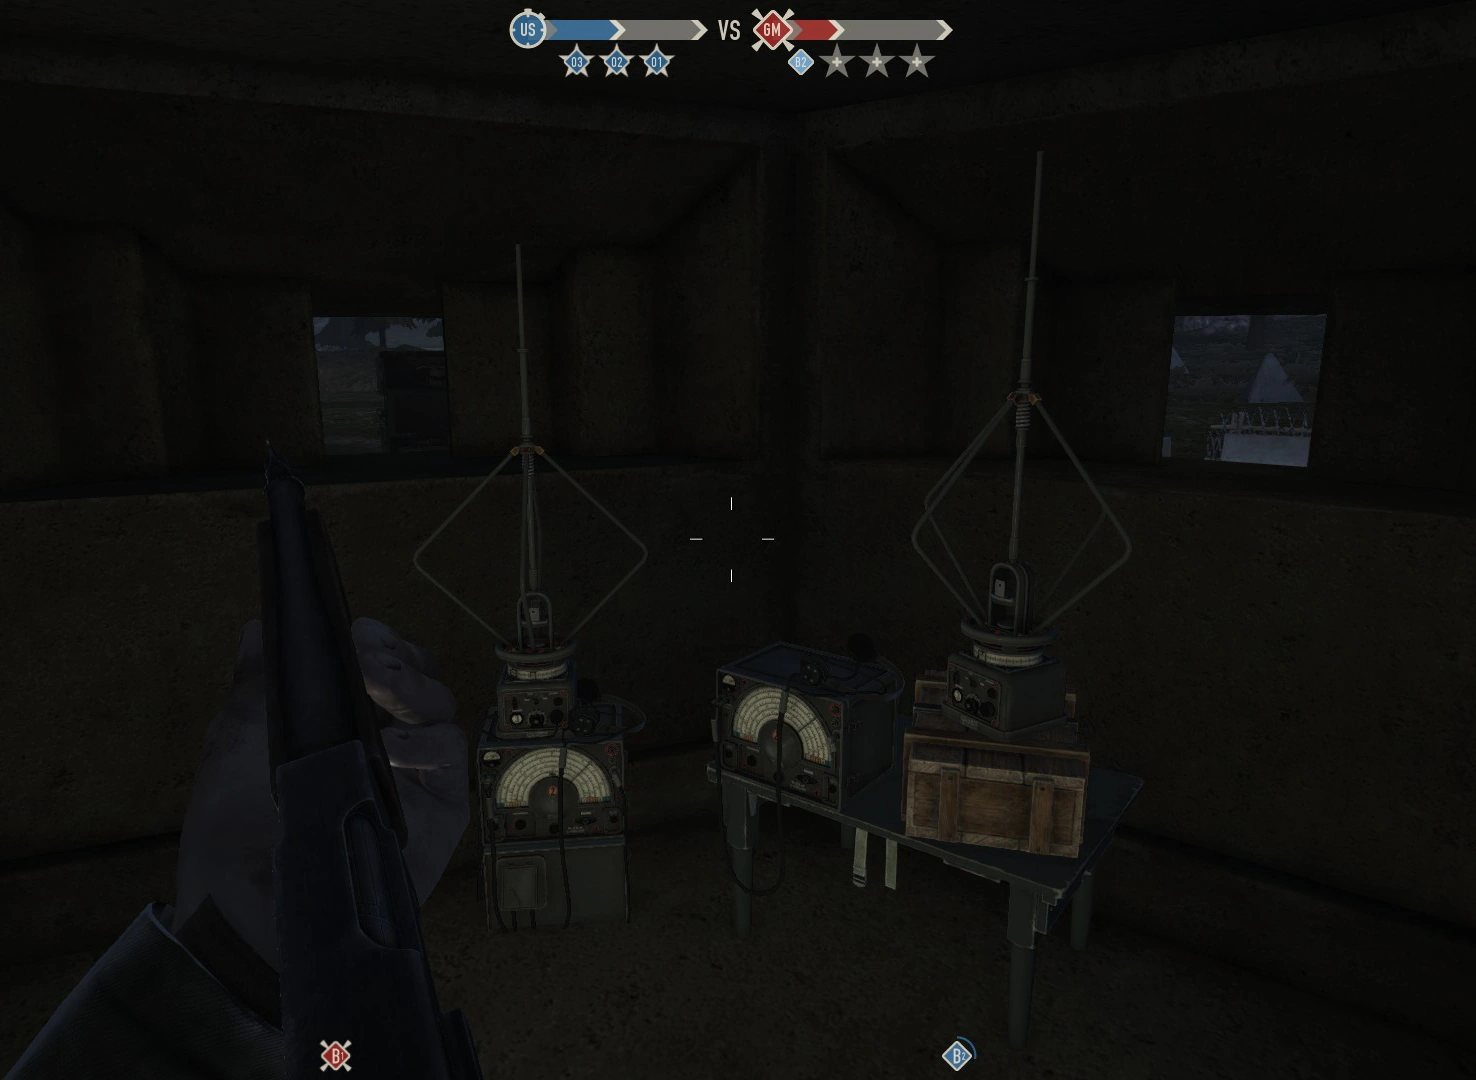
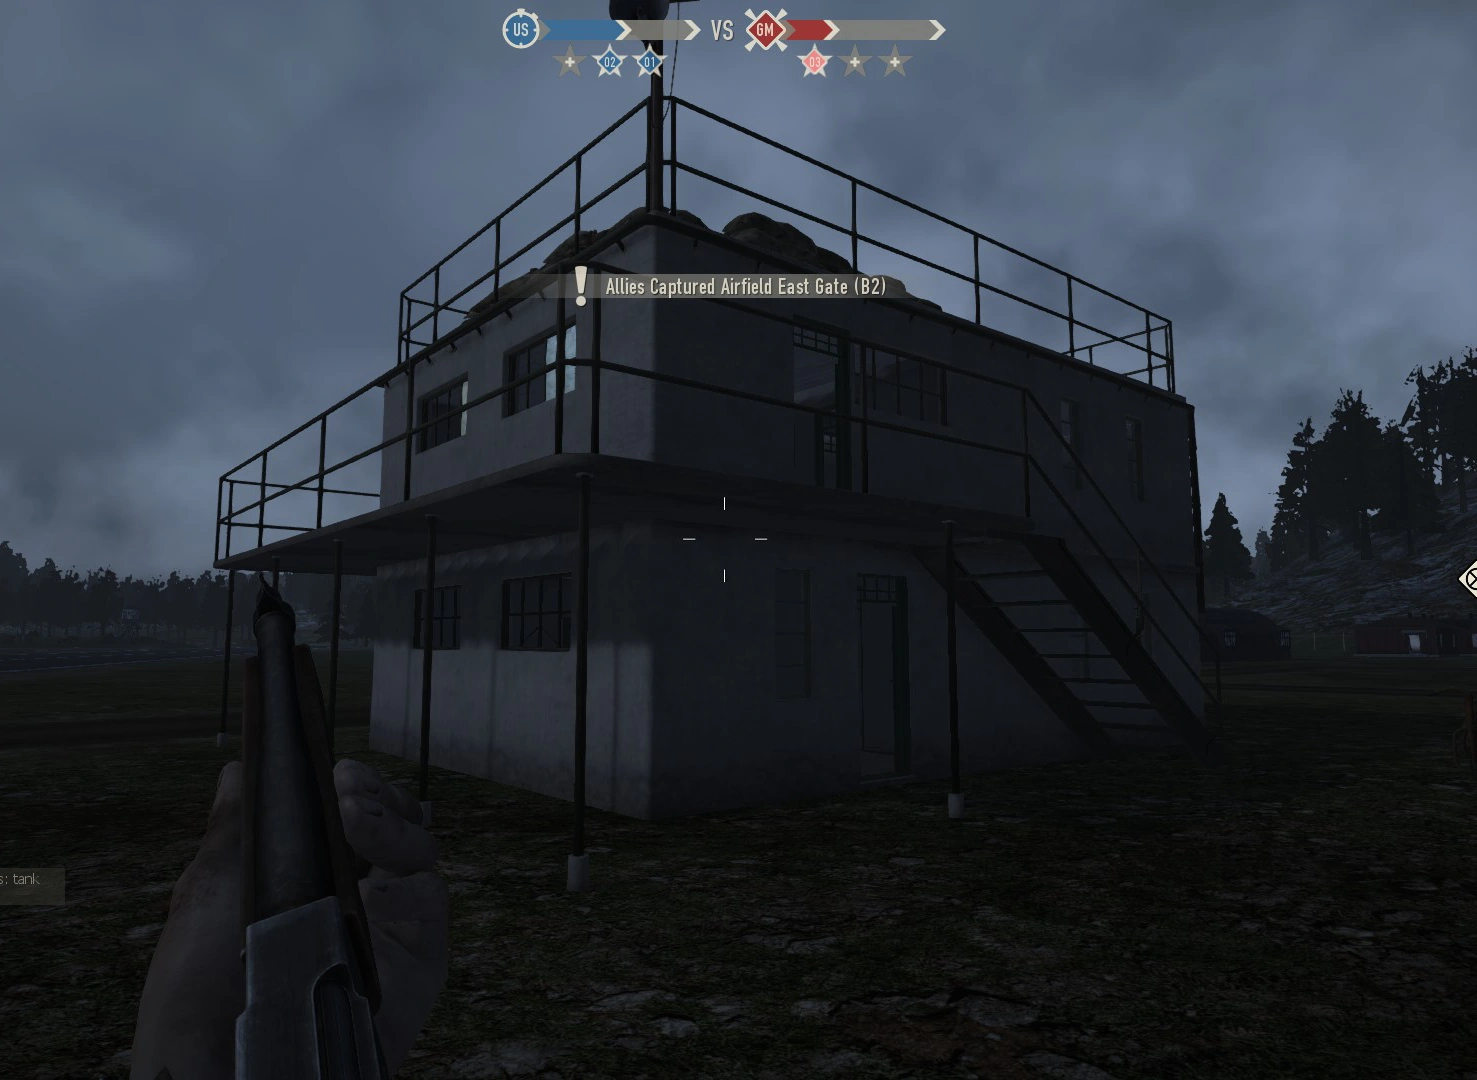
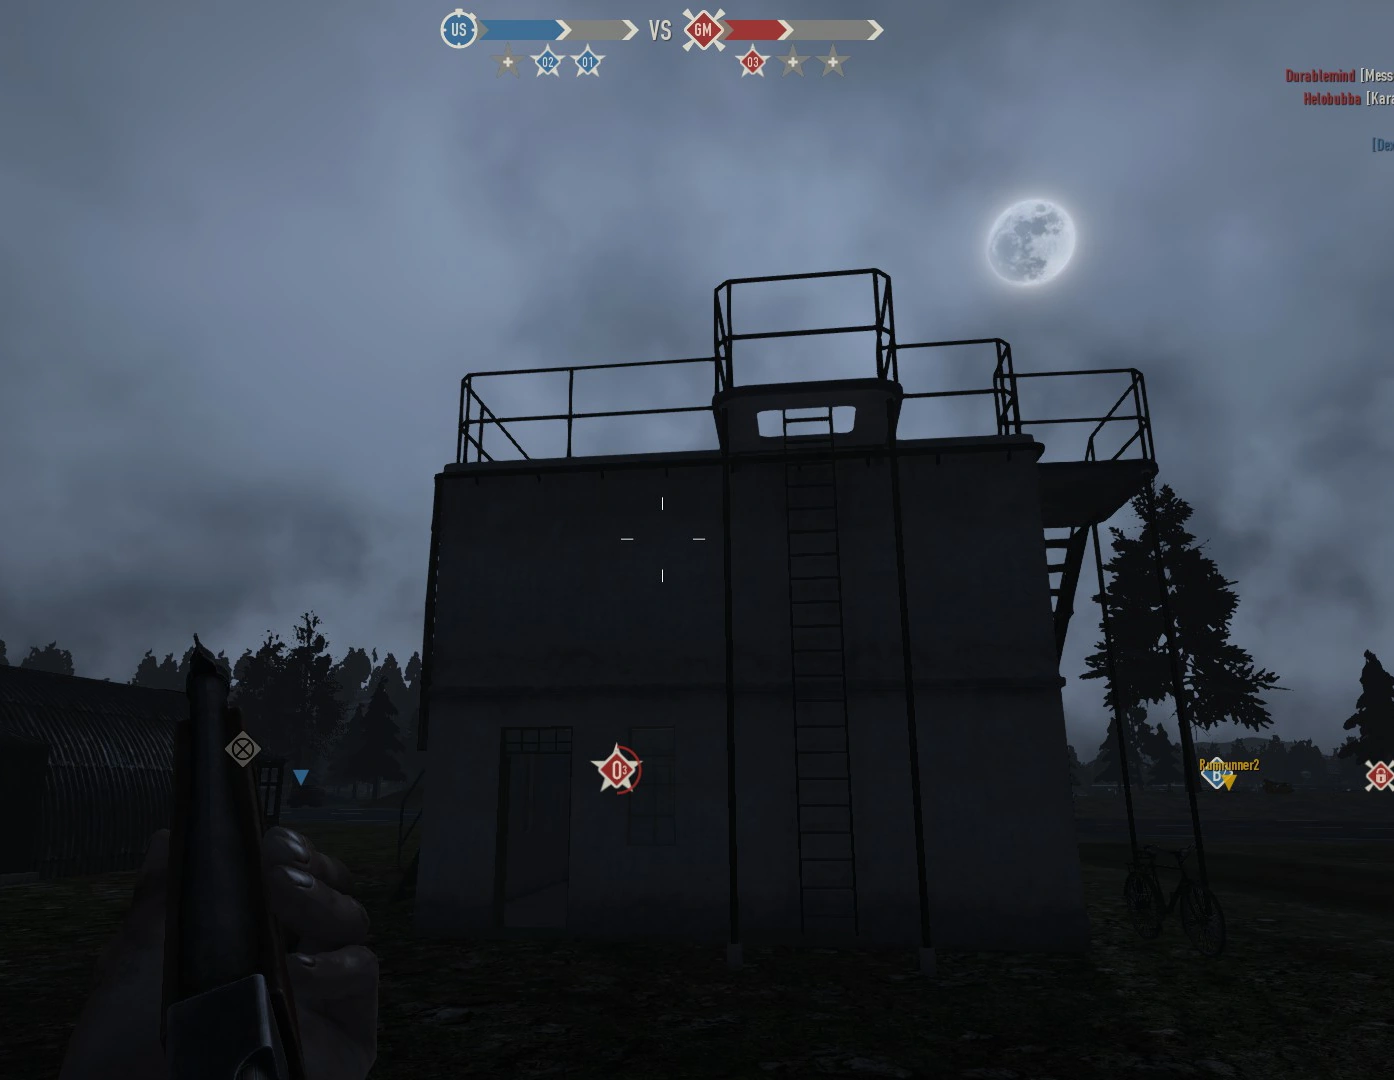
- O2 is the Control Tower of the airfield and can be taken after capturing D2.
- On top of the control tower is a Panzerfaust 60 supply crate, but it is exposed to enemy fire.
- There are multiple entrances to O2: two doors on the ground floor, or the stairs leading to the second floor and roof.
- One can stay on the second floor and throw grenades onto the first floor.
- O2 emergency spawn is in a building a fair distance away.
Highlights
- Bicycles
- Panzerfaust 60 supply crate
- Barracks and two small bunkers for cover
- Supply crate
- Unlocks O1 & O3 when captured
- Control Tower
- Side view
- Radio
The new O2 and the capture area as of Garman update.

O3[ | ]
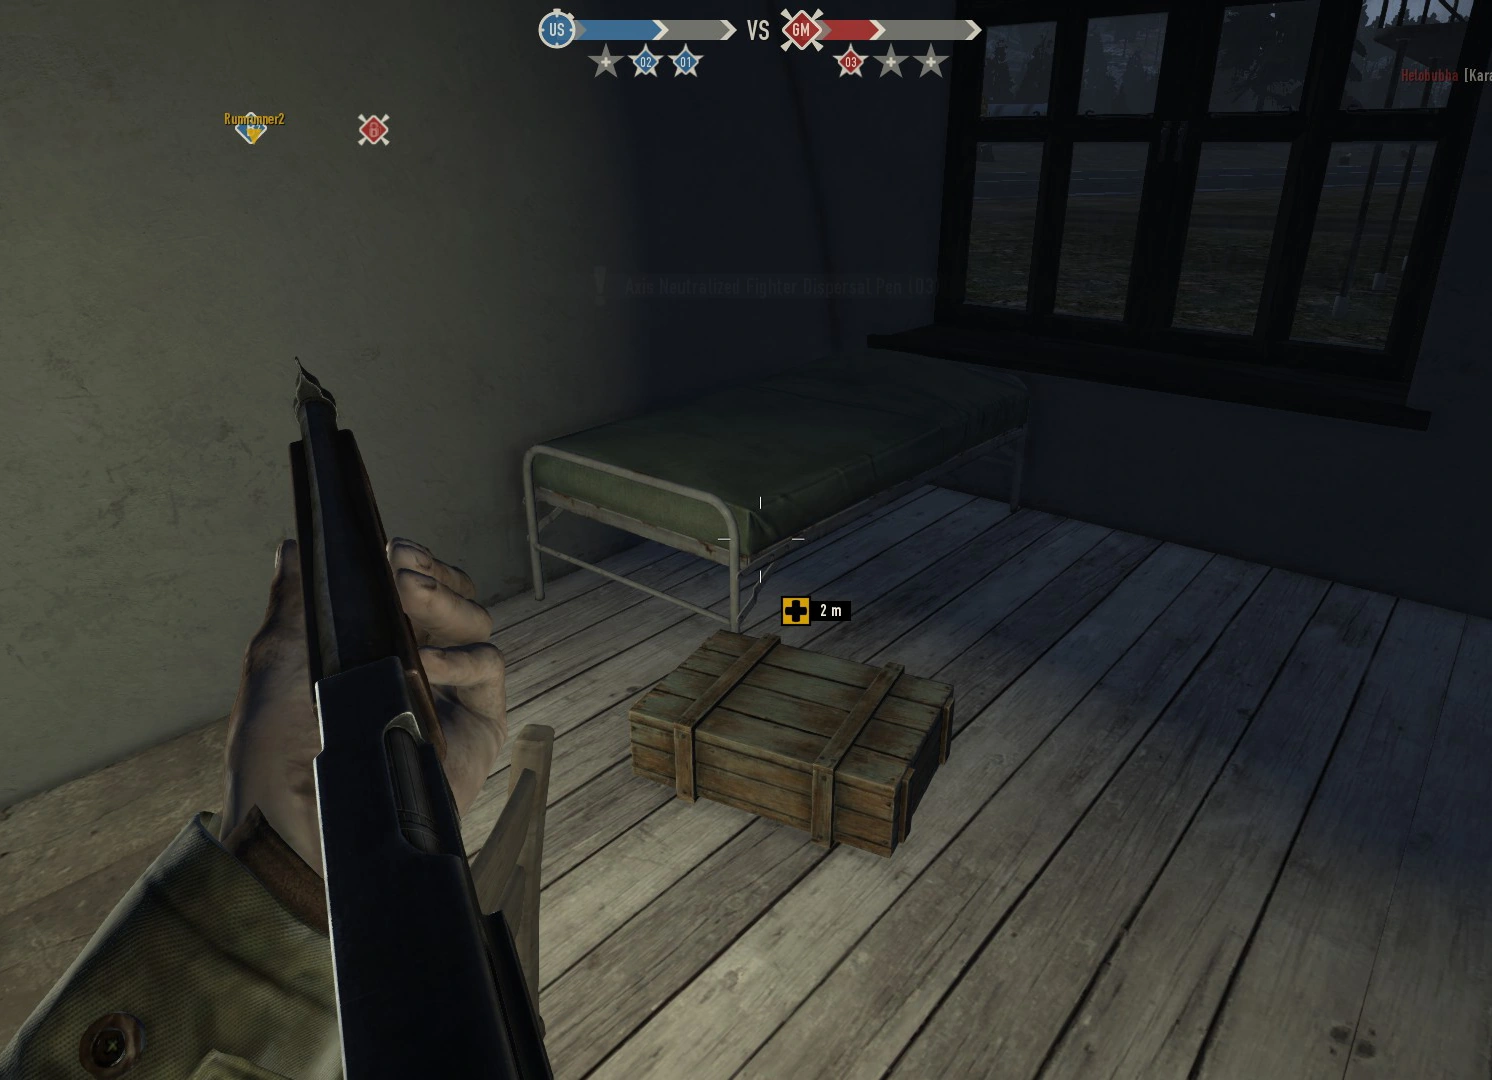
- O3 is a Fighter Dispersal Pen to the right of O1 and O2, and can be taken after capturing A2.
- The capture point is located inside one of the tunnels.
- O3 has a Panzerfaust 60 supply crate inside the tunnel containing the capture point, and a supply crate outside.
- The room containing the radio is rather easy to defend if you have a fully automatic weapon.
- O3 is easily camped by tanks, but they are easily repelled.
- O3 emergency spawn is in the woods behind it, and is easily camped by tanks.
Highlights
- Bicycles
- Anti-aircraft gun
- Panzerfaust 60 supply crate
- Supply crate
- Bunkers and underground pathways for great cover
- Unlocks O2 when captured
- Front Entrance
- Anti-aircraft gun
- Radio
The new O3 and the capture area as of Garman update.

Points of Interest[ | ]
- Guard Towers
- Bunkers
- Tunnels