(→Modifications: Added image for M73B1 and changed values to use templates) Tag: Visual edit |
(→Modifications: Added M84) Tag: Visual edit |
||
| Line 23: | Line 23: | ||
![[Bertie Clay MkIII (h)#Semi-Automatic Rifles|Bertie Clay MkIII (h)]] |
![[Bertie Clay MkIII (h)#Semi-Automatic Rifles|Bertie Clay MkIII (h)]] |
||
![[Field Adjusted Sights#Semi-Automatic Rifles|Field Adjusted Sights]] |
![[Field Adjusted Sights#Semi-Automatic Rifles|Field Adjusted Sights]] |
||
| − | ![[M73B1]] |
+ | ![[M73B1]] (Infantry) |
| + | ![[M84]] (German#1) |
||
![[Field Trigger Job#Semi-Automatic Rifles|Field Trigger Job]] |
![[Field Trigger Job#Semi-Automatic Rifles|Field Trigger Job]] |
||
![[Heavy Spring#Semi-Automatic Rifles|Heavy Spring]] |
![[Heavy Spring#Semi-Automatic Rifles|Heavy Spring]] |
||
| Line 37: | Line 38: | ||
|[[File:WM PS 5.png|100x100px]] |
|[[File:WM PS 5.png|100x100px]] |
||
|[[File:M73B1.png|100x100px]] |
|[[File:M73B1.png|100x100px]] |
||
| + | |[[image:M84.png|100x100px|link=https://heroesandgenerals.fandom.com/wiki/File:M84.png]] |
||
|[[File:WM T 5.png|100x100px]] |
|[[File:WM T 5.png|100x100px]] |
||
|[[File:WM I 4.png|100x100px]] |
|[[File:WM I 4.png|100x100px]] |
||
| Line 49: | Line 51: | ||
|{{#expr: {{PriceCreditsAmmoShot|id=27}} }}{{Credits}} |
|{{#expr: {{PriceCreditsAmmoShot|id=27}} }}{{Credits}} |
||
|{{#expr: {{PriceCreditsModsShot|id=49}} }}{{Credits}} |
|{{#expr: {{PriceCreditsModsShot|id=49}} }}{{Credits}} |
||
| − | | 7.47{{Credits}} |{{#expr:{{PriceCreditsModsShot|id=96}}}}[[File:HnGCurrencySymbol credits.png|18px|link=https://heroesandgenerals.gamepedia.com/File:HnGCurrencySymbol_credits.png]] |
+ | | 7.47{{Credits}} |{{#expr:{{PriceCreditsModsShot|id=96}}}}[[File:HnGCurrencySymbol credits.png|18px|link=https://heroesandgenerals.gamepedia.com/File:HnGCurrencySymbol_credits.png]] |
| + | |{{#expr:{{PriceCreditsModsShot|id=97}}}}{{Credits}} |
||
|{{#expr: {{PriceCreditsModsShot|id=46}} }}{{Credits}} |
|{{#expr: {{PriceCreditsModsShot|id=46}} }}{{Credits}} |
||
|{{#expr: {{PriceCreditsModsShot|id=43}} }}{{Credits}} |
|{{#expr: {{PriceCreditsModsShot|id=43}} }}{{Credits}} |
||
| Line 62: | Line 65: | ||
|{{MaintenanceLoadMods|id=49}}s |
|{{MaintenanceLoadMods|id=49}}s |
||
|{{MaintenanceLoadMods|id=96}}s |
|{{MaintenanceLoadMods|id=96}}s |
||
| + | |{{MaintenanceLoadMods|id=97}}s |
||
|{{MaintenanceLoadMods|id=46}}s |
|{{MaintenanceLoadMods|id=46}}s |
||
|{{MaintenanceLoadMods|id=44}}s |
|{{MaintenanceLoadMods|id=44}}s |
||
| Line 73: | Line 77: | ||
|{{HeavySetDamage|damage={{#expr: {{WeaponAmmoStats|id=29|category=damagenear}} * {{WeaponMultipliers|id=40|category=damagenear}}}} }} |
|{{HeavySetDamage|damage={{#expr: {{WeaponAmmoStats|id=29|category=damagenear}} * {{WeaponMultipliers|id=40|category=damagenear}}}} }} |
||
|{{HeavySetDamage|damage={{#expr: {{WeaponAmmoStats|id=27|category=damagenear}} * {{WeaponMultipliers|id=40|category=damagenear}}}} }} |
|{{HeavySetDamage|damage={{#expr: {{WeaponAmmoStats|id=27|category=damagenear}} * {{WeaponMultipliers|id=40|category=damagenear}}}} }} |
||
| + | | |
||
| |
| |
||
| |
| |
||
| Line 86: | Line 91: | ||
|{{HeavySetDamage|damage={{#expr: {{WeaponAmmoStats|id=29|category=damagefar}} * {{WeaponMultipliers|id=40|category=damagefar}}}} }} |
|{{HeavySetDamage|damage={{#expr: {{WeaponAmmoStats|id=29|category=damagefar}} * {{WeaponMultipliers|id=40|category=damagefar}}}} }} |
||
|{{HeavySetDamage|damage={{#expr: {{WeaponAmmoStats|id=27|category=damagefar}} * {{WeaponMultipliers|id=40|category=damagefar}}}} }} |
|{{HeavySetDamage|damage={{#expr: {{WeaponAmmoStats|id=27|category=damagefar}} * {{WeaponMultipliers|id=40|category=damagefar}}}} }} |
||
| + | | |
||
| |
| |
||
| |
| |
||
| Line 99: | Line 105: | ||
|{{#expr: {{WeaponAmmoStats|id=29|category=rangenear}} * {{WeaponMultipliers|id=40|category=rangenear}}round2}} |
|{{#expr: {{WeaponAmmoStats|id=29|category=rangenear}} * {{WeaponMultipliers|id=40|category=rangenear}}round2}} |
||
|{{#expr: {{WeaponAmmoStats|id=27|category=rangenear}} * {{WeaponMultipliers|id=40|category=rangenear}}round2}} |
|{{#expr: {{WeaponAmmoStats|id=27|category=rangenear}} * {{WeaponMultipliers|id=40|category=rangenear}}round2}} |
||
| + | | |
||
| |
| |
||
| |
| |
||
| Line 112: | Line 119: | ||
|{{#expr: {{WeaponAmmoStats|id=29|category=rangefar}} * {{WeaponMultipliers|id=40|category=rangefar}}round2}} |
|{{#expr: {{WeaponAmmoStats|id=29|category=rangefar}} * {{WeaponMultipliers|id=40|category=rangefar}}round2}} |
||
|{{#expr: {{WeaponAmmoStats|id=27|category=rangefar}} * {{WeaponMultipliers|id=40|category=rangefar}}round2}} |
|{{#expr: {{WeaponAmmoStats|id=27|category=rangefar}} * {{WeaponMultipliers|id=40|category=rangefar}}round2}} |
||
| + | | |
||
| |
| |
||
| |
| |
||
| Line 125: | Line 133: | ||
|{{#expr: {{WeaponAmmoStats|id=29|category=velocity}} * {{WeaponMultipliers|id=40|category=velocity}}round2}} |
|{{#expr: {{WeaponAmmoStats|id=29|category=velocity}} * {{WeaponMultipliers|id=40|category=velocity}}round2}} |
||
|{{#expr: {{WeaponAmmoStats|id=27|category=velocity}} * {{WeaponMultipliers|id=40|category=velocity}}round2}} |
|{{#expr: {{WeaponAmmoStats|id=27|category=velocity}} * {{WeaponMultipliers|id=40|category=velocity}}round2}} |
||
| + | | |
||
| |
| |
||
| |
| |
||
| Line 138: | Line 147: | ||
|{{#expr: {{WeaponAmmoStats|id=29|category=conemod}} * {{WeaponMultipliers|id=40|category=conefire}} }} |
|{{#expr: {{WeaponAmmoStats|id=29|category=conemod}} * {{WeaponMultipliers|id=40|category=conefire}} }} |
||
|{{#expr: {{WeaponAmmoStats|id=27|category=conemod}} * {{WeaponMultipliers|id=40|category=conefire}} }} |
|{{#expr: {{WeaponAmmoStats|id=27|category=conemod}} * {{WeaponMultipliers|id=40|category=conefire}} }} |
||
| + | | |
||
| |
| |
||
| |
| |
||
| Line 152: | Line 162: | ||
| |
| |
||
|{{#expr: {{WeaponMultipliers|id=40|category=swaystandmode}} * {{WeaponModMultipliers|id=49|category=conestandmode}} }} |
|{{#expr: {{WeaponMultipliers|id=40|category=swaystandmode}} * {{WeaponModMultipliers|id=49|category=conestandmode}} }} |
||
| + | | |
||
| |
| |
||
| |
| |
||
| Line 165: | Line 176: | ||
| |
| |
||
|{{#expr: {{WeaponMultipliers|id=40|category=swaycrouchmode}} * {{WeaponModMultipliers|id=49|category=conecrouchmode}} }} |
|{{#expr: {{WeaponMultipliers|id=40|category=swaycrouchmode}} * {{WeaponModMultipliers|id=49|category=conecrouchmode}} }} |
||
| + | | |
||
| |
| |
||
| |
| |
||
| Line 178: | Line 190: | ||
| |
| |
||
|{{#expr: {{WeaponMultipliers|id=40|category=swaypronemode}} * {{WeaponModMultipliers|id=49|category=conepronemode}} }} |
|{{#expr: {{WeaponMultipliers|id=40|category=swaypronemode}} * {{WeaponModMultipliers|id=49|category=conepronemode}} }} |
||
| + | | |
||
| |
| |
||
| |
| |
||
| Line 191: | Line 204: | ||
| |
| |
||
|{{#expr: {{WeaponMultipliers|id=40|category=swayprecisionmodifier}} * {{WeaponModMultipliers|id=49|category=coneaimmodifier}} }} |
|{{#expr: {{WeaponMultipliers|id=40|category=swayprecisionmodifier}} * {{WeaponModMultipliers|id=49|category=coneaimmodifier}} }} |
||
| + | | |
||
| |
| |
||
| |
| |
||
| Line 204: | Line 218: | ||
| |
| |
||
|{{#expr: {{WeaponMultipliers|id=40|category=aimpenaltycontractionpersec}} * {{WeaponModMultipliers|id=49|category=conecontractionpersec}} }} |
|{{#expr: {{WeaponMultipliers|id=40|category=aimpenaltycontractionpersec}} * {{WeaponModMultipliers|id=49|category=conecontractionpersec}} }} |
||
| + | | |
||
| |
| |
||
| |
| |
||
| Line 216: | Line 231: | ||
|{{#expr: {{WeaponMultipliers|id=40|category=camerarecoilup}} * {{WeaponAmmoStats|id=29|category=recoilmod}} }} |
|{{#expr: {{WeaponMultipliers|id=40|category=camerarecoilup}} * {{WeaponAmmoStats|id=29|category=recoilmod}} }} |
||
|{{#expr: {{WeaponMultipliers|id=40|category=camerarecoilup}} * {{WeaponAmmoStats|id=27|category=recoilmod}} }} |
|{{#expr: {{WeaponMultipliers|id=40|category=camerarecoilup}} * {{WeaponAmmoStats|id=27|category=recoilmod}} }} |
||
| + | | |
||
| |
| |
||
| |
| |
||
| Line 230: | Line 246: | ||
|{{#expr: {{WeaponMultipliers|id=40|category=camerarecoilright}} * {{WeaponAmmoStats|id=29|category=recoilmod}} }} |
|{{#expr: {{WeaponMultipliers|id=40|category=camerarecoilright}} * {{WeaponAmmoStats|id=29|category=recoilmod}} }} |
||
|{{#expr: {{WeaponMultipliers|id=40|category=camerarecoilright}} * {{WeaponAmmoStats|id=27|category=recoilmod}} }} |
|{{#expr: {{WeaponMultipliers|id=40|category=camerarecoilright}} * {{WeaponAmmoStats|id=27|category=recoilmod}} }} |
||
| + | | |
||
| |
| |
||
| |
| |
||
| Line 244: | Line 261: | ||
|{{#expr: {{WeaponMultipliers|id=40|category=camerarecoilvariance}} * {{WeaponAmmoStats|id=29|category=recoilmod}} }} |
|{{#expr: {{WeaponMultipliers|id=40|category=camerarecoilvariance}} * {{WeaponAmmoStats|id=29|category=recoilmod}} }} |
||
|{{#expr: {{WeaponMultipliers|id=40|category=camerarecoilvariance}} * {{WeaponAmmoStats|id=27|category=recoilmod}} }} |
|{{#expr: {{WeaponMultipliers|id=40|category=camerarecoilvariance}} * {{WeaponAmmoStats|id=27|category=recoilmod}} }} |
||
| + | | |
||
| |
| |
||
| |
| |
||
| Line 255: | Line 273: | ||
!Rate of Fire |
!Rate of Fire |
||
|{{#expr: 1/{{WeaponMultipliers|id=40|category=recoiltime}} * 60 round2}} |
|{{#expr: 1/{{WeaponMultipliers|id=40|category=recoiltime}} * 60 round2}} |
||
| + | | |
||
| |
| |
||
| |
| |
||
Revision as of 08:37, 18 September 2021
Description
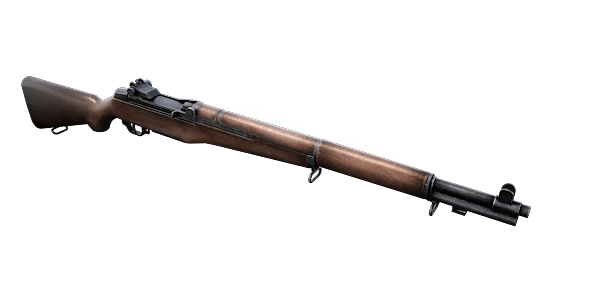
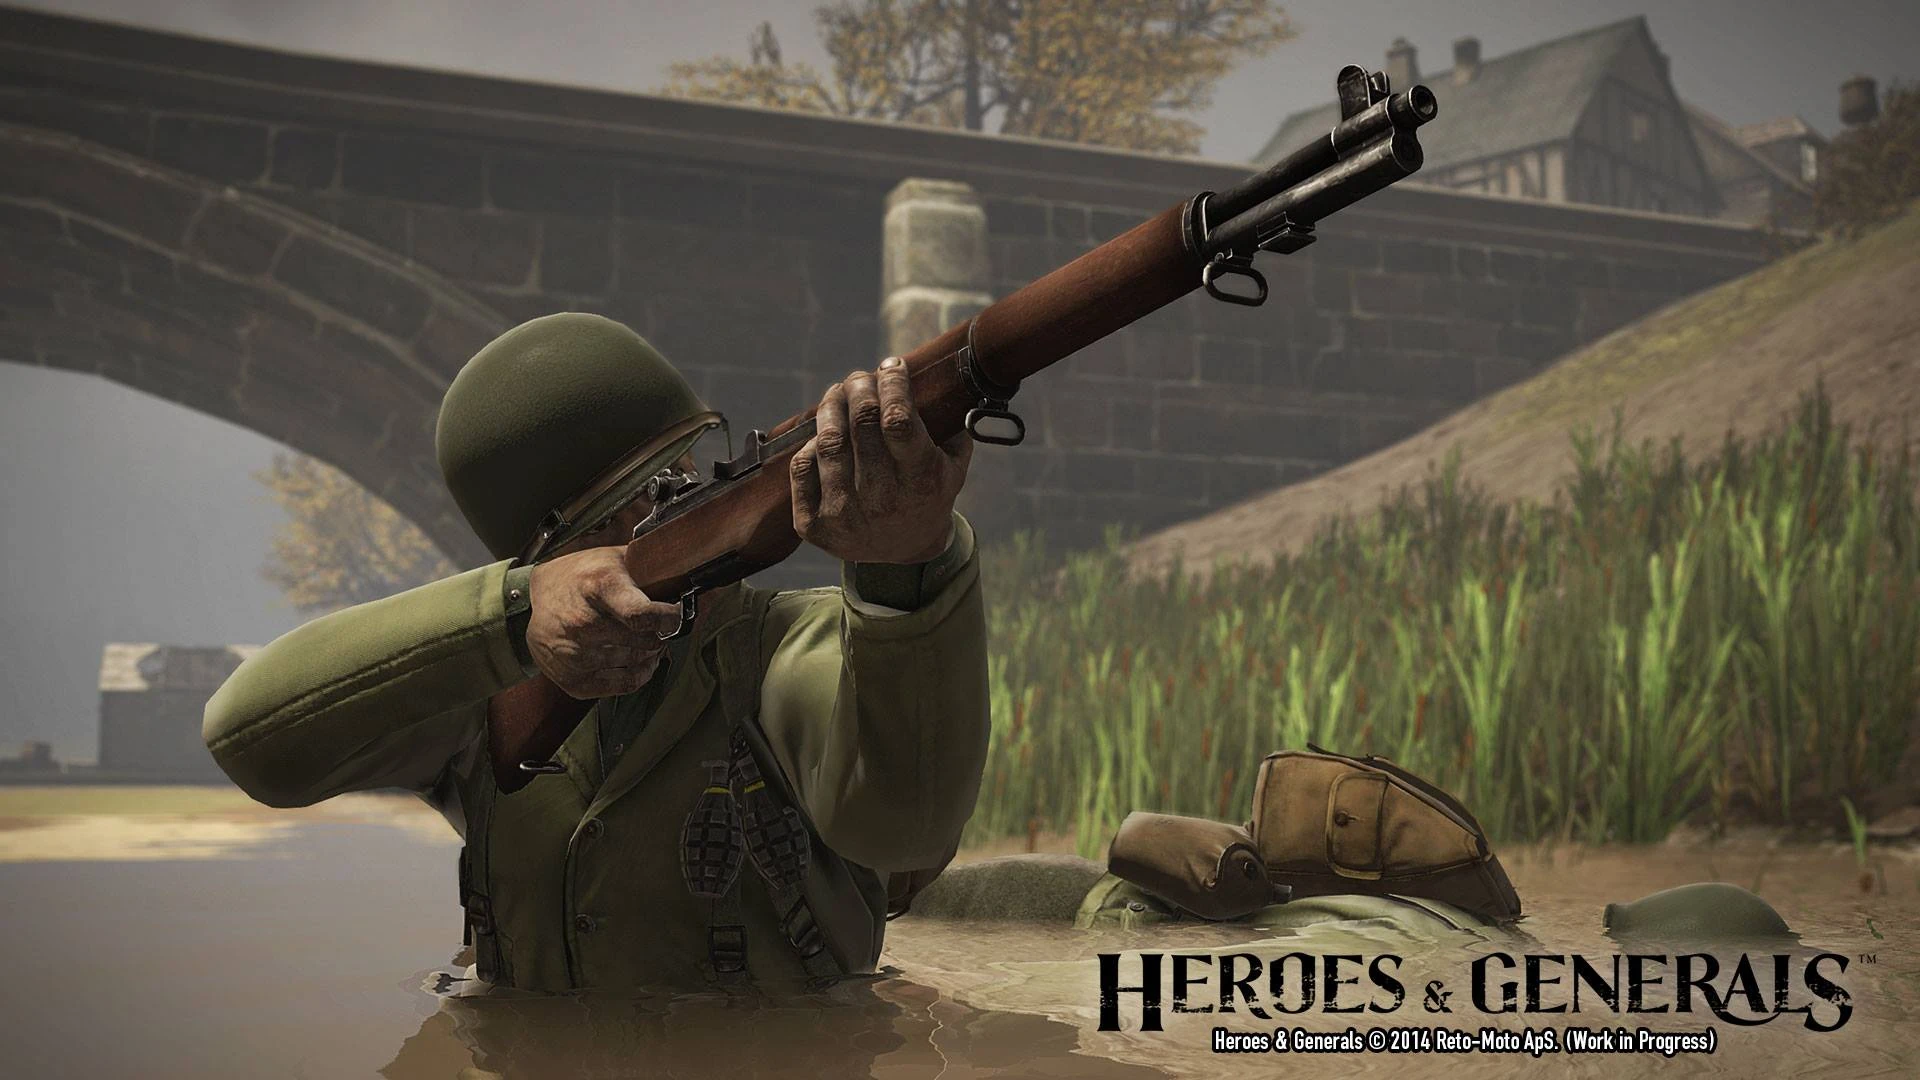
| “ | The standard weapon of the US Army. A hard-hitting effective semi-automatic rifle, that uses an 8 round ‘en-bloc’ clip. | ” |
| ― Heroes & Generals | ||
History
The M1 Garand is a semi-automatic rifle chambered for the powerful .30-06 Springfield round. The rifle was designed by John C. Garand of Springfield Armory in 1928, and underwent significant setbacks and revisions until it was finally perfected and adopted by the U.S. military in late 1937. The rifle features an integral eight round magazine, loaded via en-bloc clips, which remained in the weapon and continued to feed its ammunition until the weapon was emptied or the clip was manually removed. The M1's famous "ping" noise is the result of the clip being ejected from the breech at high speed as the final round is ejected. Contrary to popular belief, the M1 Garand's en bloc clip can be removed before running out of ammunition by holding the release button on the left side of the receiver while retracting the bolt.
The M1 served as the primary service rifle for the U.S. Army and Marines throughout World War II, its success owing to its simplicity of design and operation, and incredible reliability despite the harsh conditions it was exposed to. Its sights are extremely accurate, and support zeroing up to and beyond 1000 yards. In 1944, the U.S. Army implemented the M1C sniper rifle, a version of the Garand modified with a scope mount. This effectively turned it into what came to be known as a designated marksman rifle, and supplemented the role already filled by the M1903 Springfield.
The weapon continued to see use throughout the Korean War, and its design was carried over into the M14. Its derivative designs, including the M21 Sniper Weapon System, remain in use by the United States Army, Marines, and Navy. The original M1 Garand remains an icon of the United States Armed Forces. It remains its service as a parade, drill, and ceremony rifle in the United States Army, Marines, Navy, and Air Force, and Coast Guard. It also remains in use by J/ROTC drill, exhibition, and color guard teams throughout the United States.
Gameplay
The M1 Garand is a flexible weapon, sporting good accuracy at any range. It deals decent damage with a moderate rate of fire, but suffers with stability and magazine size, also the weapons sight is fixed at 100m. While it may not boast the high rate of fire of an SMG, or the higher damage of a bolt action rifle; It succeeds where both will fail, making it a more versatile weapon and giving it an edge in medium range engagements. This rifle encourages good tactical positioning when facing opponents with specialized loadouts, andits adaptability in combat can be very rewarding to a savvy tactician.
However, modifications-wise the M1 Garand is at a disadvantage to the other semi-automatic rifles as the Match M72 ammo is unable to two-hit kill enemies with Heavy Set Gold - while its counterparts the Anschusspatrone s.S. and the 7N1 Sniper are able to. This leaves the short-range Bertie Mk III (h) ammo or the Scout II-s barrel as the only solutions for cheap, consistent two-hit kill builds.
Tips
- This weapon performs well at close range, but performs best at medium range. The ideal distance to use the M1 Garand is 50m or more, which is well out of the effective range for Sub-Machine Guns.
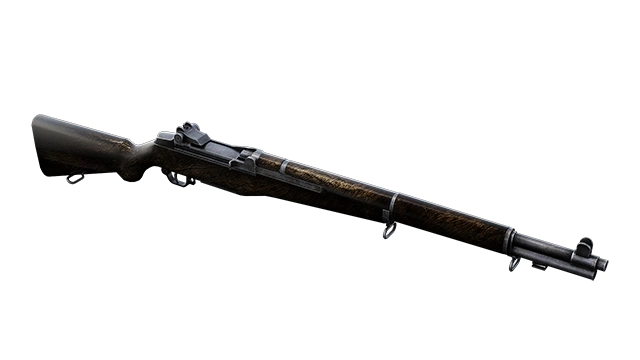
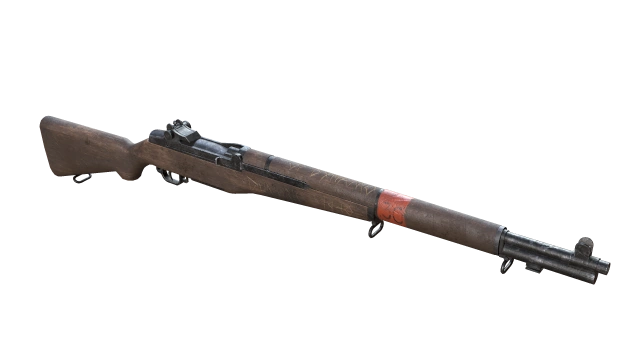
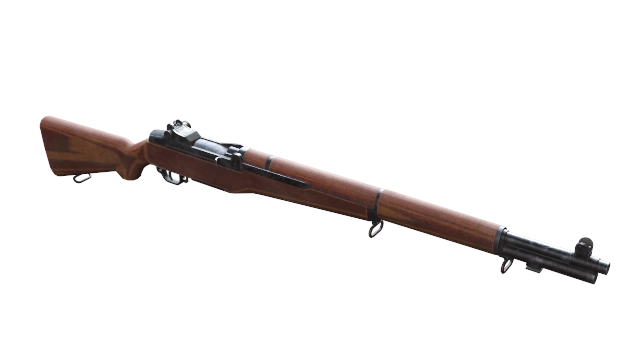
Camouflage
| Factory | Dark Walnut | Beech | Pepper Wood | Carbon Black | Frogskin | Army Green | Death or Glory | American Black Walnut | War-Torn | Laminate Stock |
|---|---|---|---|---|---|---|---|---|---|---|
| Price (Credits) | 79,000 |
15,000 |
49,000 |
95,000 |
142,000 |
32,000 |
158,000 |
Battle Pass Season 1 | ||
| Price (Gold) | 470 |
85 |
290 |
570 |
850 |
190 |
950 |
|||
 |
 |
 |
 |
 |
 |
 |
 |
 |
 |
 |
 |
 |
 |
 |
Ammunition
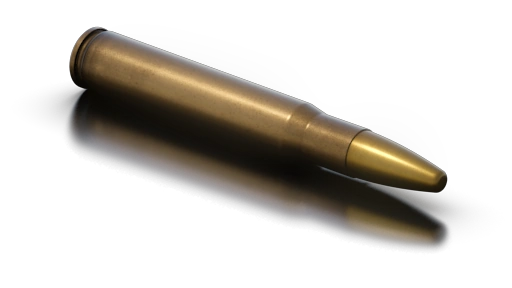
| M2 .30-06 Ball | AMMUNITION | ||
|---|---|---|---|
 |
COST | 340 |
4 |
| COST PER SHOT | 0.17 | ||
| FIELD MAINTENANCE LOAD | 0:00s | ||
| DAMAGE | |||
| RANGE | |||
| PRECISION | |||
| STABILITY | |||
| RATE OF FIRE | |||
| Black Hornet | AMMUNITION | ||
|---|---|---|---|
 |
COST | 1,500 |
17 |
| COST PER SHOT | 1.5 | ||
| FIELD MAINTENANCE LOAD | 0:01s | ||
| DAMAGE | |||
| RANGE | |||
| PRECISION | |||
| STABILITY | |||
| RATE OF FIRE | |||
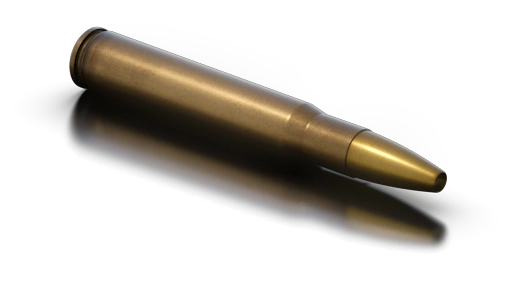
| Match, M72 | AMMUNITION | ||
|---|---|---|---|
 |
COST | 3,200 |
38 |
| COST PER SHOT | 6.4 | ||
| FIELD MAINTENANCE LOAD | 0:15s | ||
| DAMAGE | |||
| RANGE | |||
| PRECISION | |||
| STABILITY | |||
| RATE OF FIRE | |||
| Bertie Clay MkIII (h) | AMMUNITION | ||
|---|---|---|---|
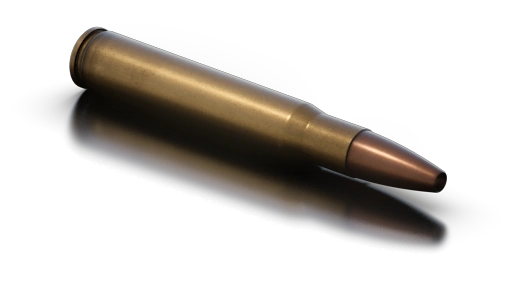 |
COST | 2,300 |
27 |
| COST PER SHOT | 2.3 | ||
| FIELD MAINTENANCE LOAD | 0:10s | ||
| DAMAGE | |||
| RANGE | |||
| PRECISION | |||
| STABILITY | |||
| RATE OF FIRE | |||
Specialist Ribbon
| Weapon Required: | M1 Garand | |||||||||||
|---|---|---|---|---|---|---|---|---|---|---|---|---|
 M1 Garand Specialist M1 Garand Specialist
| ||||||||||||
| Using the M1 Garand rifle in battle will earn you points on this ribbon. More points are awarded for hitting or killing enemy soldiers. The highest award is given for headshots. | ||||||||||||
| Rank | 1 | 2 | 3 | 4 | 5 | 6 | 7 | 8 | 9 | 10 | 11 | 12 |
| Weapon Required: | M1 Garand | |||||||||||
|---|---|---|---|---|---|---|---|---|---|---|---|---|
| M1 Garand Specialist
| ||||||||||||
| Using the M1 Garand rifle in battle will earn you points on this ribbon. More points are awarded for hitting or killing enemy soldiers. The highest award is given for headshots. | ||||||||||||
| Rank | 1 | 2 | 3 | 4 | 5 | 6 | 7 | 8 | 9 | 10 | 11 | 12 |
| Captured Unlocks | ||||||||||||
Modifications
| Default | Black Hornet | Match, M72 | Bertie Clay MkIII (h) | Field Adjusted Sights | M73B1 (Infantry) | M84 (German#1) | Field Trigger Job | Heavy Spring | Lightened Spring | Stainless Steel Barrel | Scout II-s | |
|---|---|---|---|---|---|---|---|---|---|---|---|---|
| Image |
|
|
|
|

|
|
|
| ||||
| Cost per shot | 0.17 |
1.5 |
6.4 |
2.3 |
1.79 |
7.47 |
8.86 |
2.4 |
2.64 |
2.47 |
3.94 | |
| Field Maintenance Load | 0:20s (Weapon) | 0:01s | 0:15s | 0:10s | 0:03s | 0:10s | 0:06s | 0:02s | 0:04s | 0:01s | 0:03s | 0:07s |
| Damage Near | 53 | 56 | 58 | 63 | 62 | |||||||
| Damage Far | 35 | 37 | 40 | 33 | 36 | |||||||
| Near Range | 65 | 59 | 98 | 54 | 68.25 | 68.25 | ||||||
| Far Range | 150 | 128 | 180 | 121 | 157.5 | 157.5 | ||||||
| Velocity | 852 | 852 | 899 | 852 | ||||||||
| Conefire | 0.11 | 0.132 | 0.0913 | 0.132 | ||||||||
| Sway Stand Mode | 0.52 | 0.468 | 0.546 | |||||||||
| Sway Crouch Mode | 0.32 | 0.288 | 0.3328 | |||||||||
| Sway Prone Mode | 0.22 | 0.198 | 0.2288 | |||||||||
| Sway Aim Modifier | 0.2 | 0.18 | 0.21 | |||||||||
| Cone Contraction Per Sec | 1.5 | 1.65 | 1.425 | |||||||||
| Camera Recoil Up | 1.8 | 2.7 | 3.15 | 3.6 | 1.872 |
1.62 |
1.872 | 1.872 | 1.98 | |||
| Camera Recoil Right | 0.2 | 0.3 | 0.35 | 0.4 | 0.208 |
0.18 |
0.208 | 0.208 | 0.22 | |||
| Camera Recoil Variance | 0.7 | 1.05 | 1.225 | 1.4 | 0.749 |
0.63 |
0.728 | 0.728 | 0.77 | |||
| Rate of Fire | 276.5 | 303.84 |
256.02 |
307.22 |
Builds
| Cost Per Shot | 24.28 |
|---|---|
| Field Maintenance Load | 0:51s |
| Damage Near | 67 |
| Damage Far | 42 |
| Near Range | 102.9m |
| Far Range | 189m |
| Velocity | 899m/s |
| Conefire | 0.0913° |
| Camera Recoil Up | 3.747744 |
| Camera Recoil Right | 0.416416 |
| Camera Recoil Variance | 1.499498 |
| Rate of Fire | 337.6RPM |
| Semi-Automatic Sniper | |
|---|---|
| Part | Modification |
| Ammunition | Match, M72 |
| Trigger | Field Trigger Job |
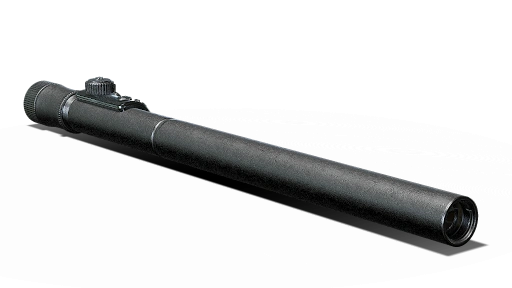
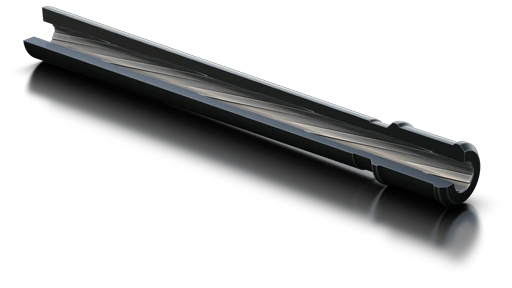
| Barrel | Scout II-s |
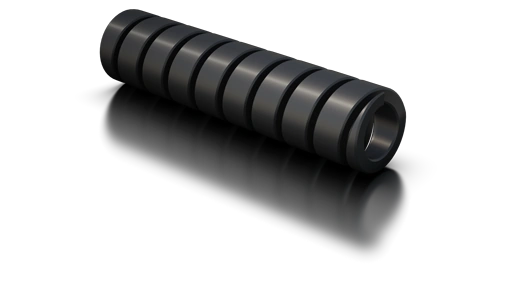
| Internal | Lightened Spring |
| Sight | M84 |
| Other Equipment | None |
| Recommended Badge | None |
| Description | |
| This build mods the M1 Garand to be a two hit kill. With the M84 scope attached, the M1 Garand become a truly versatile weapon, with both long range and close quarters capabilities. | |
Comments:
- Please Note: The Heavy Spring can be added for an increase in stability and damage, but a decrease in rate of fire.
Pros:
- Very Accurate
- High Damage (Two Hit Kill)
- Decent Rate of Fire
- Decent Range
Cons:
- Expensive
- Requires M1 Garand Specialist Ribbon to be Rank 12
( Note : this Build will make your rifle ineffective at clearing buildings, forcing you to either act as a marksman, or
bring along a pistol or a melee weapon ).
| Cost Per Shot | 17.21 |
|---|---|
| Field Maintenance Load | 0:48s |
| Damage Near | 67 |
| Damage Far | 42 |
| Near Range | 102.9m |
| Far Range | 189m |
| Velocity | 899m/s |
| Conefire | 0.0913° |
| Camera Recoil Up | 3.747744 |
| Camera Recoil Right | 0.416416 |
| Camera Recoil Variance | 1.499498 |
| Rate of Fire | 337.6RPM |
| All-Around Build | |
|---|---|
| Part | Modification |
| Ammunition | Match, M72 |
| Trigger | Field Trigger Job |
| Barrel | Scout II-s |
| Internal | Lightened Spring |
| Sight | Field Adjusted Sights |
| Other Equipment | None |
| Recommended Badge | None |
| Description | |
| This build mods the M1 Garand to be a powerful weapon without being extremely expensive or requiring a high level of the M1 Garand Specialist Ribbon. | |
Comments:
- Please Note: The M84 scope can also be used, but requires M1 Garand Specialist Ribbon to be Rank 12 and is fairly expensive.
Pros:
- Very Accurate
- Very Good Damage (Two Hit Kill)
- Decent Rate of Fire
- Decent Range
Cons:
- Moderately Expensive
( Note : Recoil is significantly increased, although, its an aceptable sacrifice, because your weapon now is now capable to antagonize most Automatic rifles ) For more see Weapon Modifications.
| Cost Per Shot | 7.5 |
|---|---|
| Field Maintenance Load | 0:41s |
| Damage Near | 74 |
| Damage Far | 34 |
| Near Range | 56.7m |
| Far Range | 127.05m |
| Velocity | 852m/s |
| Conefire | 0.132° |
| Camera Recoil Up | 3.564 |
| Camera Recoil Right | 0.396 |
| Camera Recoil Variance | 1.386 |
| Rate of Fire | 256.02RPM |
| 2 Hit-Kill Build | |
|---|---|
| Part | Modification |
| Ammunition | Bertie Clay Mk III (h) |
| Trigger | None |
| Barrel | Scout II-s |
| Internal | Heavy Spring |
| Sight | None |
| Other Equipment | None |
| Recommended Badge | None |
| Description | |
| This build mods the M1 Garand to be a two hit kill, allowing it to also be a stable firearm at close to medium range. | |
Comments:
- The Bertie Clay Mk III (h) is able to two-hit kill in its own right, but suffers from poor range so the cost savings per shot compared to also using the Scout II-s barrel may not be worth it.
Pros:
- Fairly Cheap
- High Damage (Two Hit-Kill)
Cons:
- Slow Rate-of-Fire
Gallery
- M1 Garand

- ↑ Bauer Brings Store Bundles heroesandgenerals.com
- ↑ Event reward for: https://heroesandgenerals.com/2019/05/battle-of-dunkirk-rifle-update-wartorn-skins/ https://heroesandgenerals.com/2020/05/liberation-of-europe-event-winners/
- ↑ Purchasable during https://heroesandgenerals.com/2021/10/giveaway-5-year-anniversary-celebration/