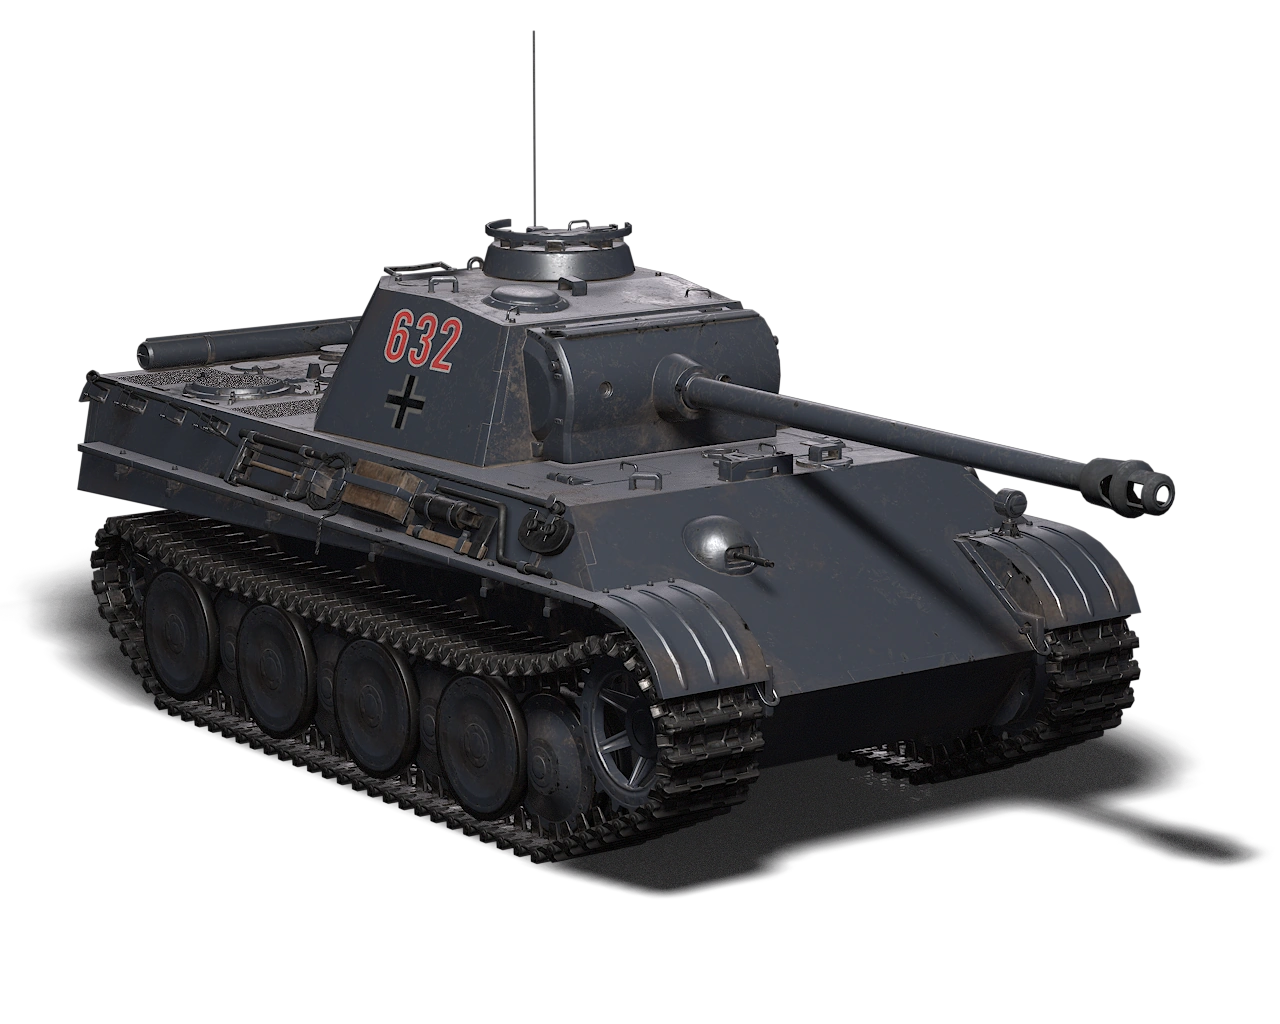
Description[]
| “ | The Panther was created as a direct response to the threat from the Soviet T-34. It is protected with 80mm sloped frontal armor and armed with the long powerful 75mm KwK 42 L/70 cannon. | ” |
| ― Heroes & Generals | ||
Tips
- The Panther has strong frontal armor and good sloping, always fight with the front towards your enemy (Tank Logic 101)
- The weak part of the Panther's frontal armor is the lower glacis. Use terrain or obstacles to shield your lower glacis.
- After the armor update, the Panther's frontal armor is not as strong as it used to be. 2-4 good hits will allow almost any Medium tanks to penetrate it reliably afterwards.
- The Panther has a very long respawn timer, 3:12s with APCR and HE shells.
- The Panther has the best mobility among all the medium tanks, including best top speed, acceleration and climbing abiliity.
- The Panther has a fairly large profile, making hiding in small places difficult, but high mounted turret allows for good 'hull-down' opportunities as it can fire over large rocks, walls and similar obstacles.
- The best use of the Panther is at long ranges due to the excellent shell velocity of the main gun.
- Try to angle the Panther up slightly by using a small hill or mound so that it covers the Front (Lower) while still allowing you to shoot straight. It will be impervious to any frontal attacks, so long as they are not shooting down from a higher position.
- As with all German tanks, it is highly recommended that you buy a camo for it, to help with ambushes.
- With a fairly well protected 3rd person position for the Secondary Gunner it makes it ideal to have a player on board who can scan the surrounding area without exposing you, the tank driver, in the turret.
- Due to the high velocity of the shells, the Panther is relatively effective against aircraft.
- After the Armor 2.0 update the Panther became really easy to destroy. It is highly recommended to play the Panther with extreme caution and a good amount of tanking experience.
Munitions
| Name | Explosion Damage/Radius | Penetration | Damage[1] | Near/Far Range | Far Penetration | Far Damage | Correction Angle | Velocity | Credits Cost | Gold Cost | Cost per Shot | Maintenance Load |
|---|---|---|---|---|---|---|---|---|---|---|---|---|
| [75×640mm R] 7.5cm Panzergranate 39/42 | 100 @ 1m | 128mm - 148mm | 1451 - 1661 | 10m/1500m | 5% | 30% | 6° | 925 m/s | 2,500 |
29 |
6.25 |
0:00s |
| [75×640mm R] 7.5cm Panzergranate 40/42 | 100 @ 1m | 184mm - 204mm | 1451 - 1661 | 10m/1000m | 5% | 15% | 3° | 1120 m/s | 5,100 |
61 |
12.75 |
0:10s |
| [75×640mm R] 7.5cm Sprenggranate 42 | 165 @ 9m | 15mm - 35mm | 315 - 1050 | ° | 700 m/s | 7,900 |
95 |
19.75 |
0:20s
| |||
| [7.92×57mm Mauser] S.m.K. | @ m | 3mm - 6mm | 19 - 21 | 10m/700m | 5% | 30% | 2° | 1133.16 m/s |
|
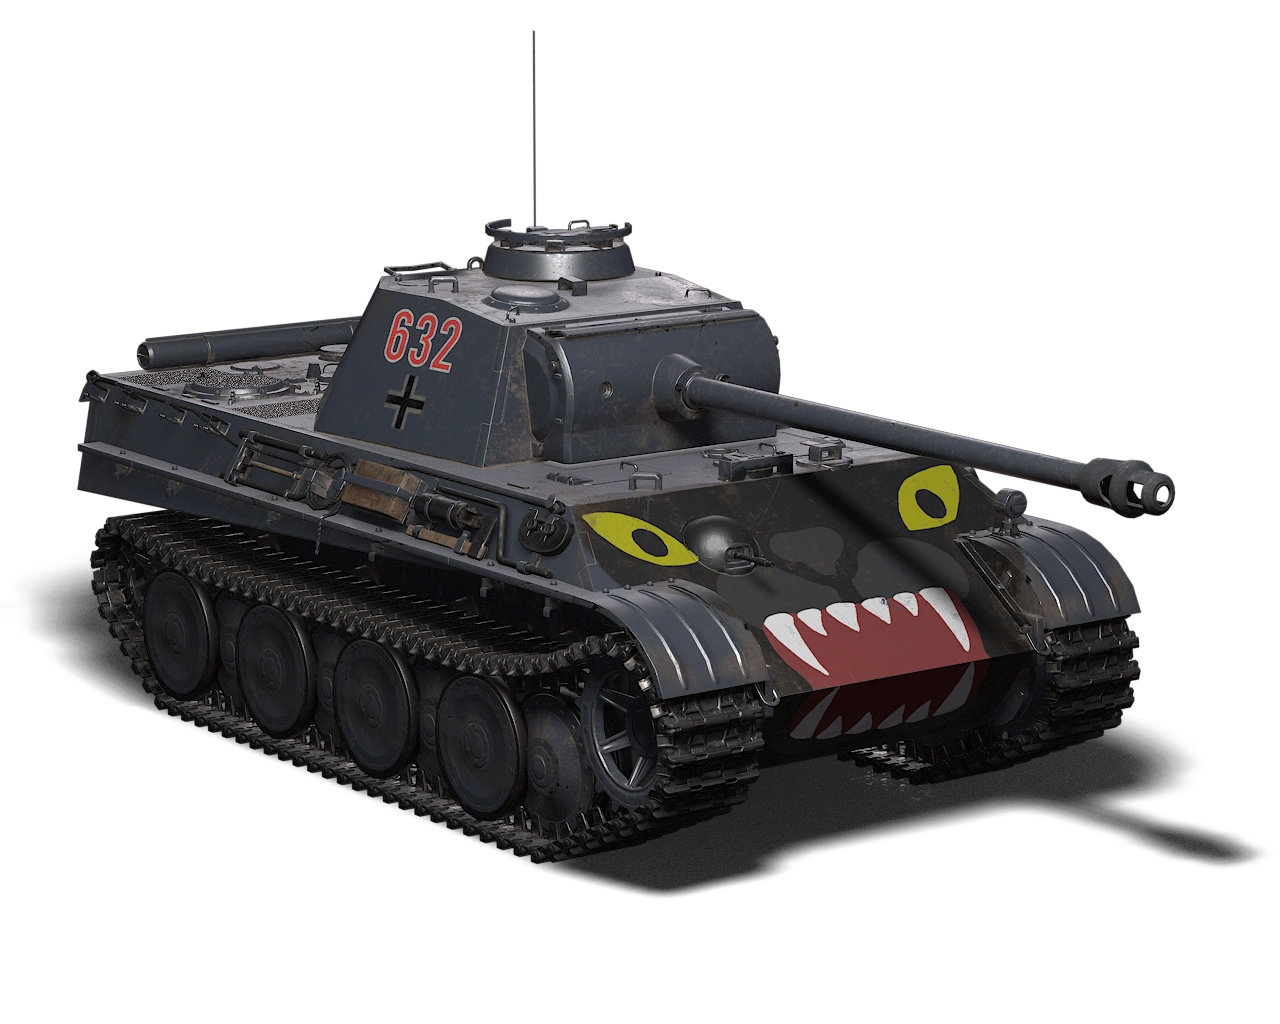
Camouflage
| Factory | Ambush DB | Dark Yellow | Panther Warpaint |
|---|---|---|---|
| Price (Credits) | 195,000 |
60,000 |
Battle Pass Season 2 |
| Price (Gold) | 780 |
240 | |
 |
 |
 |
 |
 |
 |
 |
 |
Upgrades
Supply Crates and other upgrades can be fitted to your vehicle to aid yourself or nearby infantry.
| Name | Contents | Credits Cost | Gold Cost | Spawn Cost | Maintenance Load |
|---|---|---|---|---|---|
| Ammunition Supply Crate | Ammo | 1,300 |
15 |
12 |
0:02s |
| Medic Supply Crate | Health | 4,400 |
52 |
44 |
0:02s |
| Anti-tank Supply Crate | Panzerfaust 60 | 7,500 |
90 |
68 |
0:02s |
| Demolition Kit Supply Crate | Infantry Demolition Kit M1 | Battle Pass Season 0 | 44 |
0:02s | |
| Flame Thrower Supply Crate | Einstossflammenwerfer 46 | Battle Pass Season 0 | 44 |
0:02s | |
Specialist Ribbon
| Vehicle Required: | Panzer V Ausf. G | |||||||||||
|---|---|---|---|---|---|---|---|---|---|---|---|---|
| Using the Panzerkampfwagen Panther Ausf. G medium tank in battle will earn you points on this ribbon. More points are awarded for scoring hits on enemy tanks. The highest award is given for destroying enemy tanks. | ||||||||||||
| Rank | 1 | 2 | 3 | 4 | 5 | 6 | 7 | 8 | 9 | 10 | 11 | 12 |
| |||||||||||
- ↑ Against armor